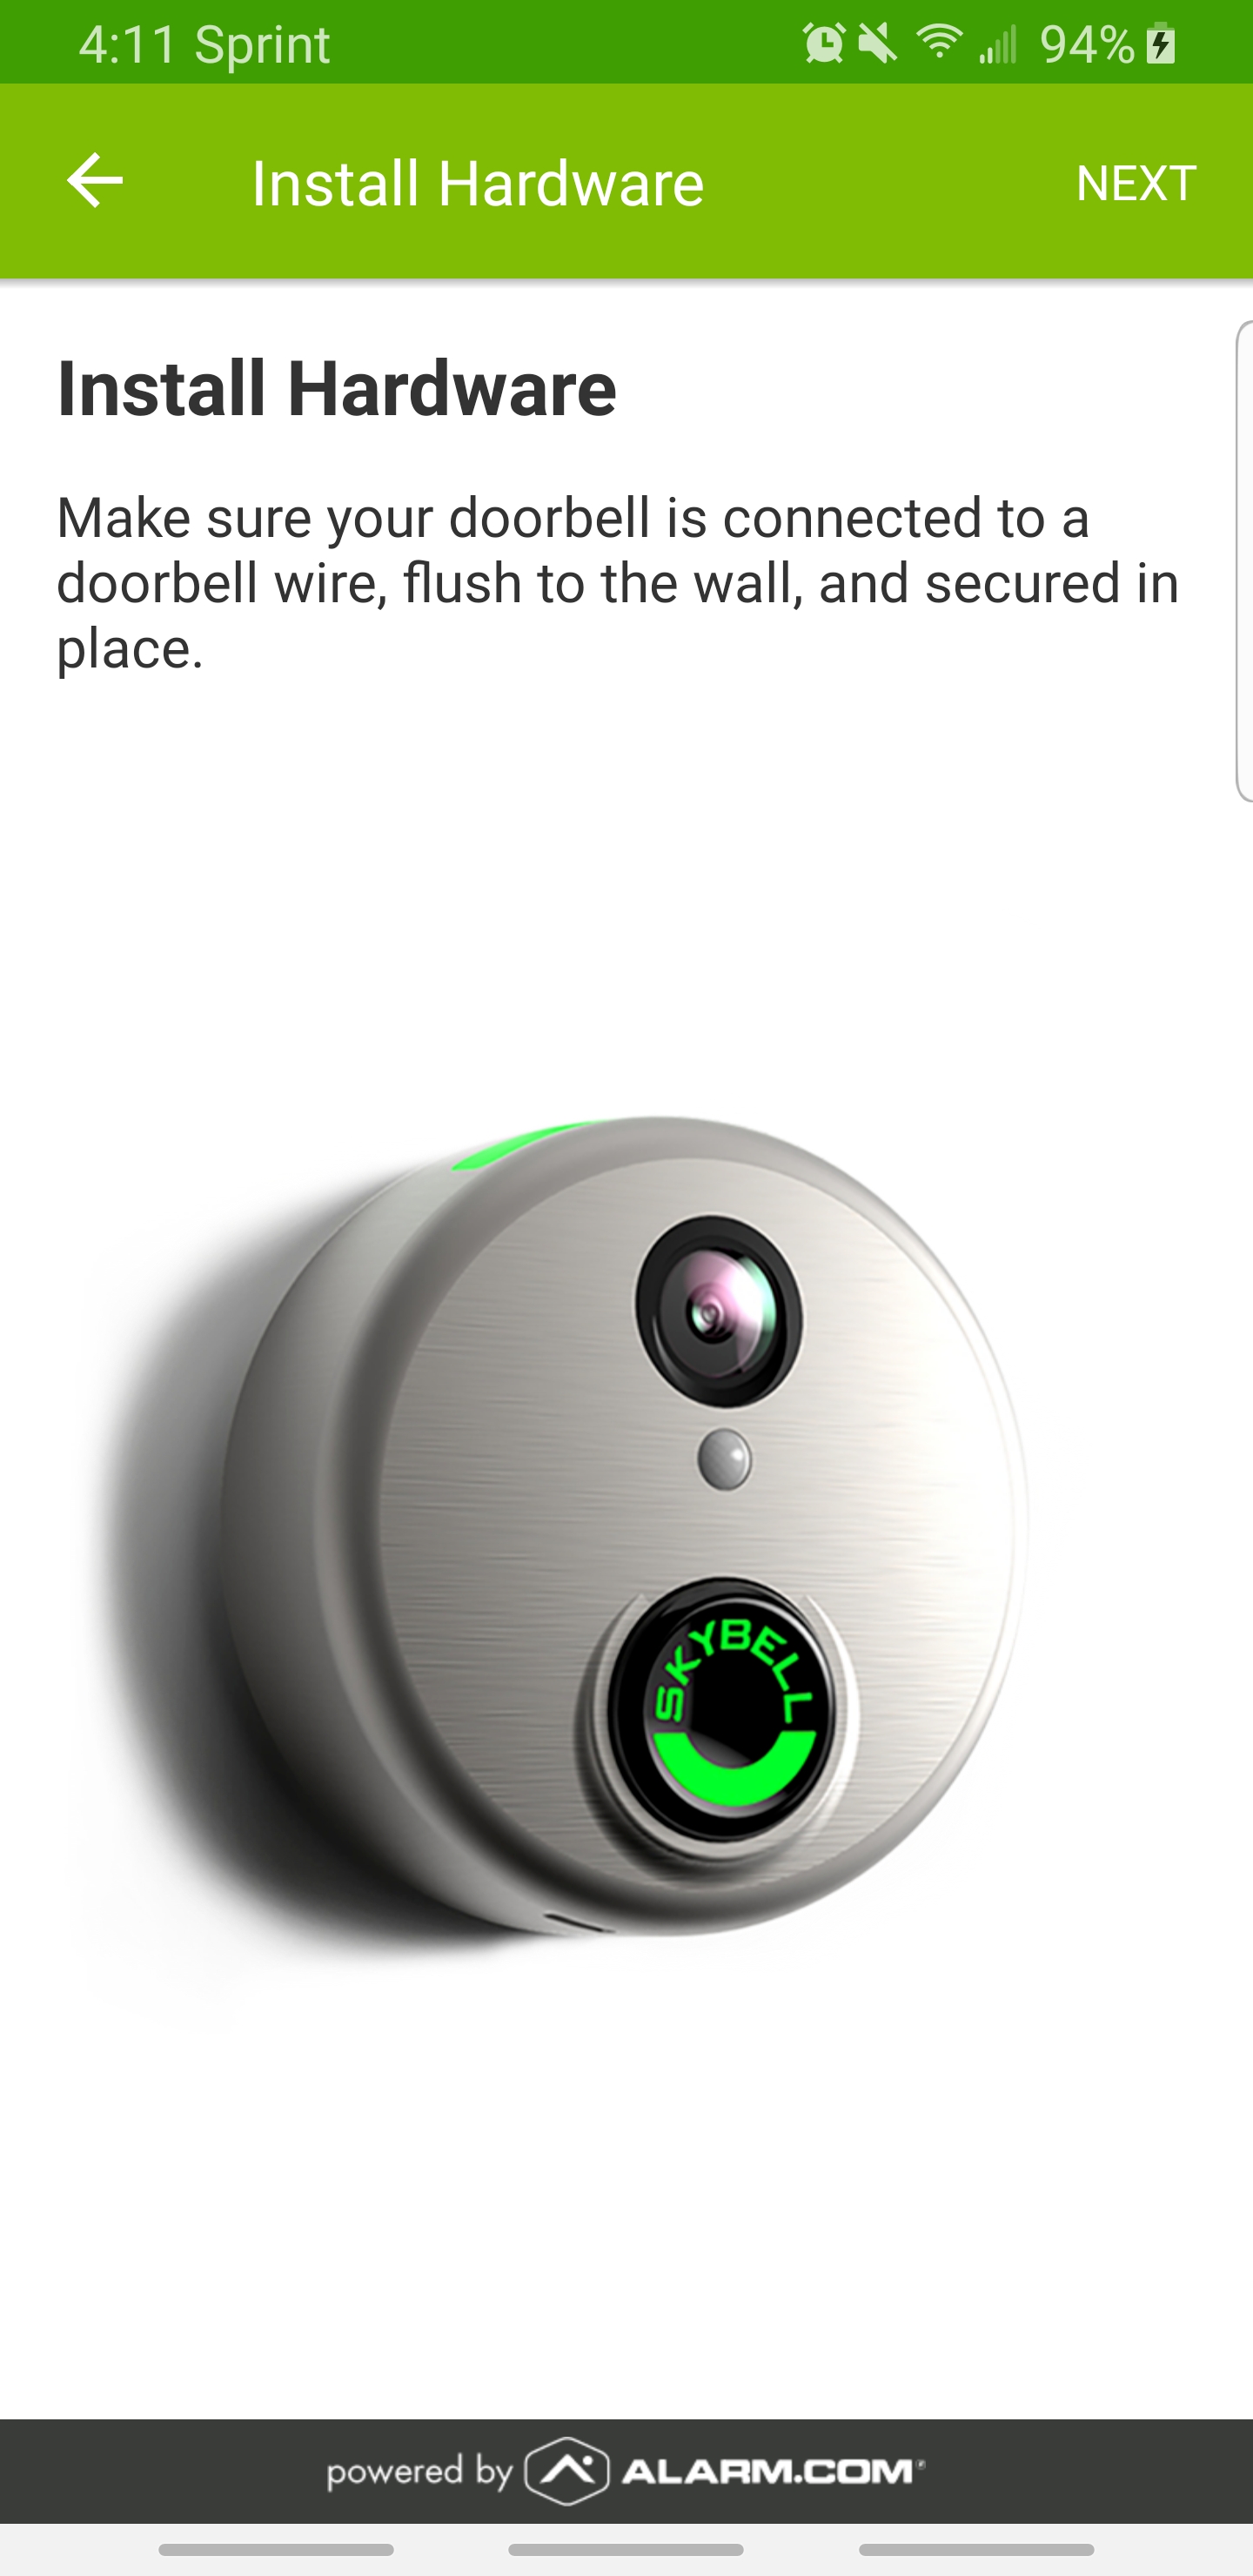
This guide will walk you through how to pair a SkyBell Slim or SkyBell HD video doorbell to an Alarm.com account. This guide does not cover how to physically install the doorbell and presumes this step has already been done.
The use of the SkyBell Video Doorbell does require video to be enabled on your account.
When using service through Surety, video is included in the Surety Cam/Plus, Protect, and Complete plans. Video levels can be added for other plans or increased via the System Manager page of your Surety account dashboard.
Unlike most other Alarm.com compatible cameras, the SkyBell Video Doorbell can only be paired via the Alarm.com mobile app and not the Alarm.com website.
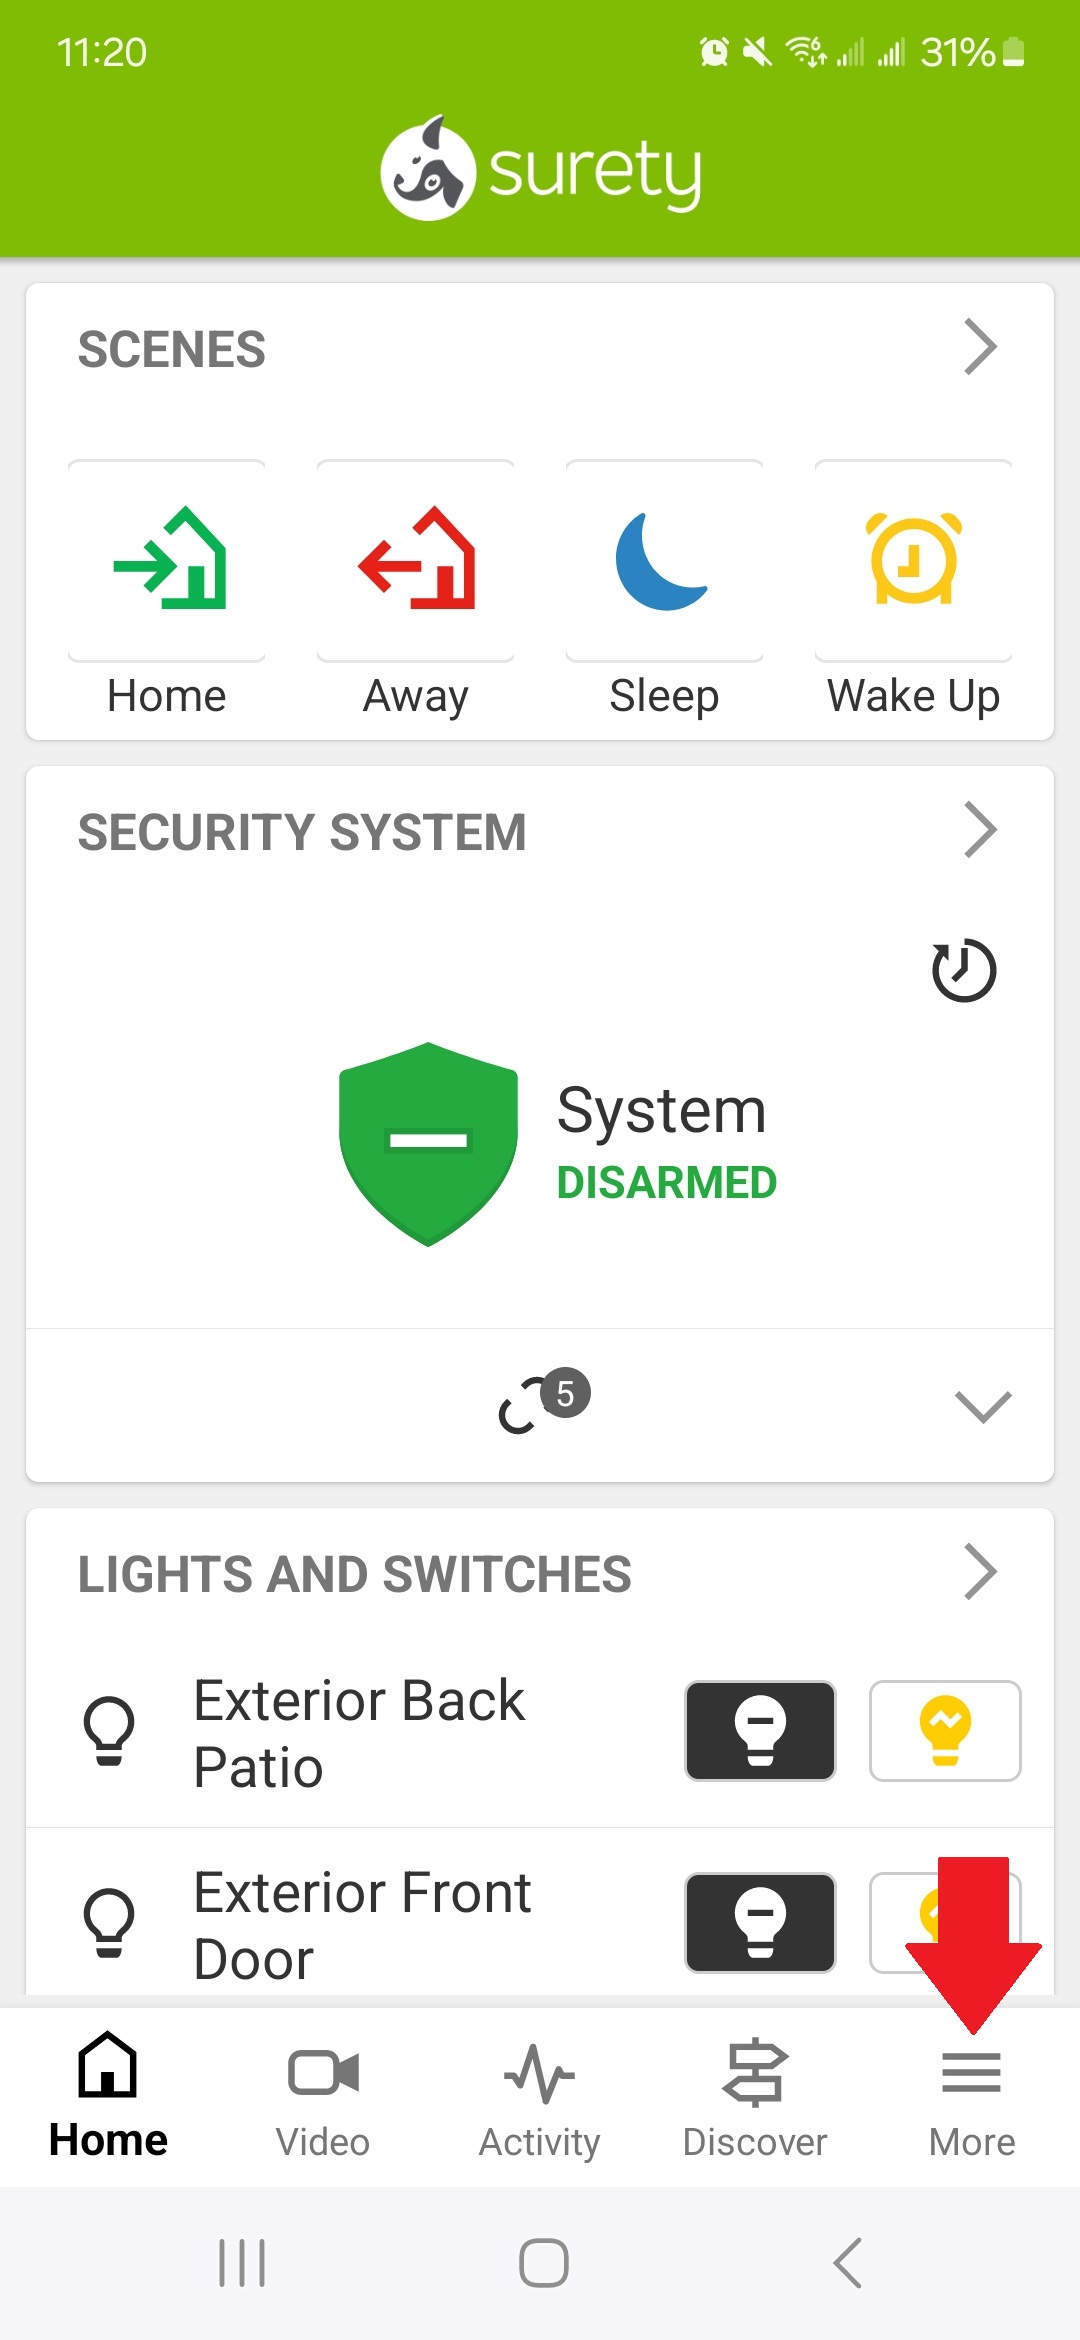
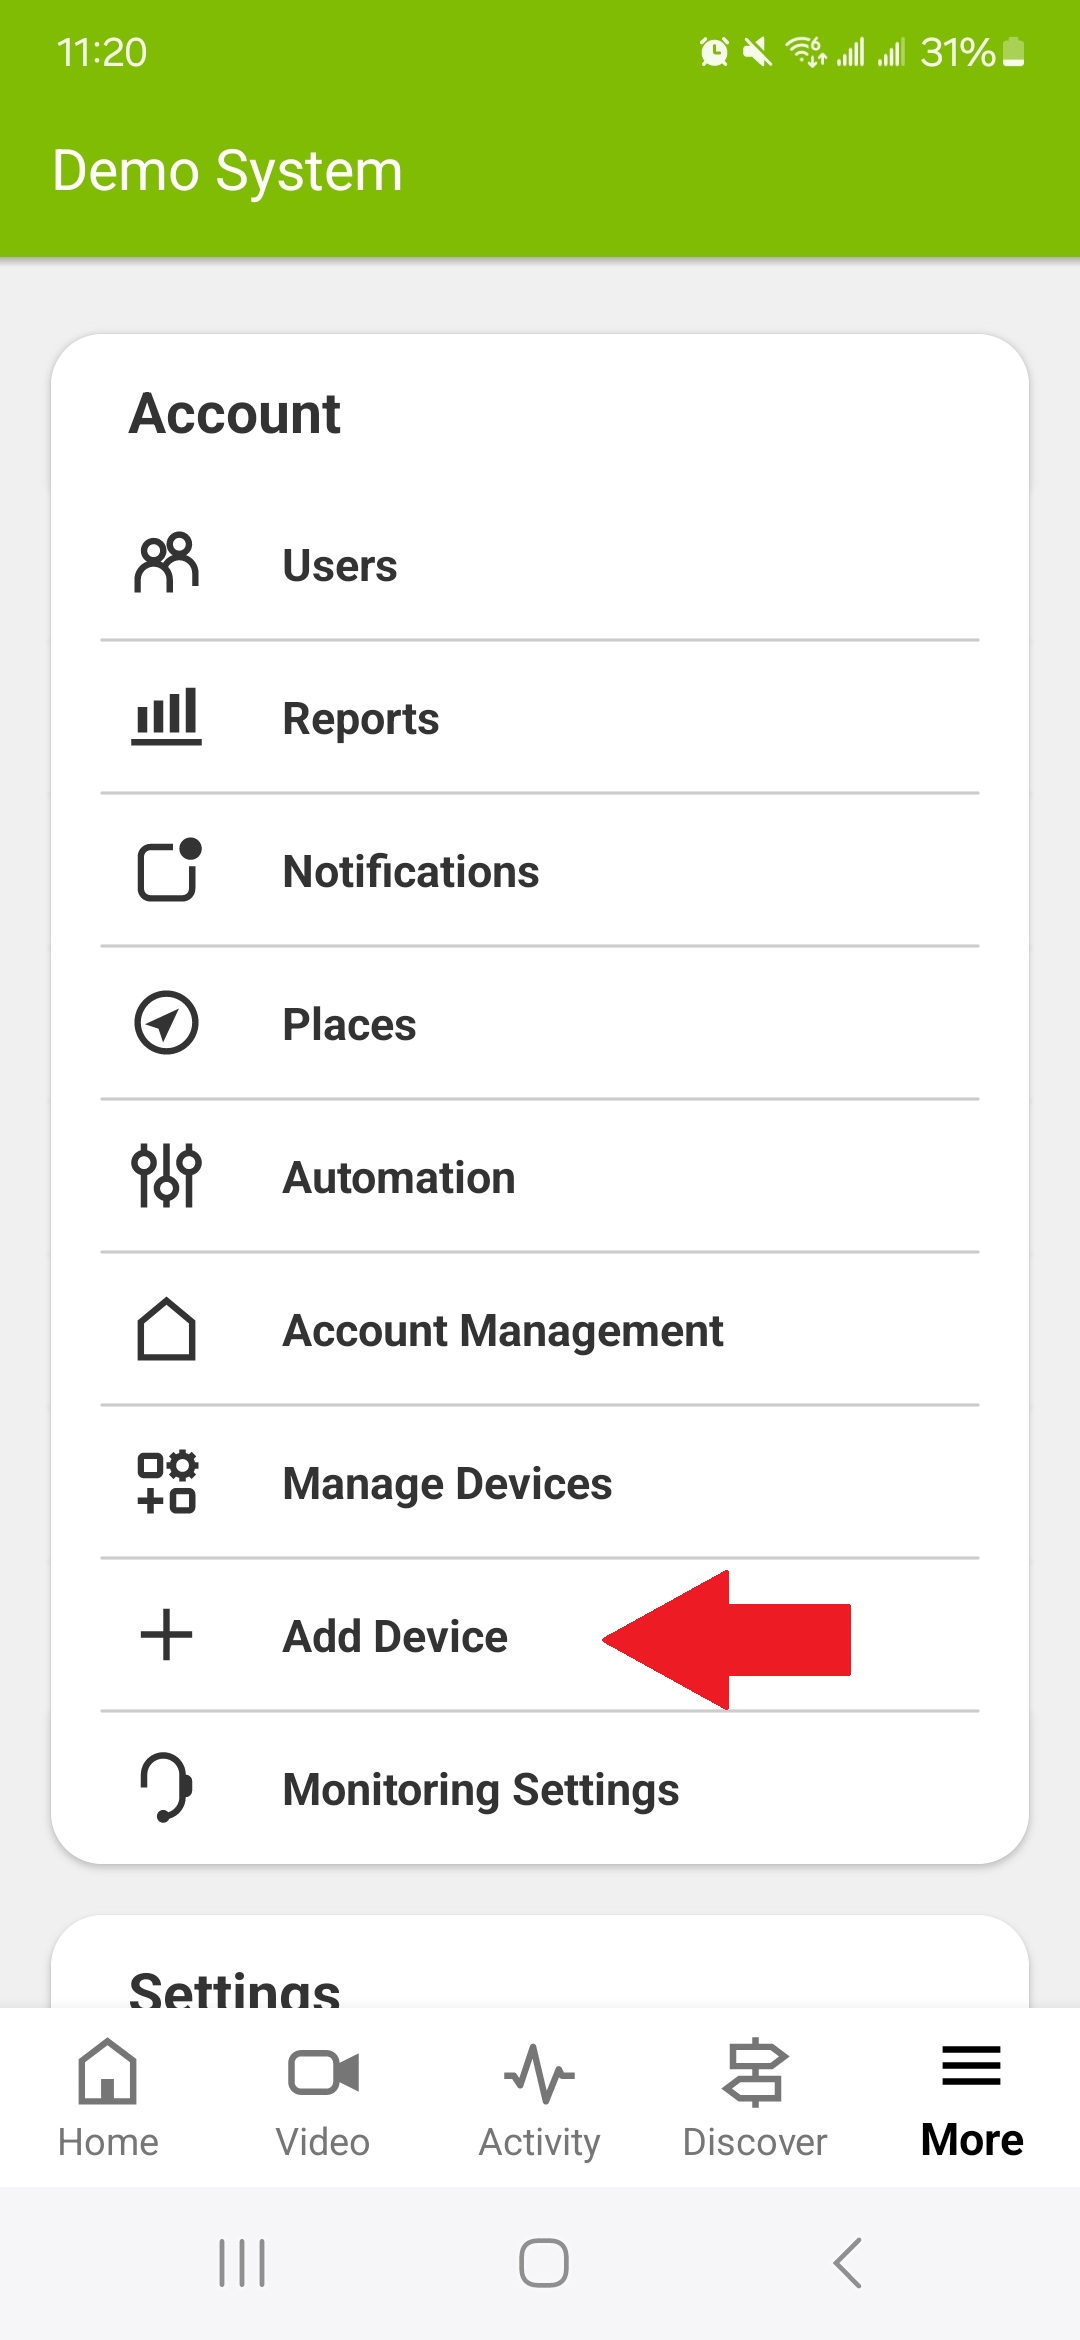
- Start by logging in to your Alarm.com account via the mobile app and click the More icon then scroll down to Add Device button.
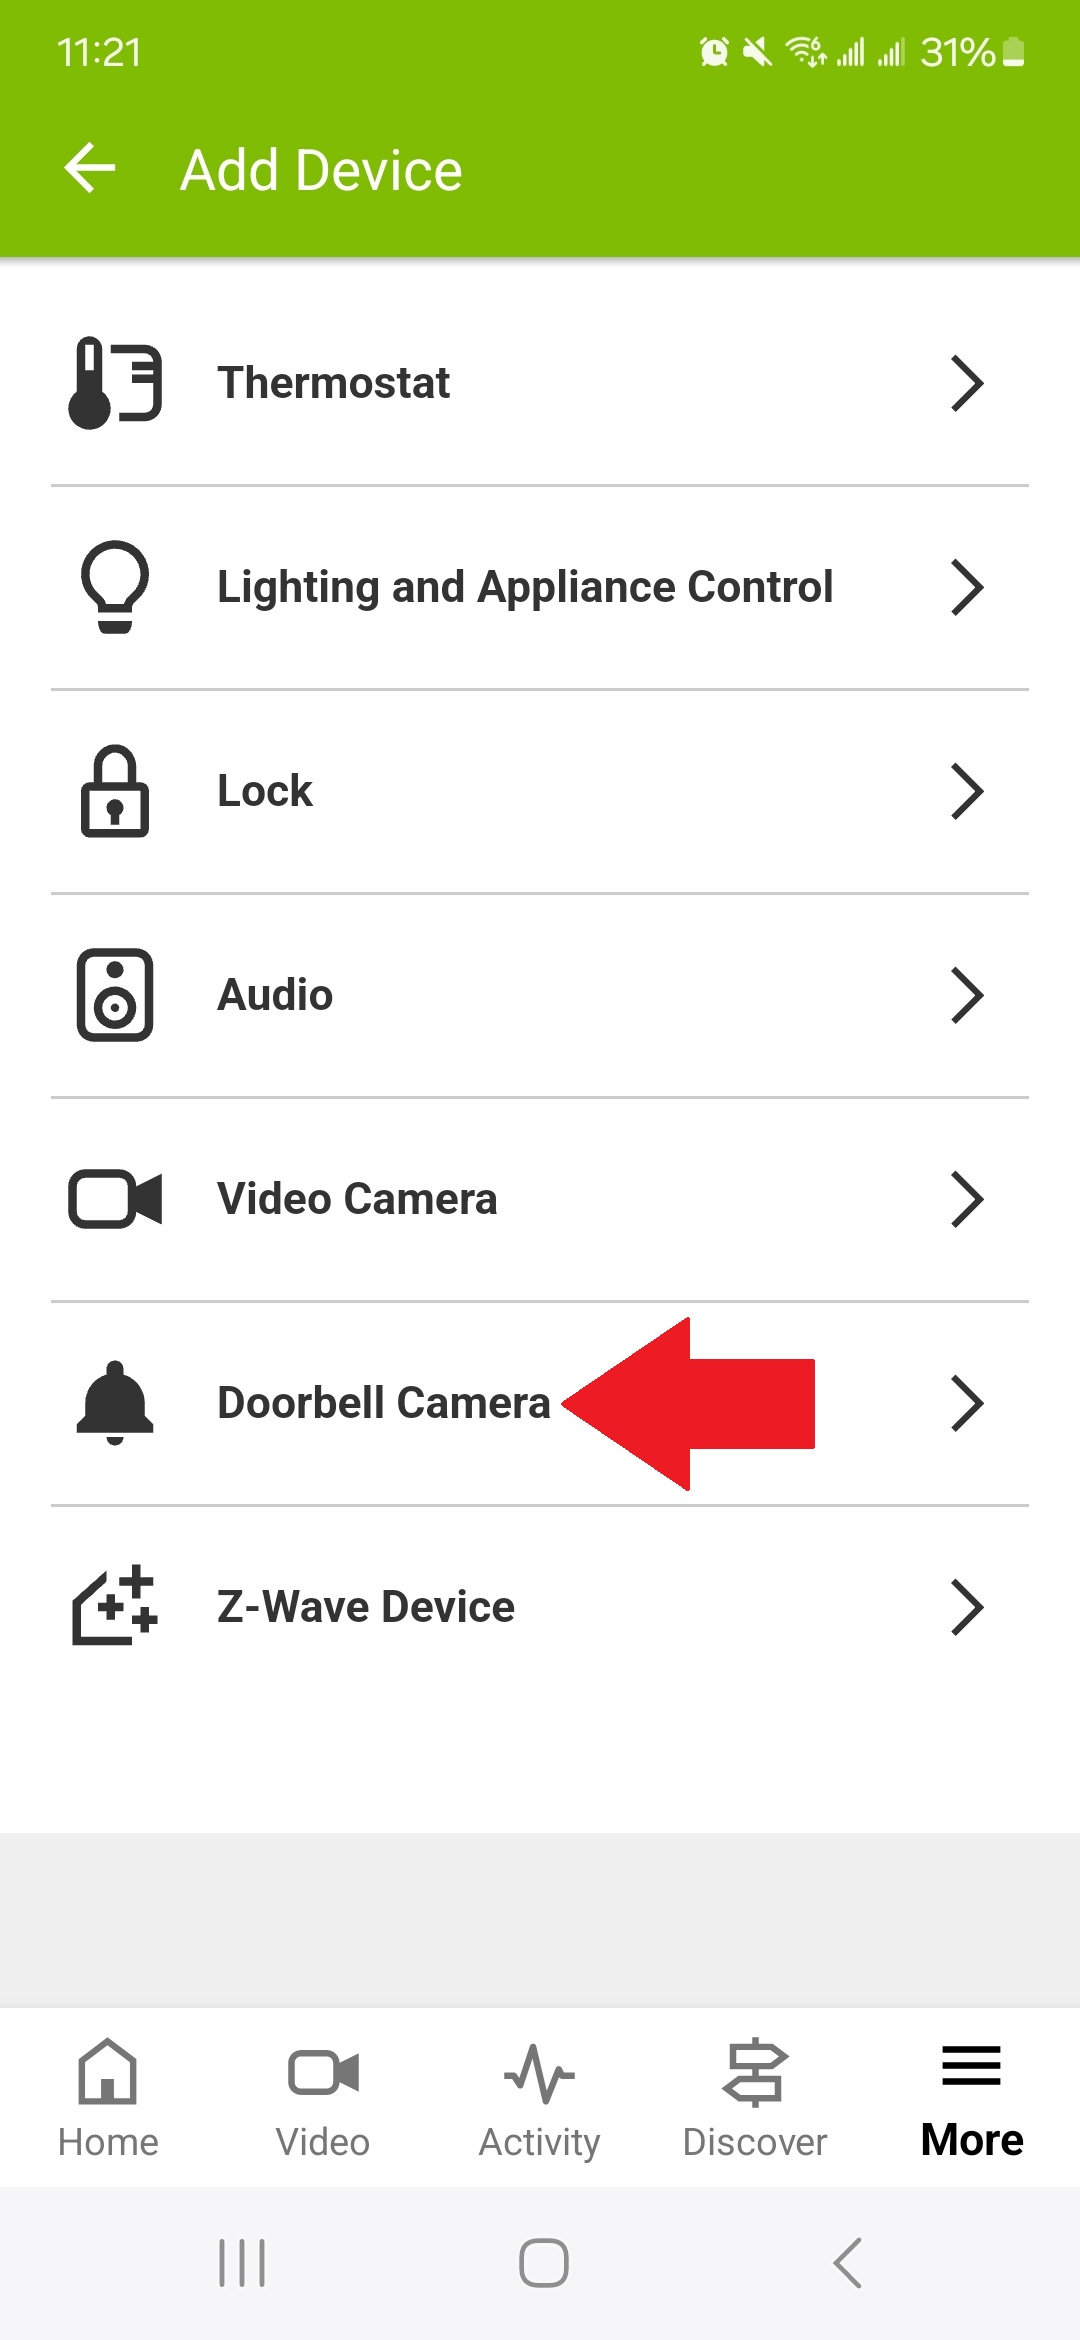
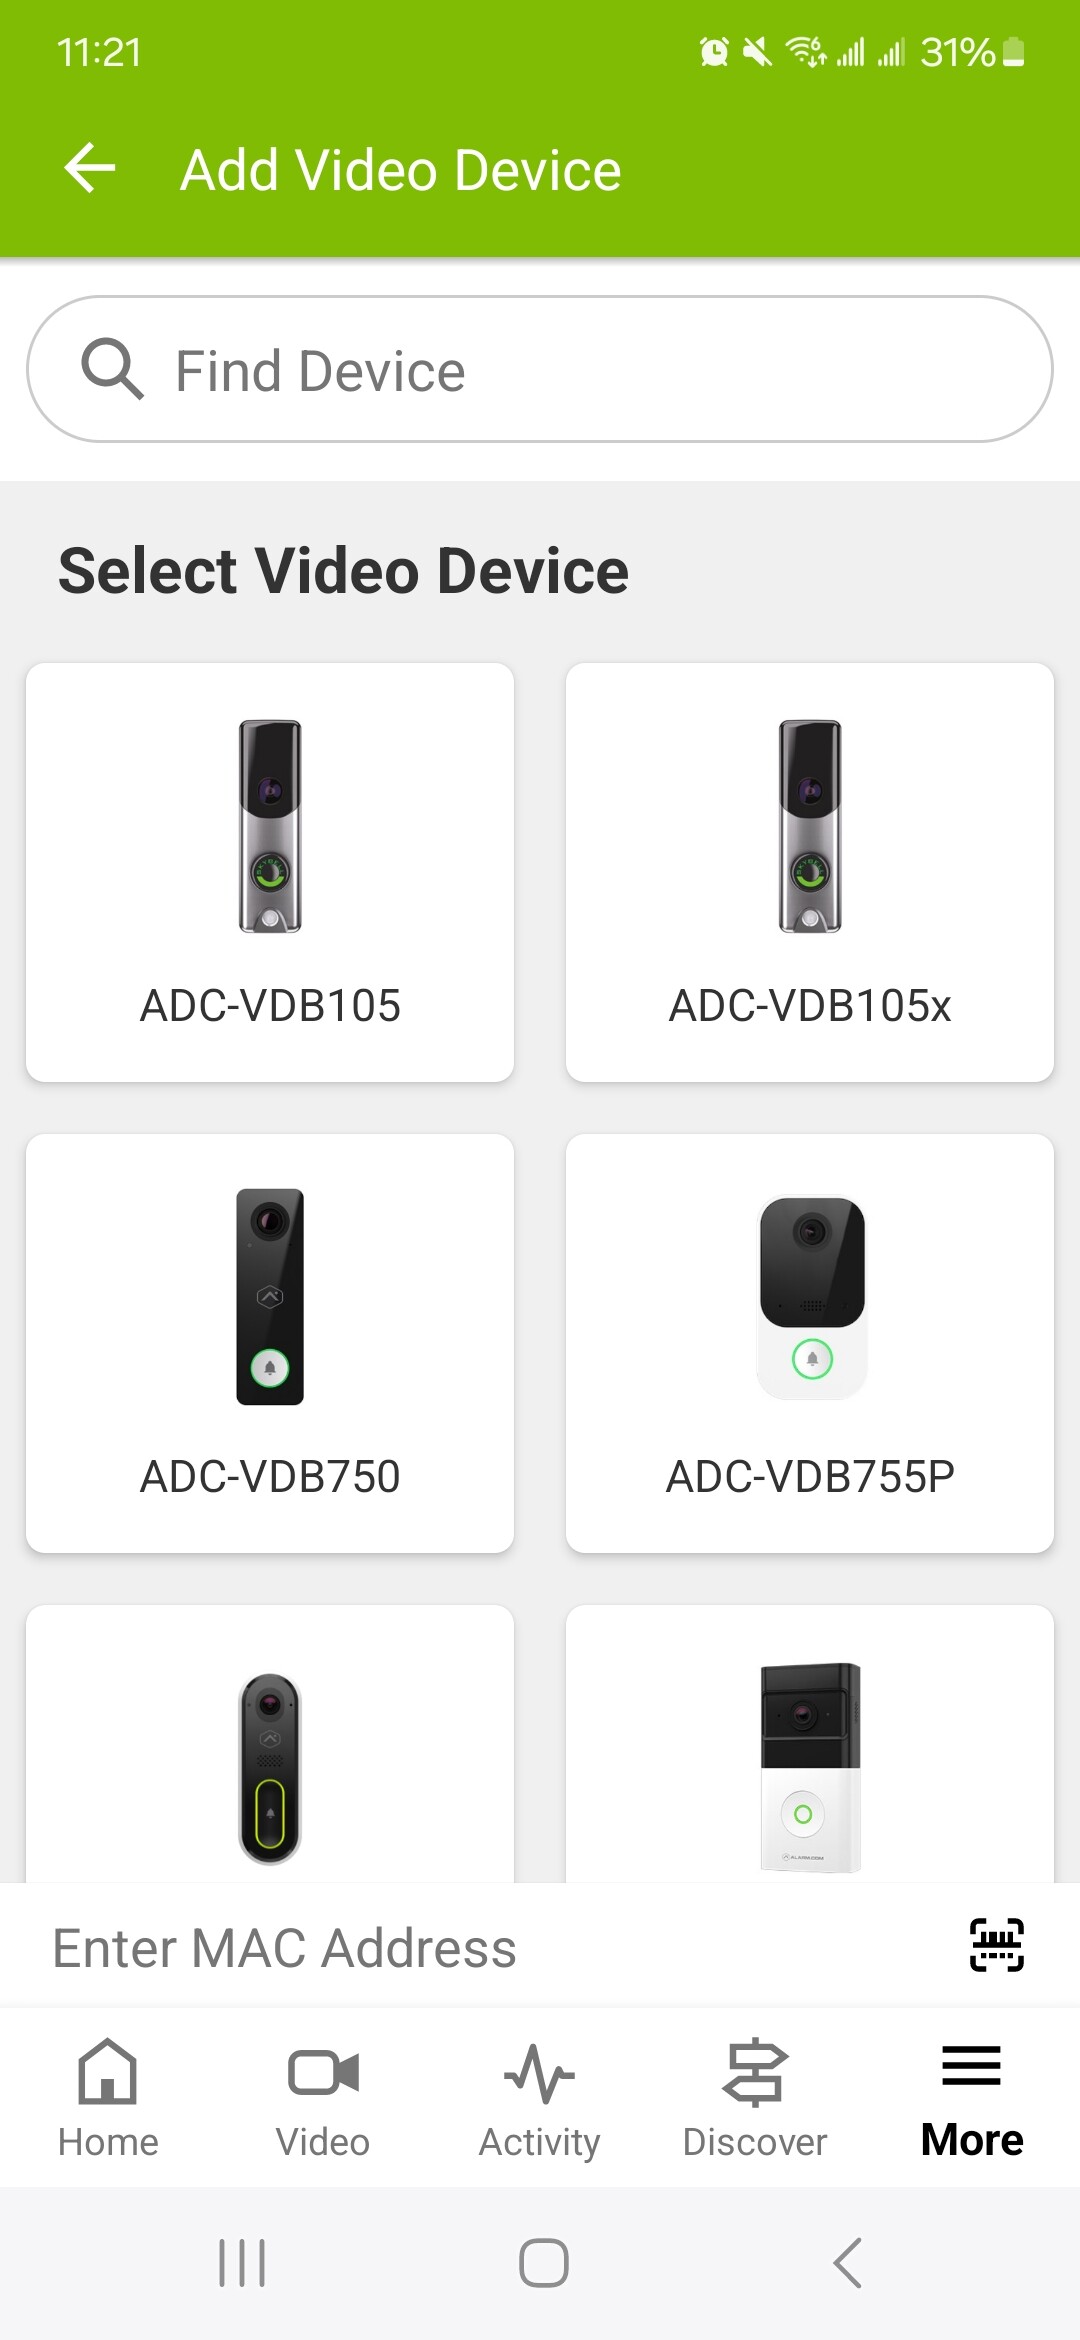
- Next, click on the Doorbell Camera option on the list of devices. Then select scroll through the list of doorbells to find the the icon that matches the type of SkyBell you are pairing, either Slim or HD
-
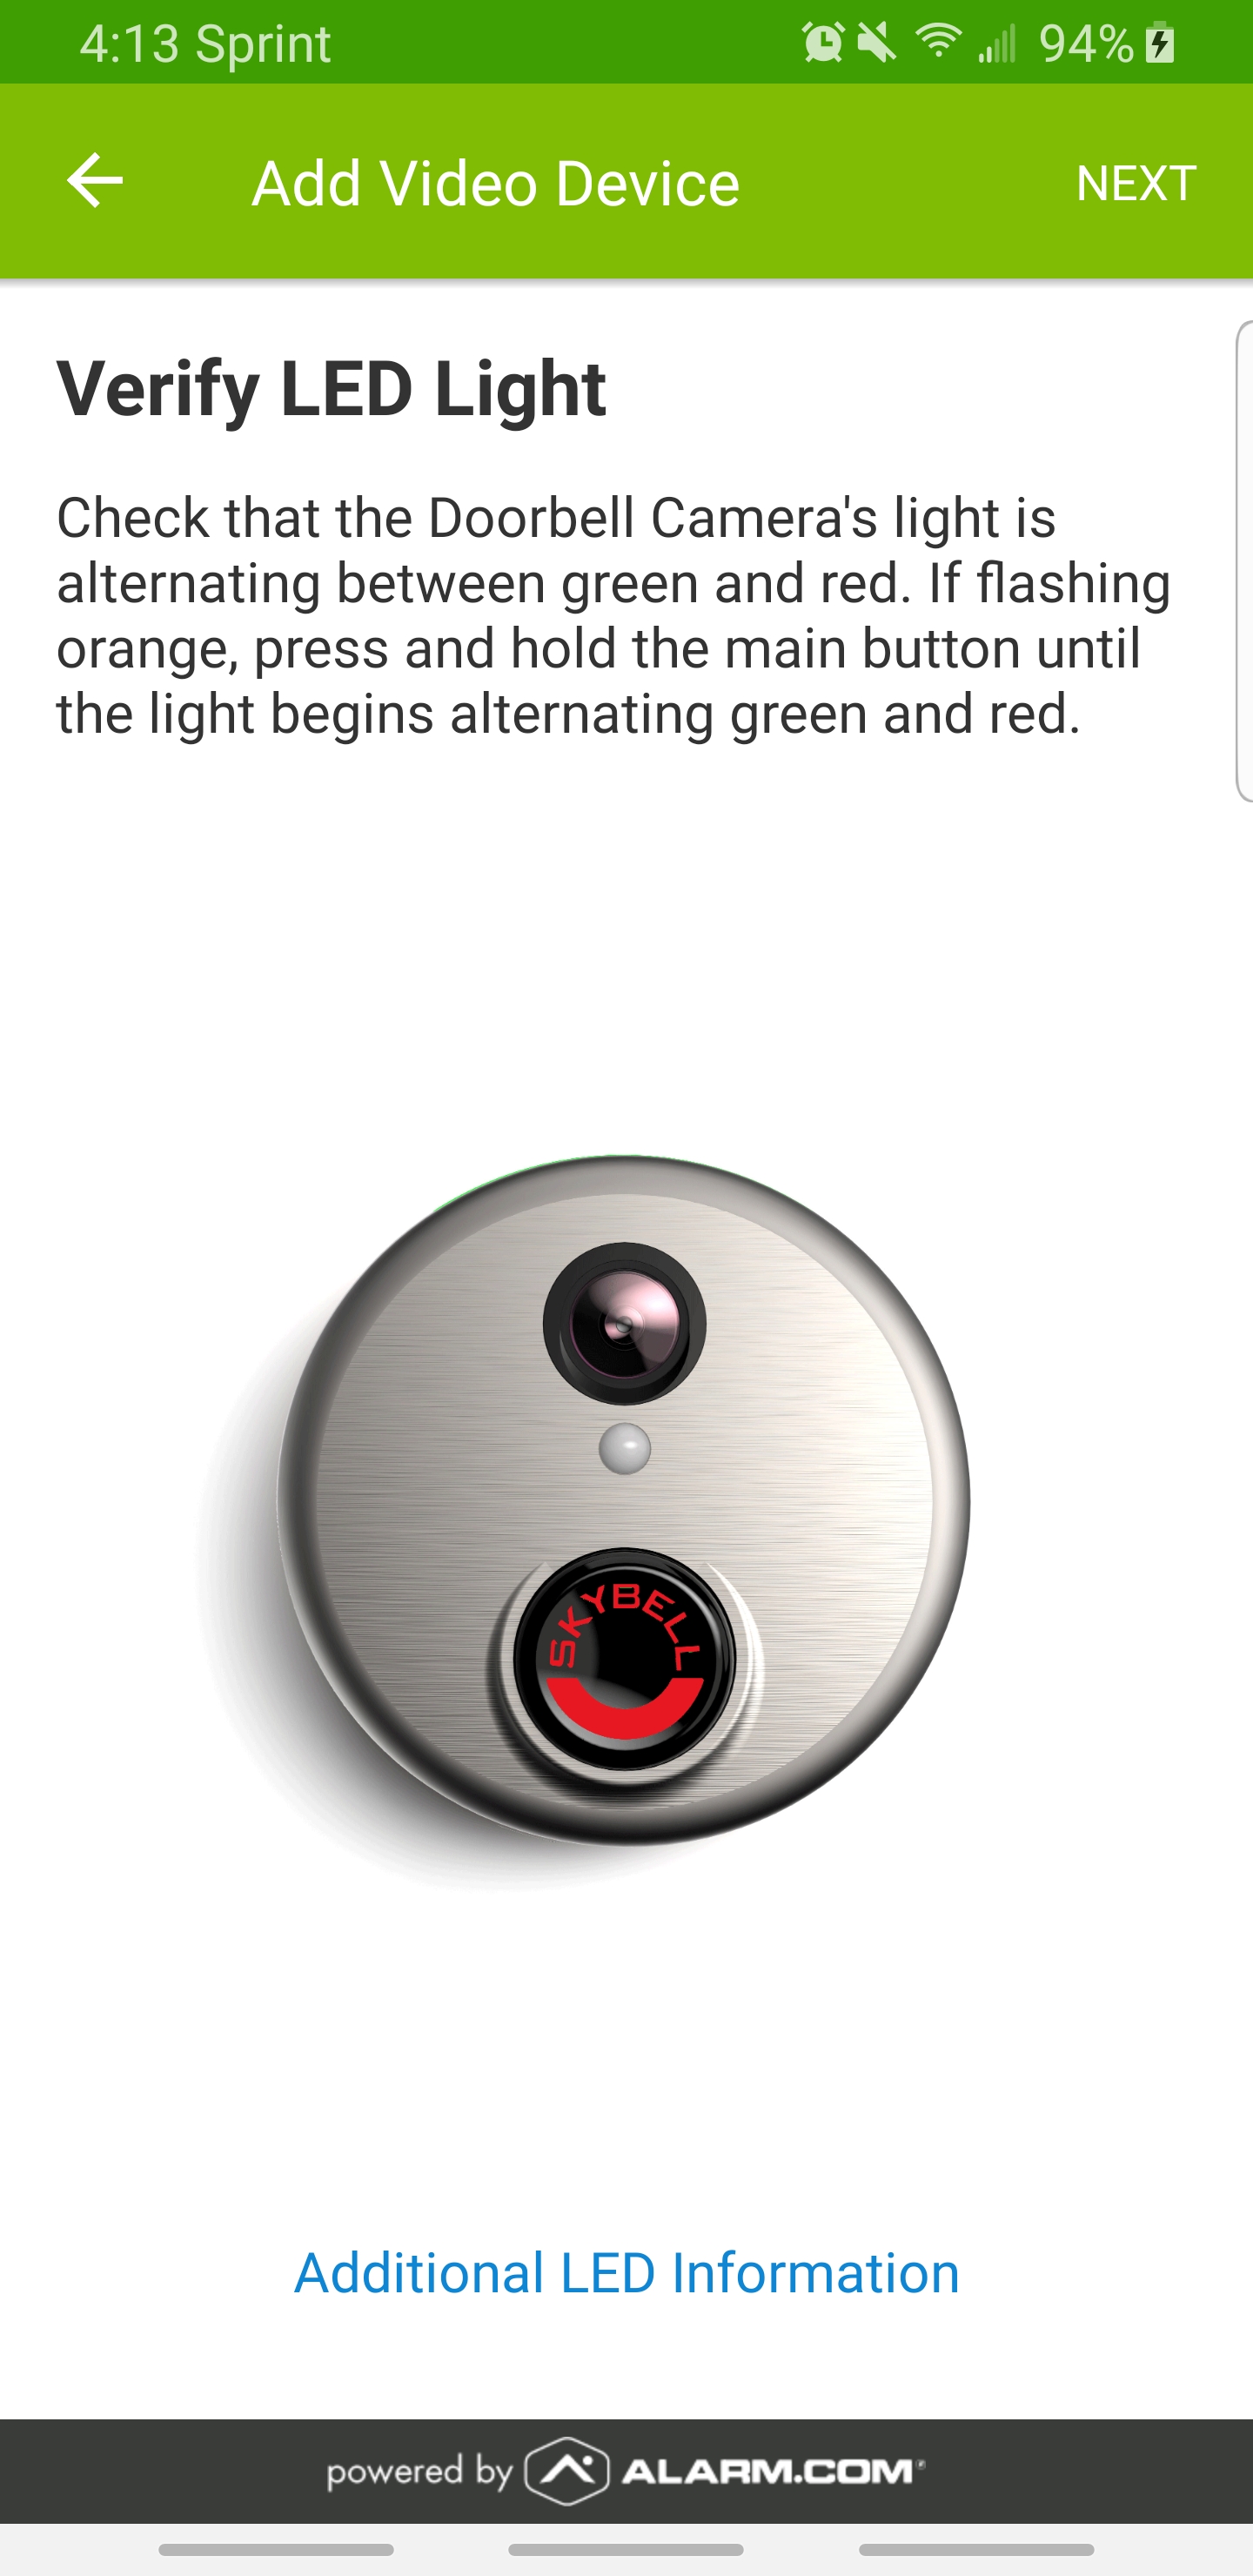
Confirm that the SkyBell is physically installed and that the LED is flashing Red and Green, indicating that the unit is in Wi-Fi Access Point mode.
-
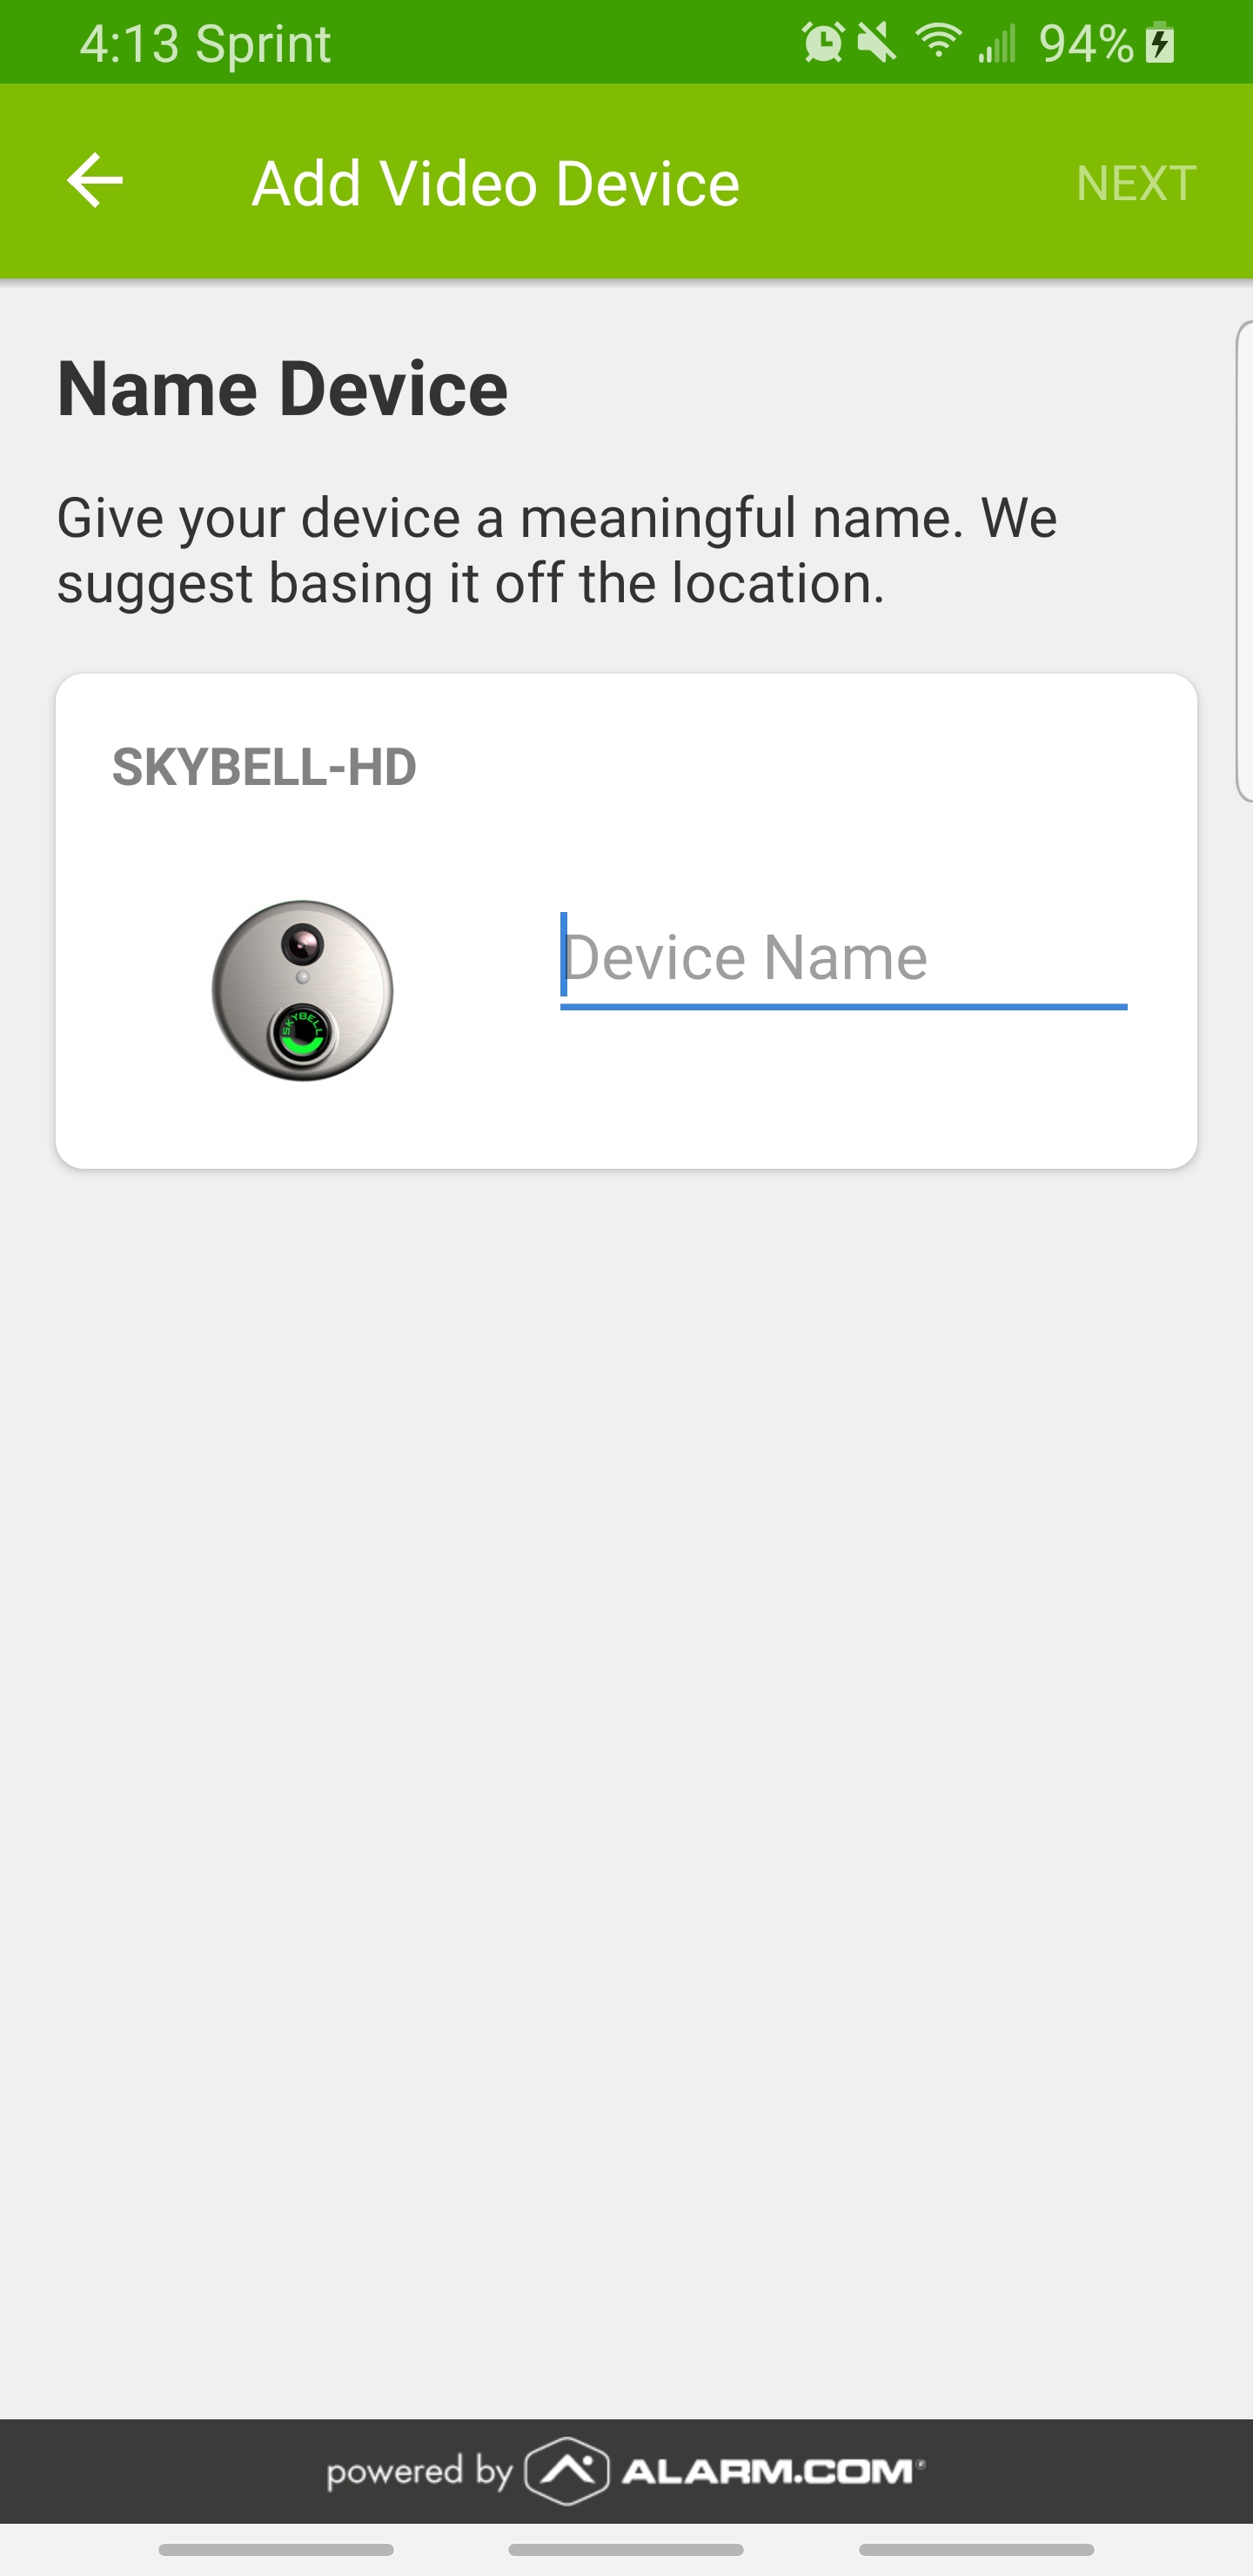
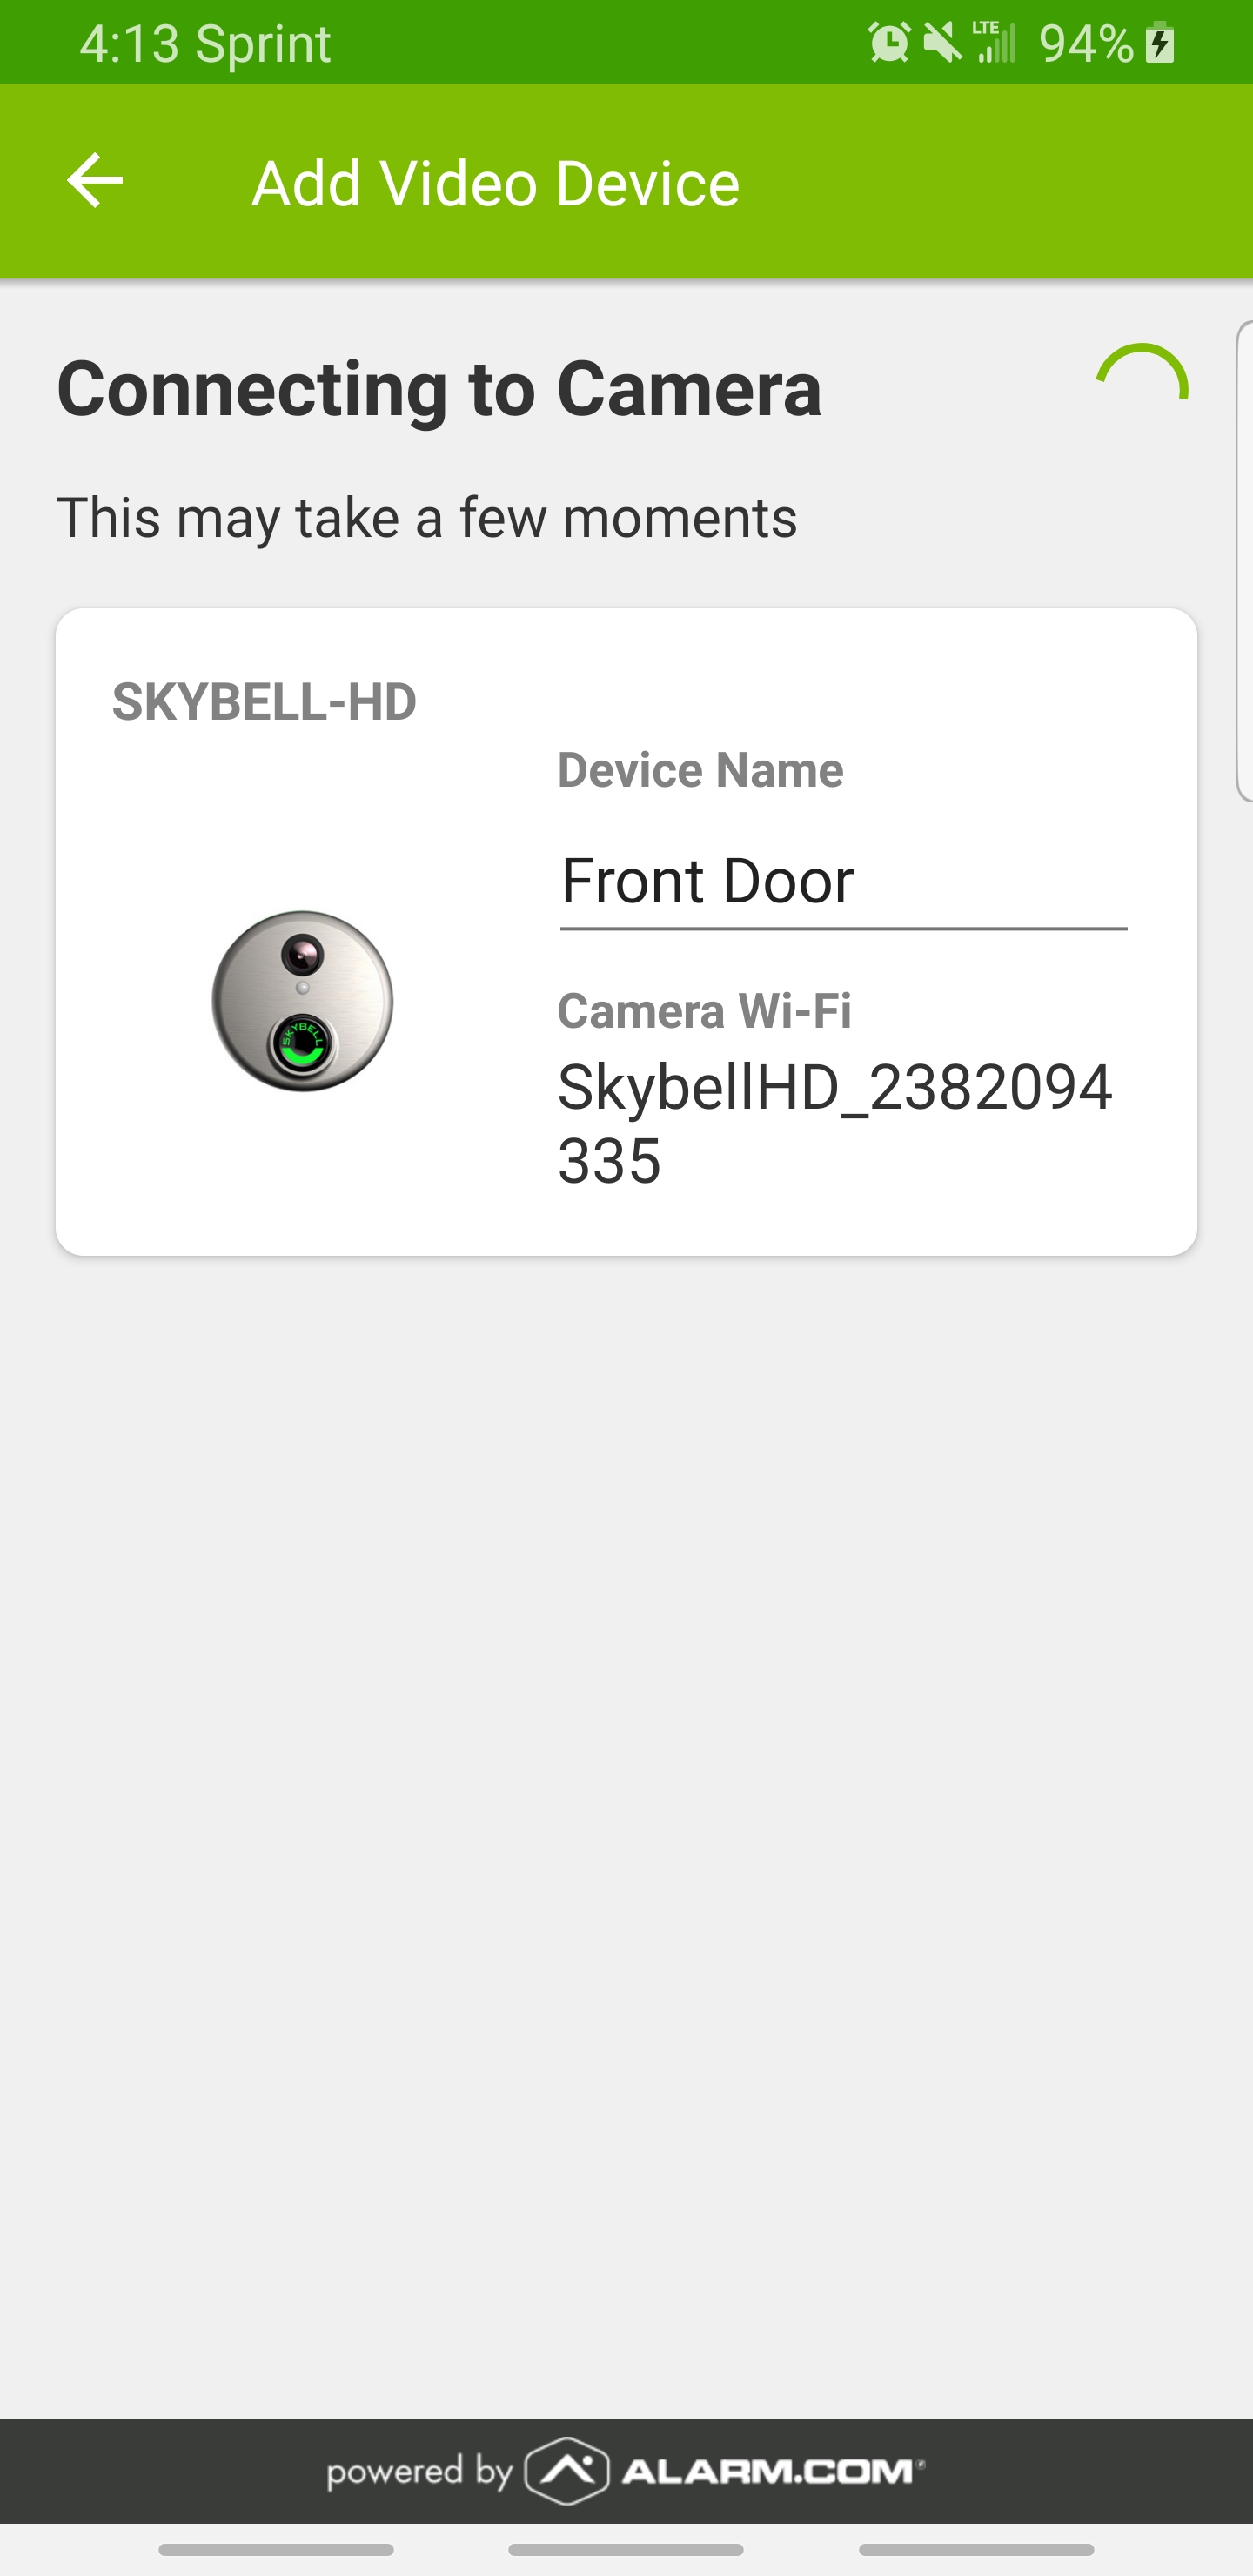
Give the SkyBell a name to continue (this can be changed later, if desired).
-
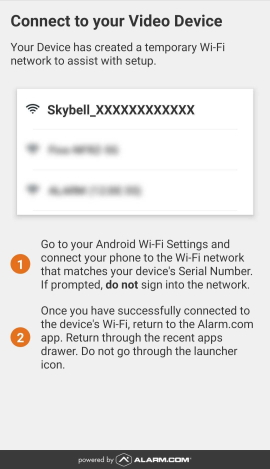
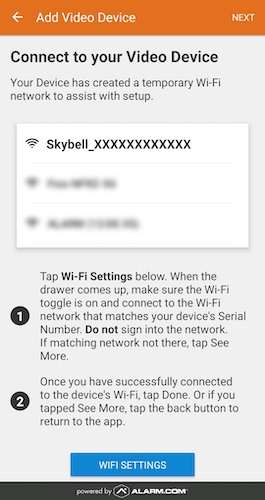
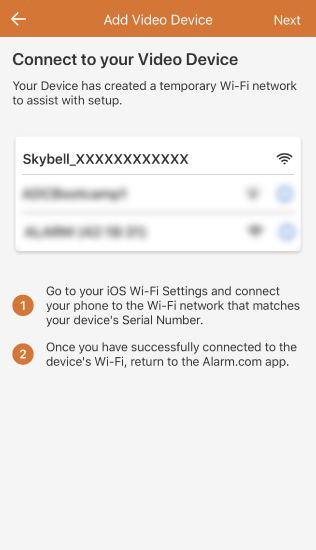
The app should then search for the SkyBell’s temporary network to connect to, this can take some time. Once the Wi-Fi network has been located, click Select to connect to the camera.
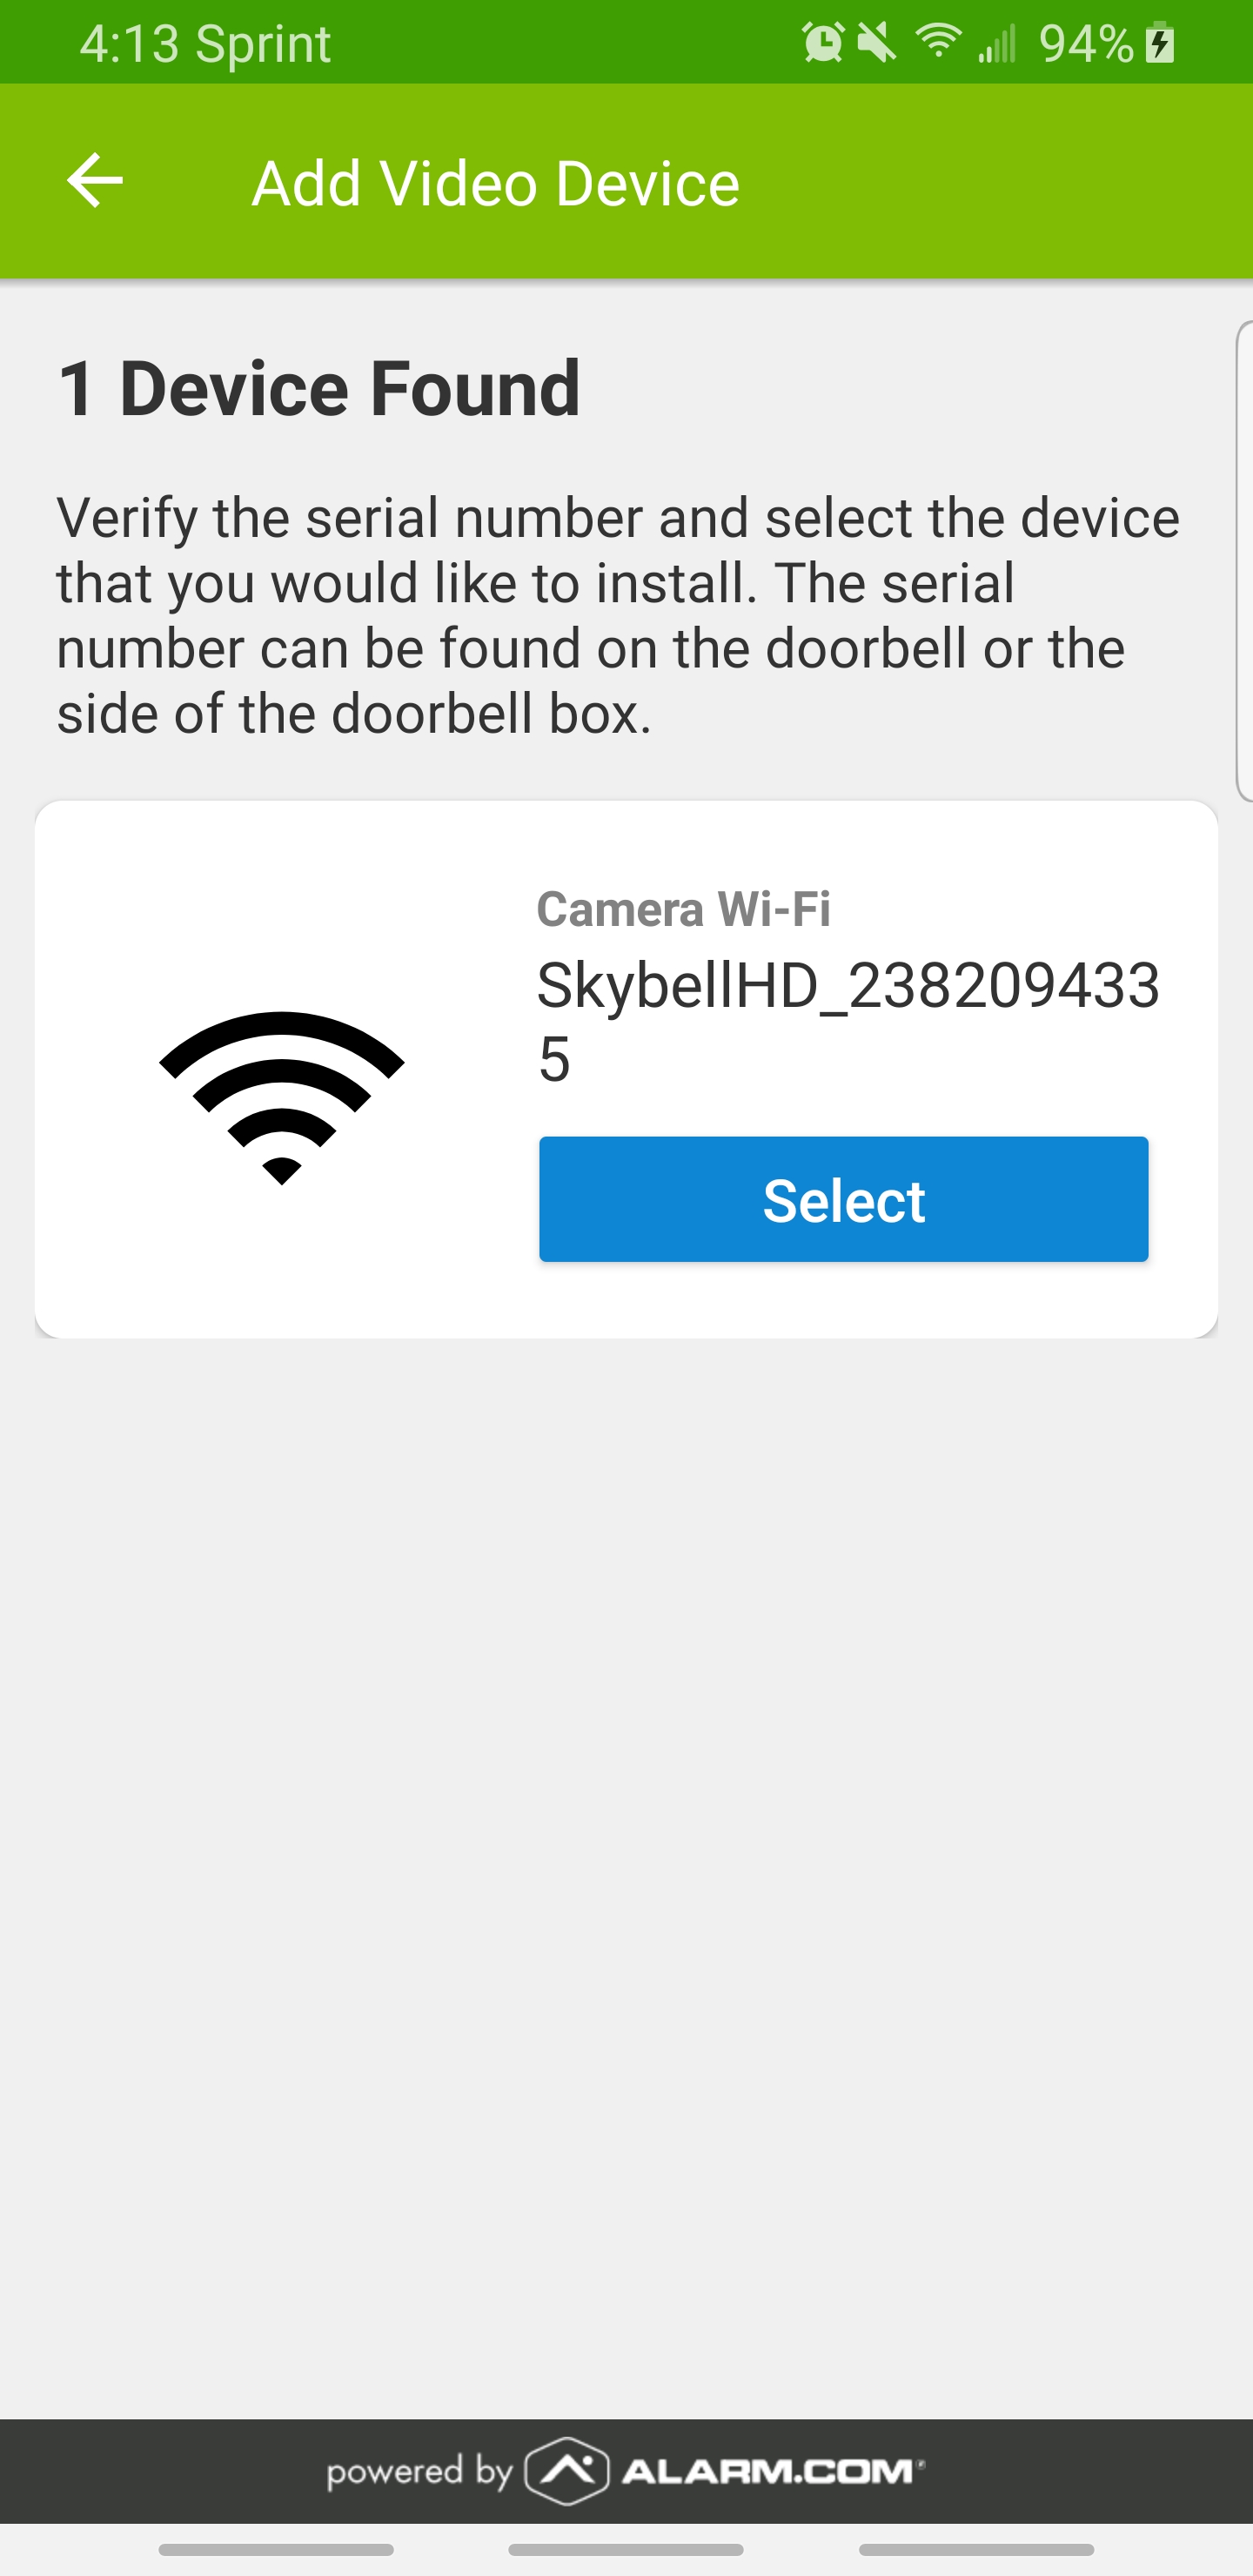
The syncing process instructs you to connect to the SkyBell Doorbell Camera’s temporary Wi-Fi network. The network is named Skybell_123456789 or SkybellHD_123456789 , where 123456789 corresponds to the SkyBell Doorbell Camera’s serial number. The SkyBell Doorbell Camera’s temporary Wi-Fi network is for the purpose of the installation process only and is not meant to provide Wi-Fi for internet access.
During installation, there may be a message indicating that there is no Wi-Fi available but this is expected. Dismiss the message and continue to stay connected to the SkyBell Doorbell Camera’s temporary Wi-Fi during the installation process.
It is recommended to remain within six feet of the SkyBell Doorbell Camera throughout the entire enrollment process to ensure the mobile device and the SkyBell Doorbell Camera stay connected.
Note : If you do not see the Skybell network, verify the SkyBell Doorbell Camera is blinking green and red to indicate it is in AP mode. The Skybell Wi-Fi network only appears when the SkyBell Doorbell Camera is in AP mode.
For specific instructions for various mobile device types, see here
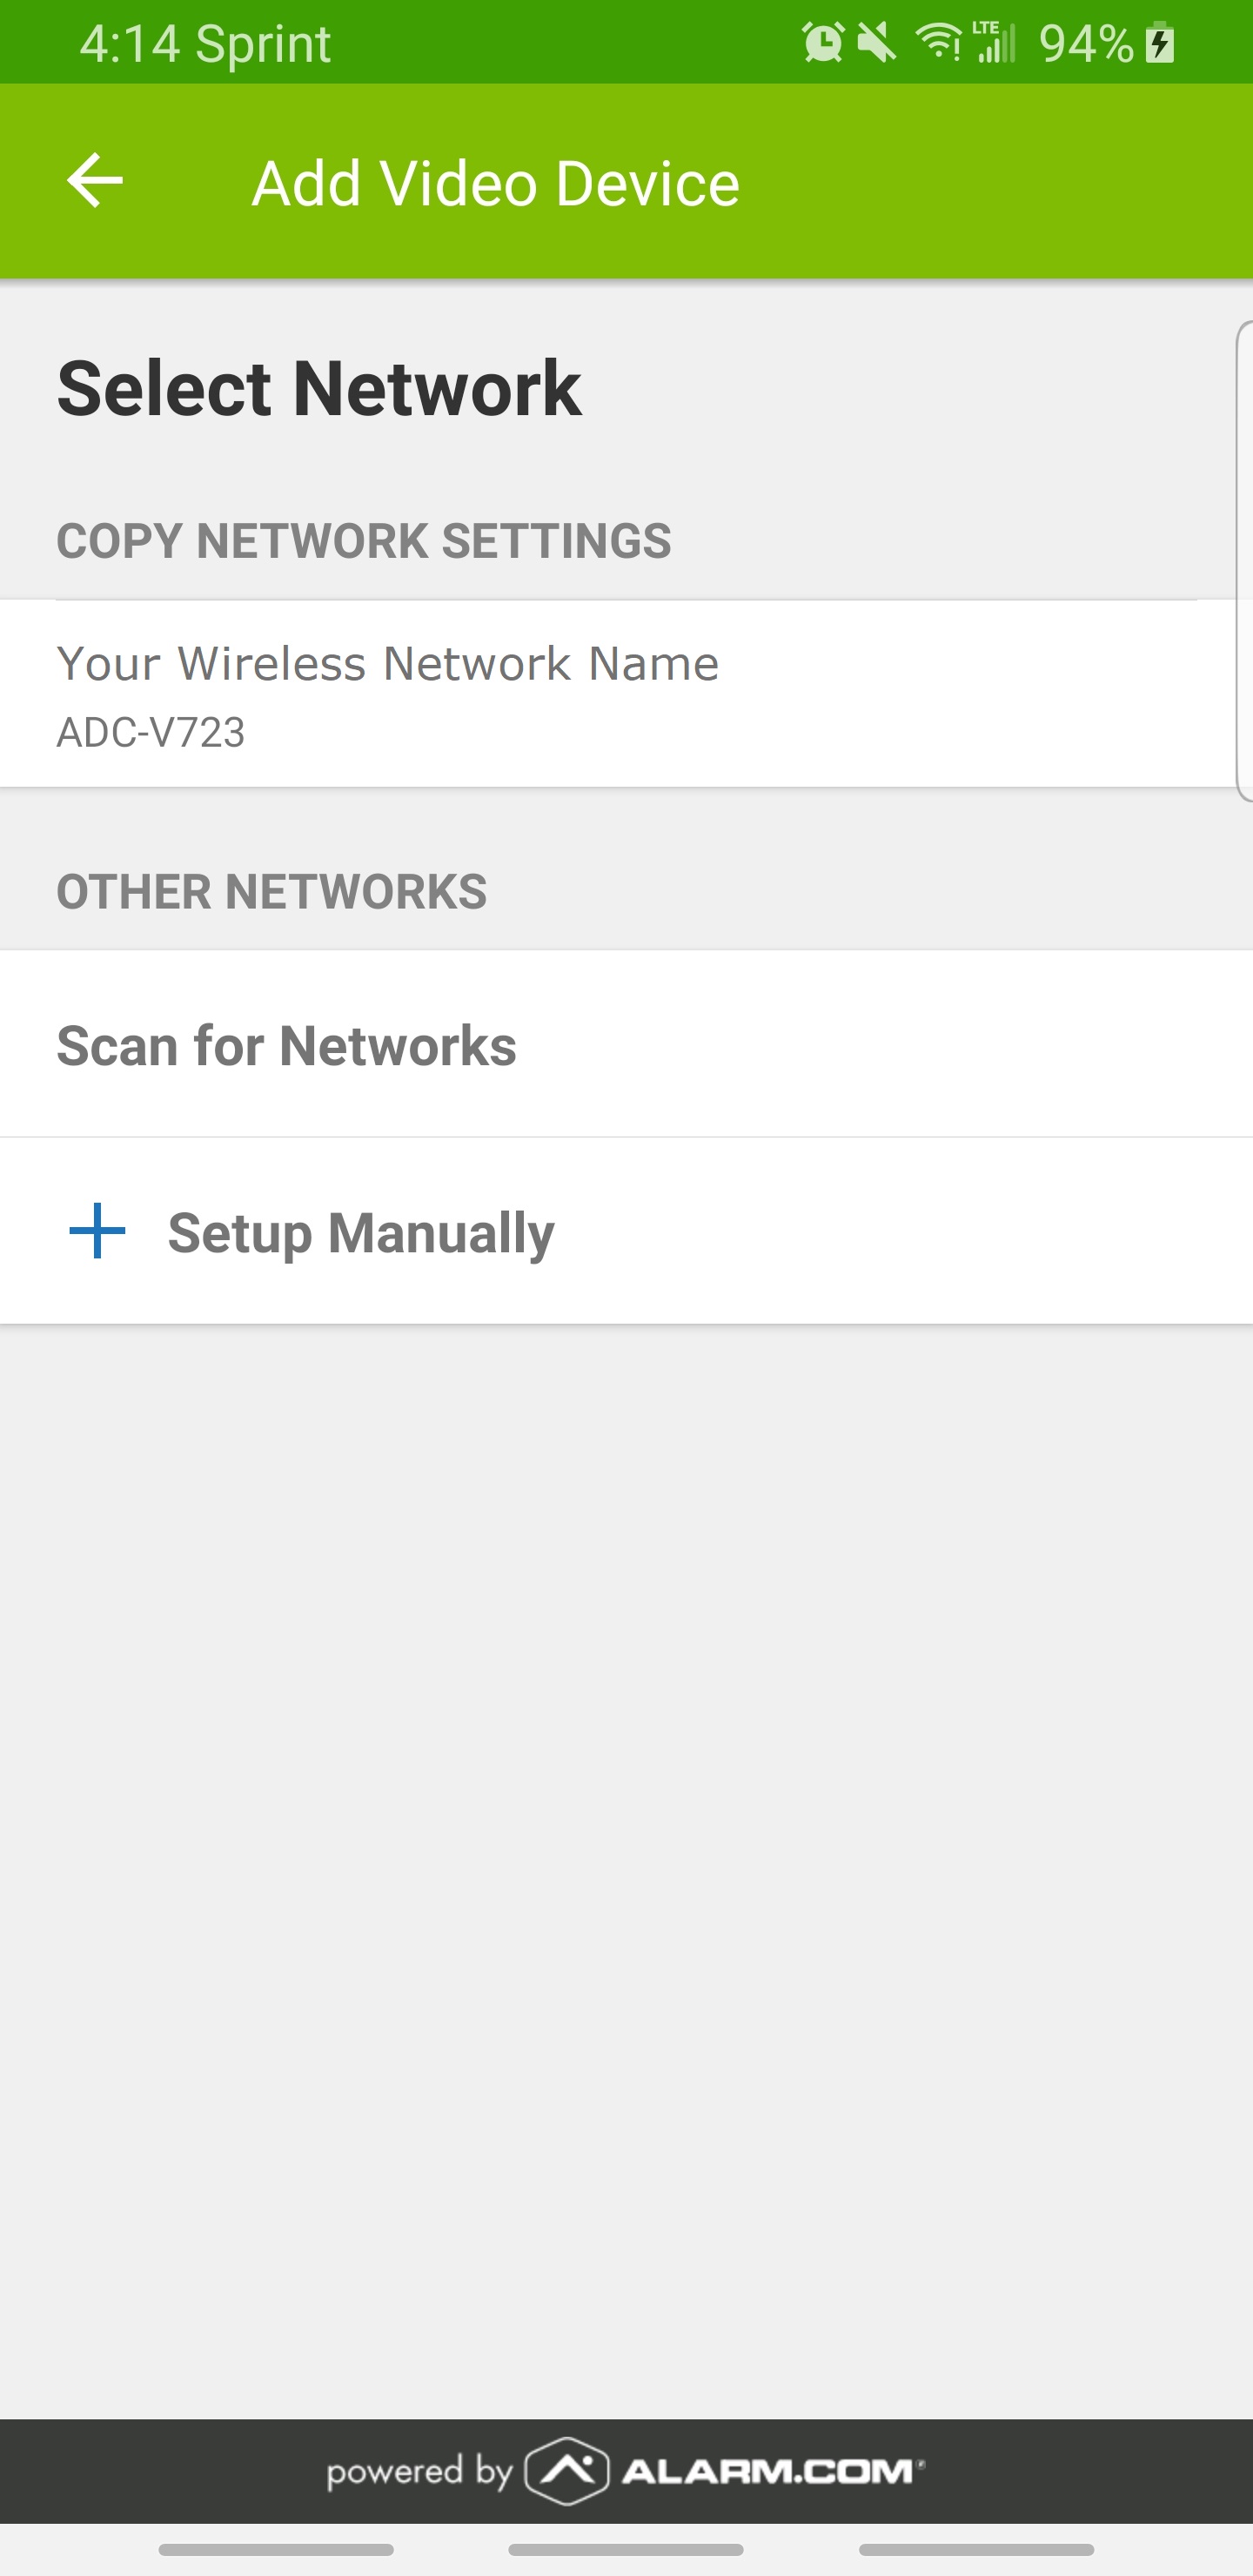
- Next you can choose the wireless network you want the SkyBell to connect to. From here you will have a few choices:
-
Connect to the network of an already existing camera, using the same settings as the existing camera.
-
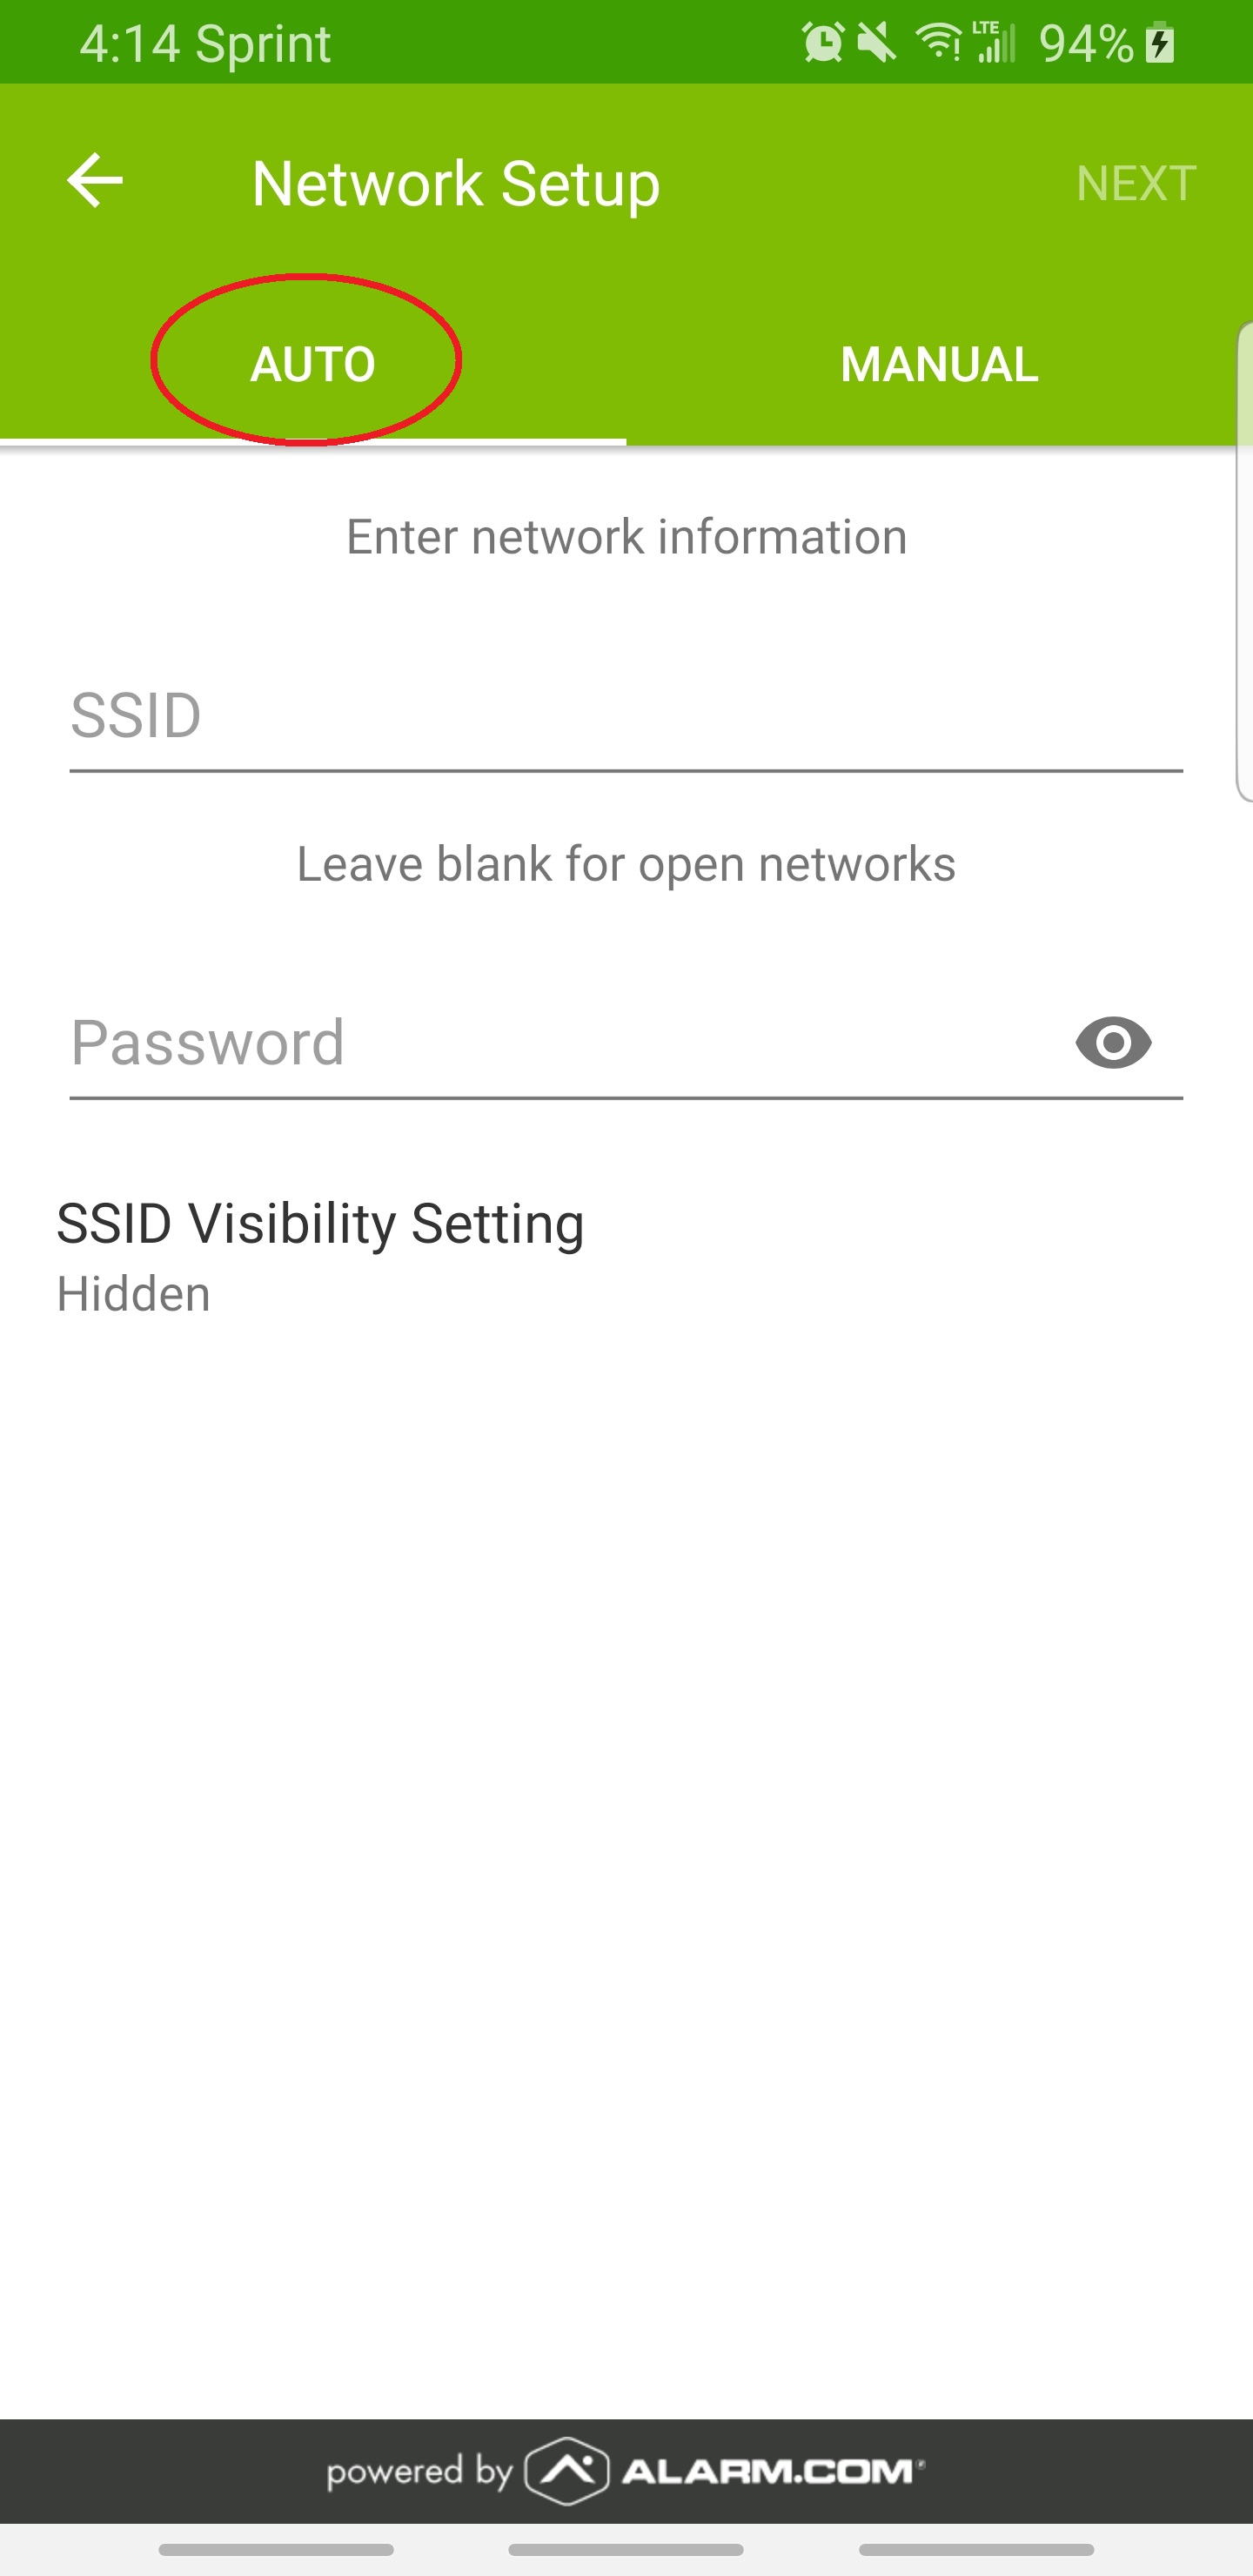
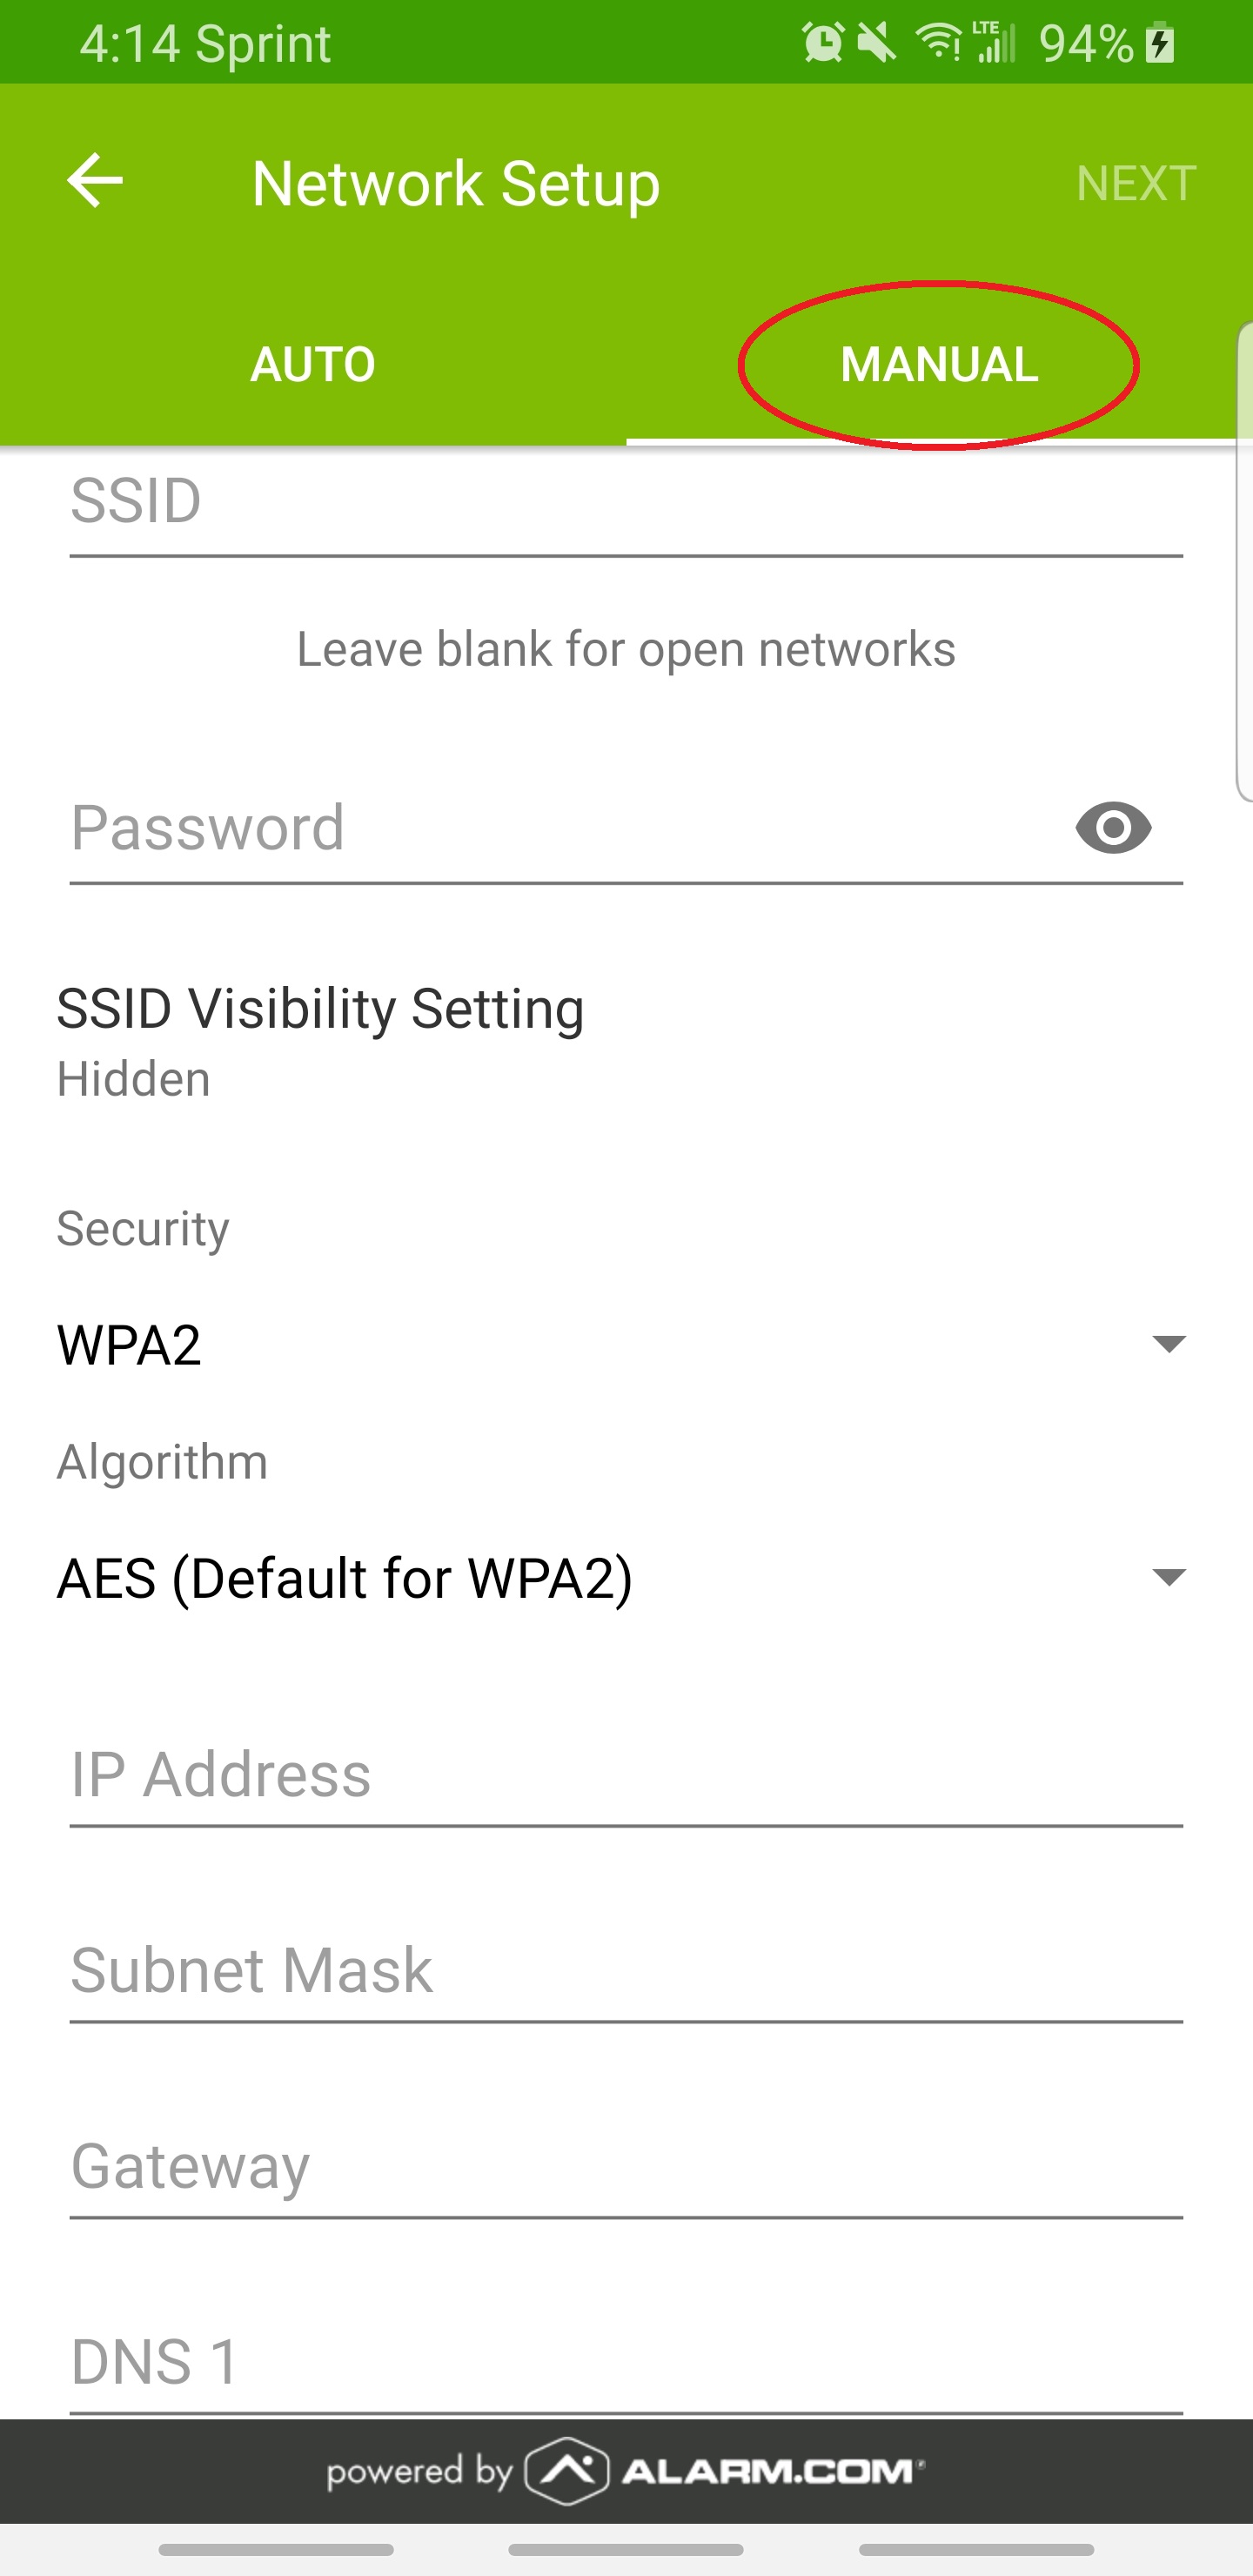
Choose to ** Scan for a Network** or Setup Manually
- Either way, you will need the network’s SSID and Password.
-
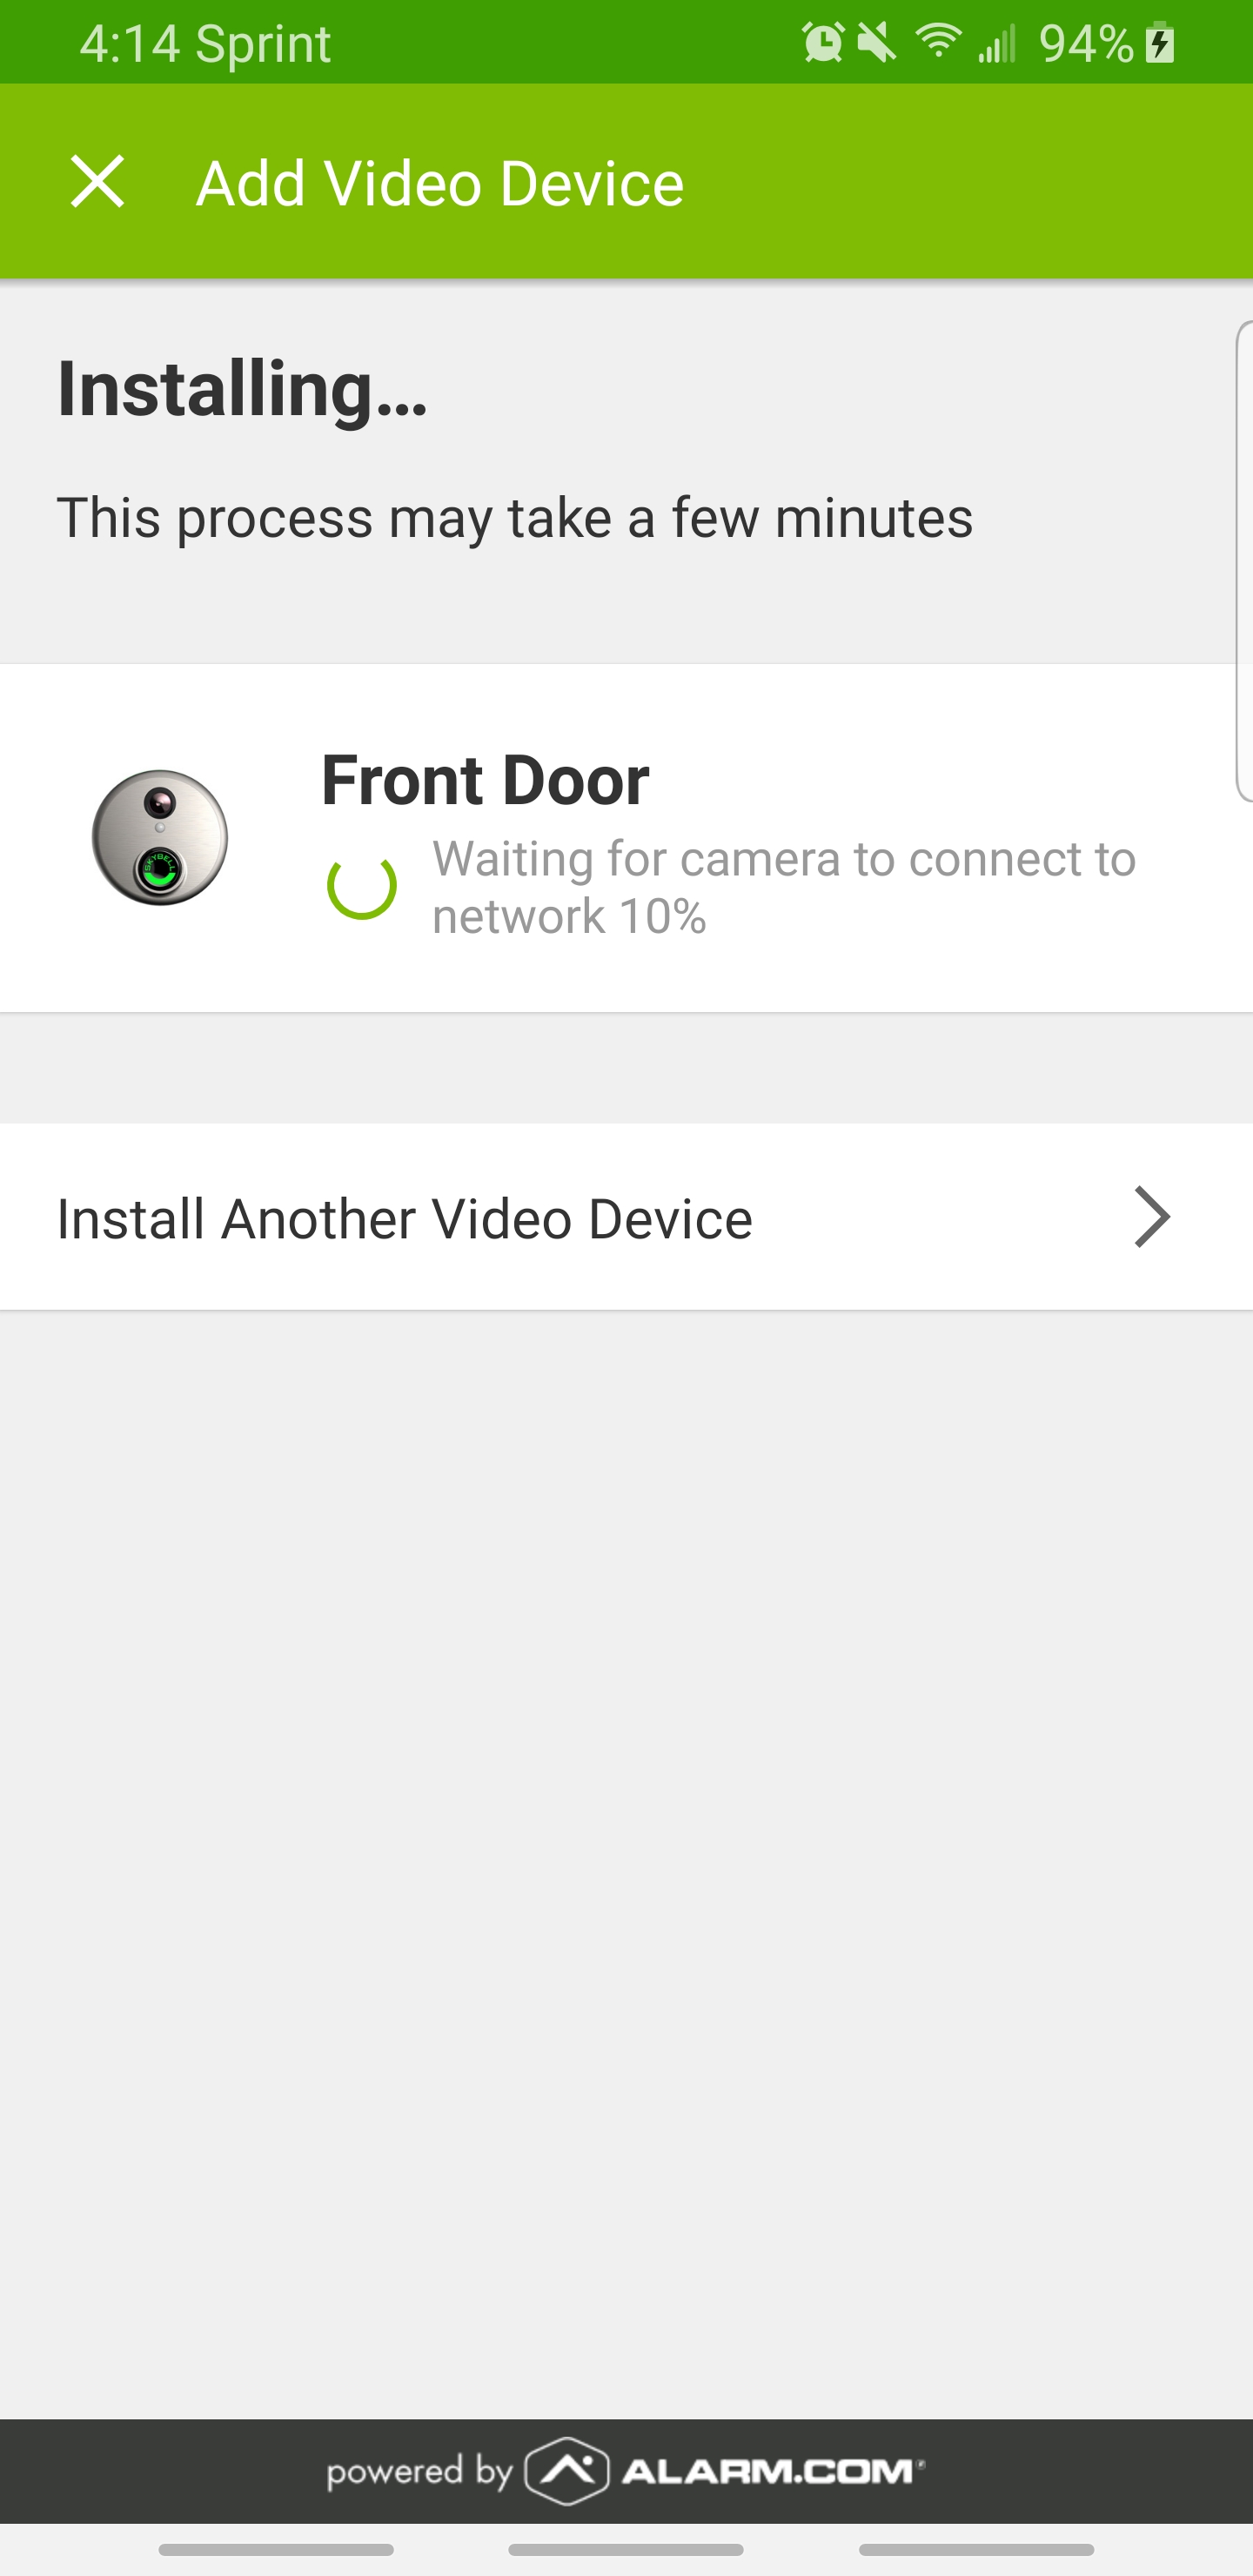
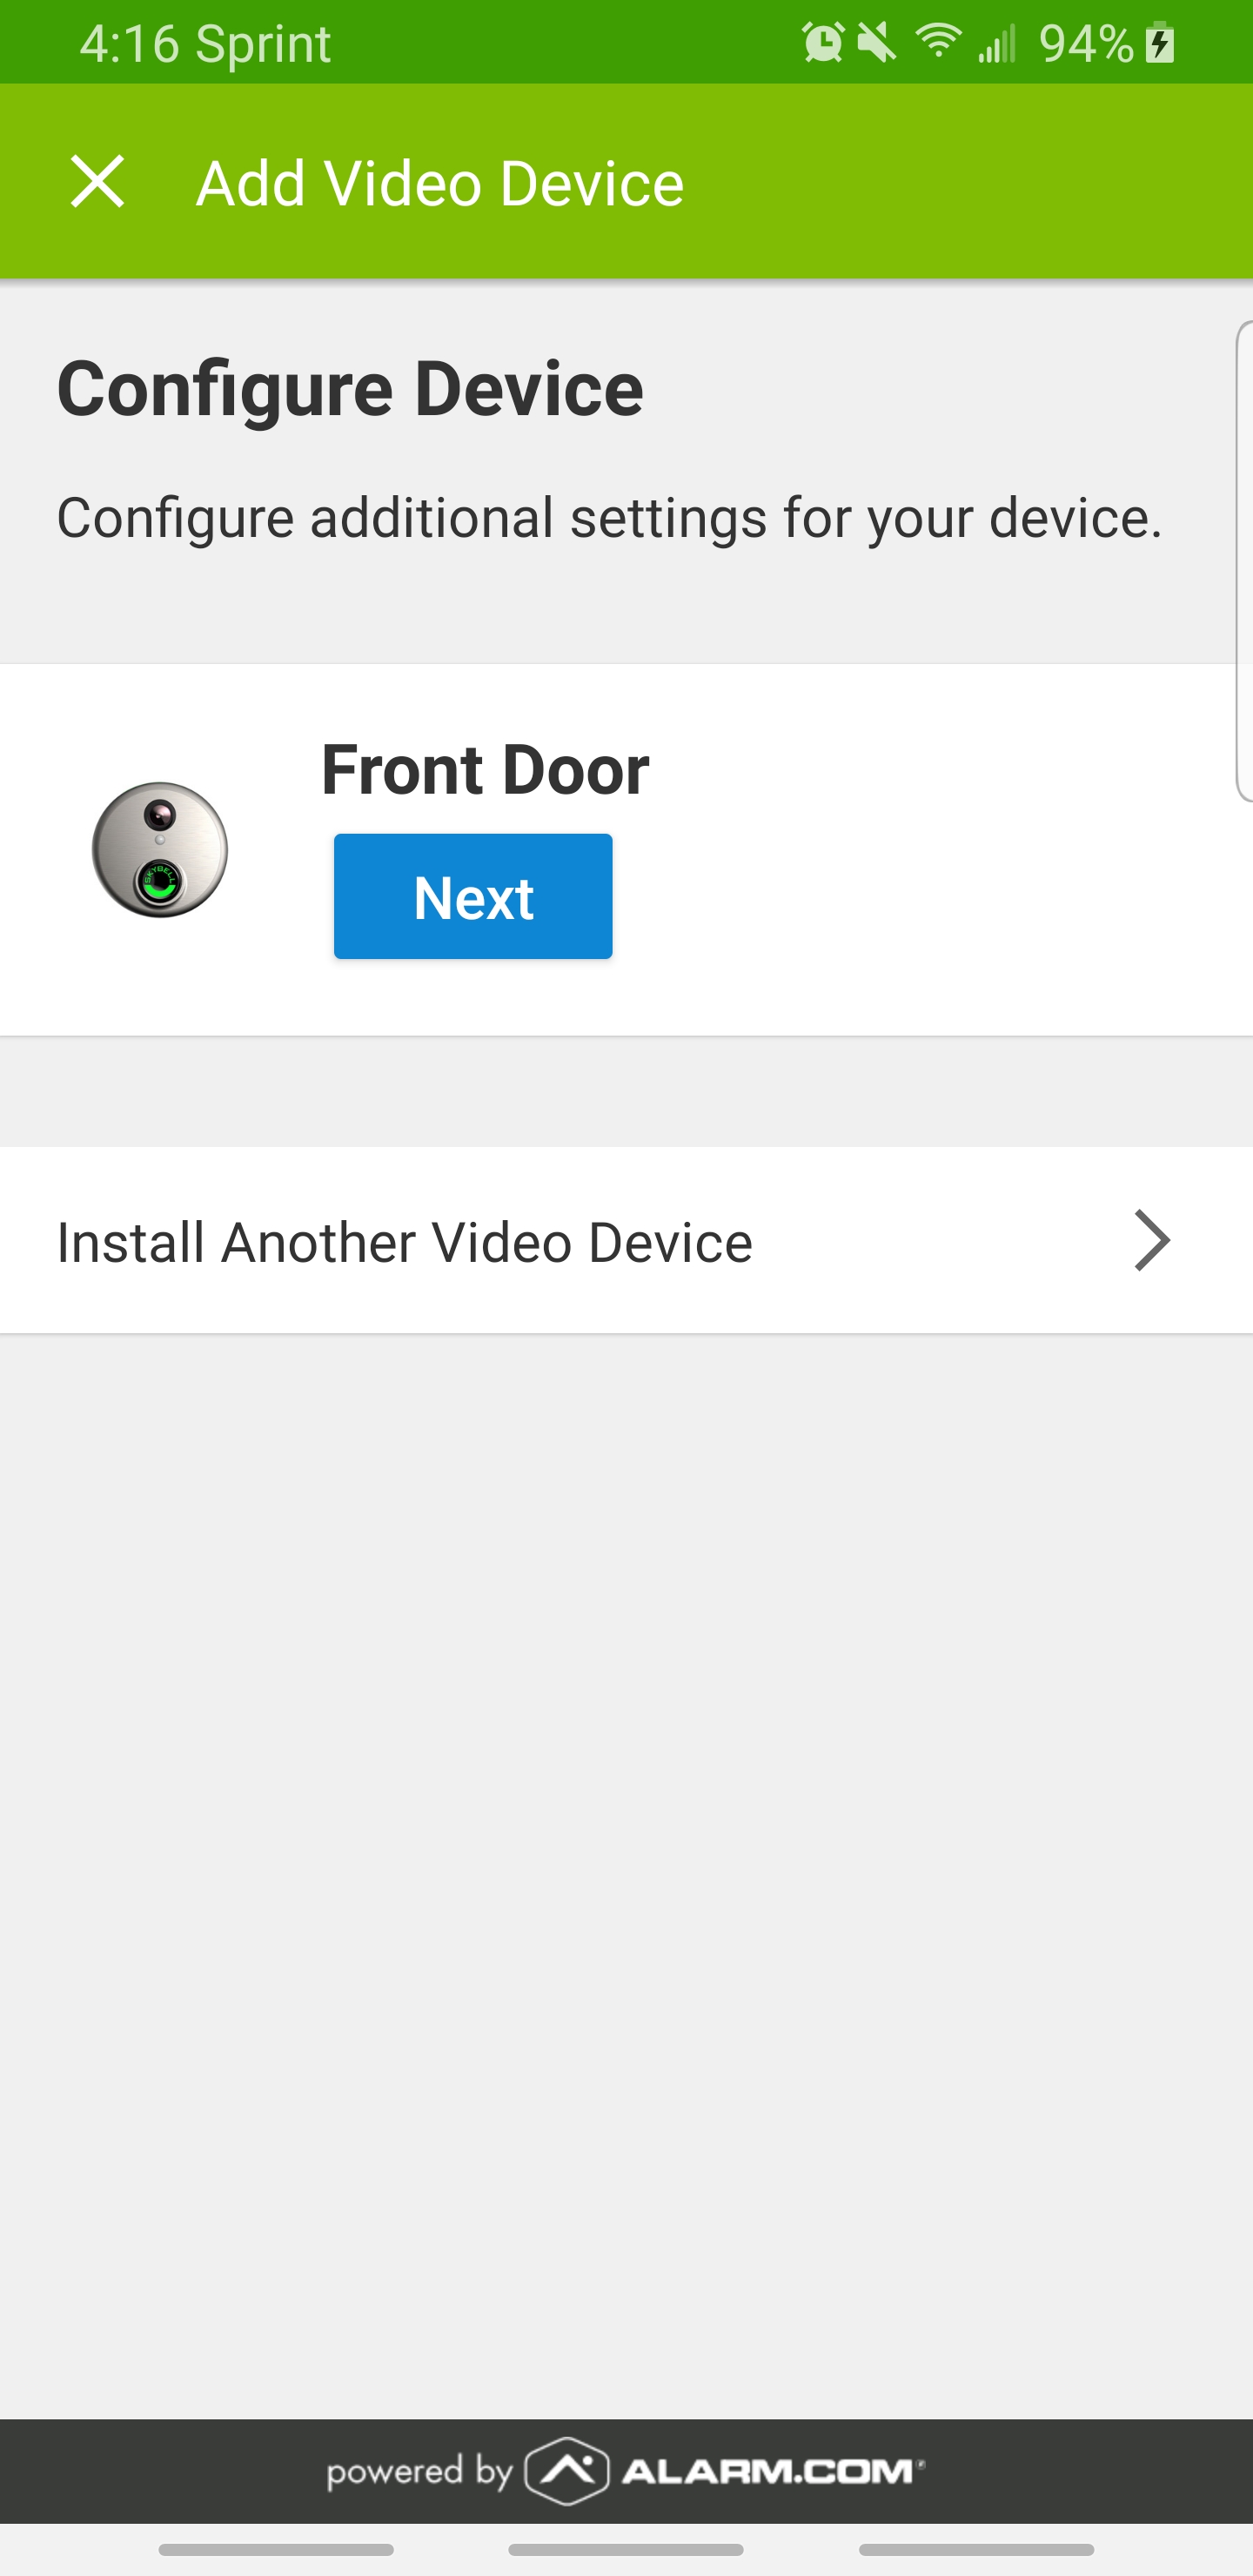
Once the network options have been chosen, the SkyBell will attempt to connect to the chosen network, this can take some time. Once connected, click the Next* button to configure the doorbell camera.
-
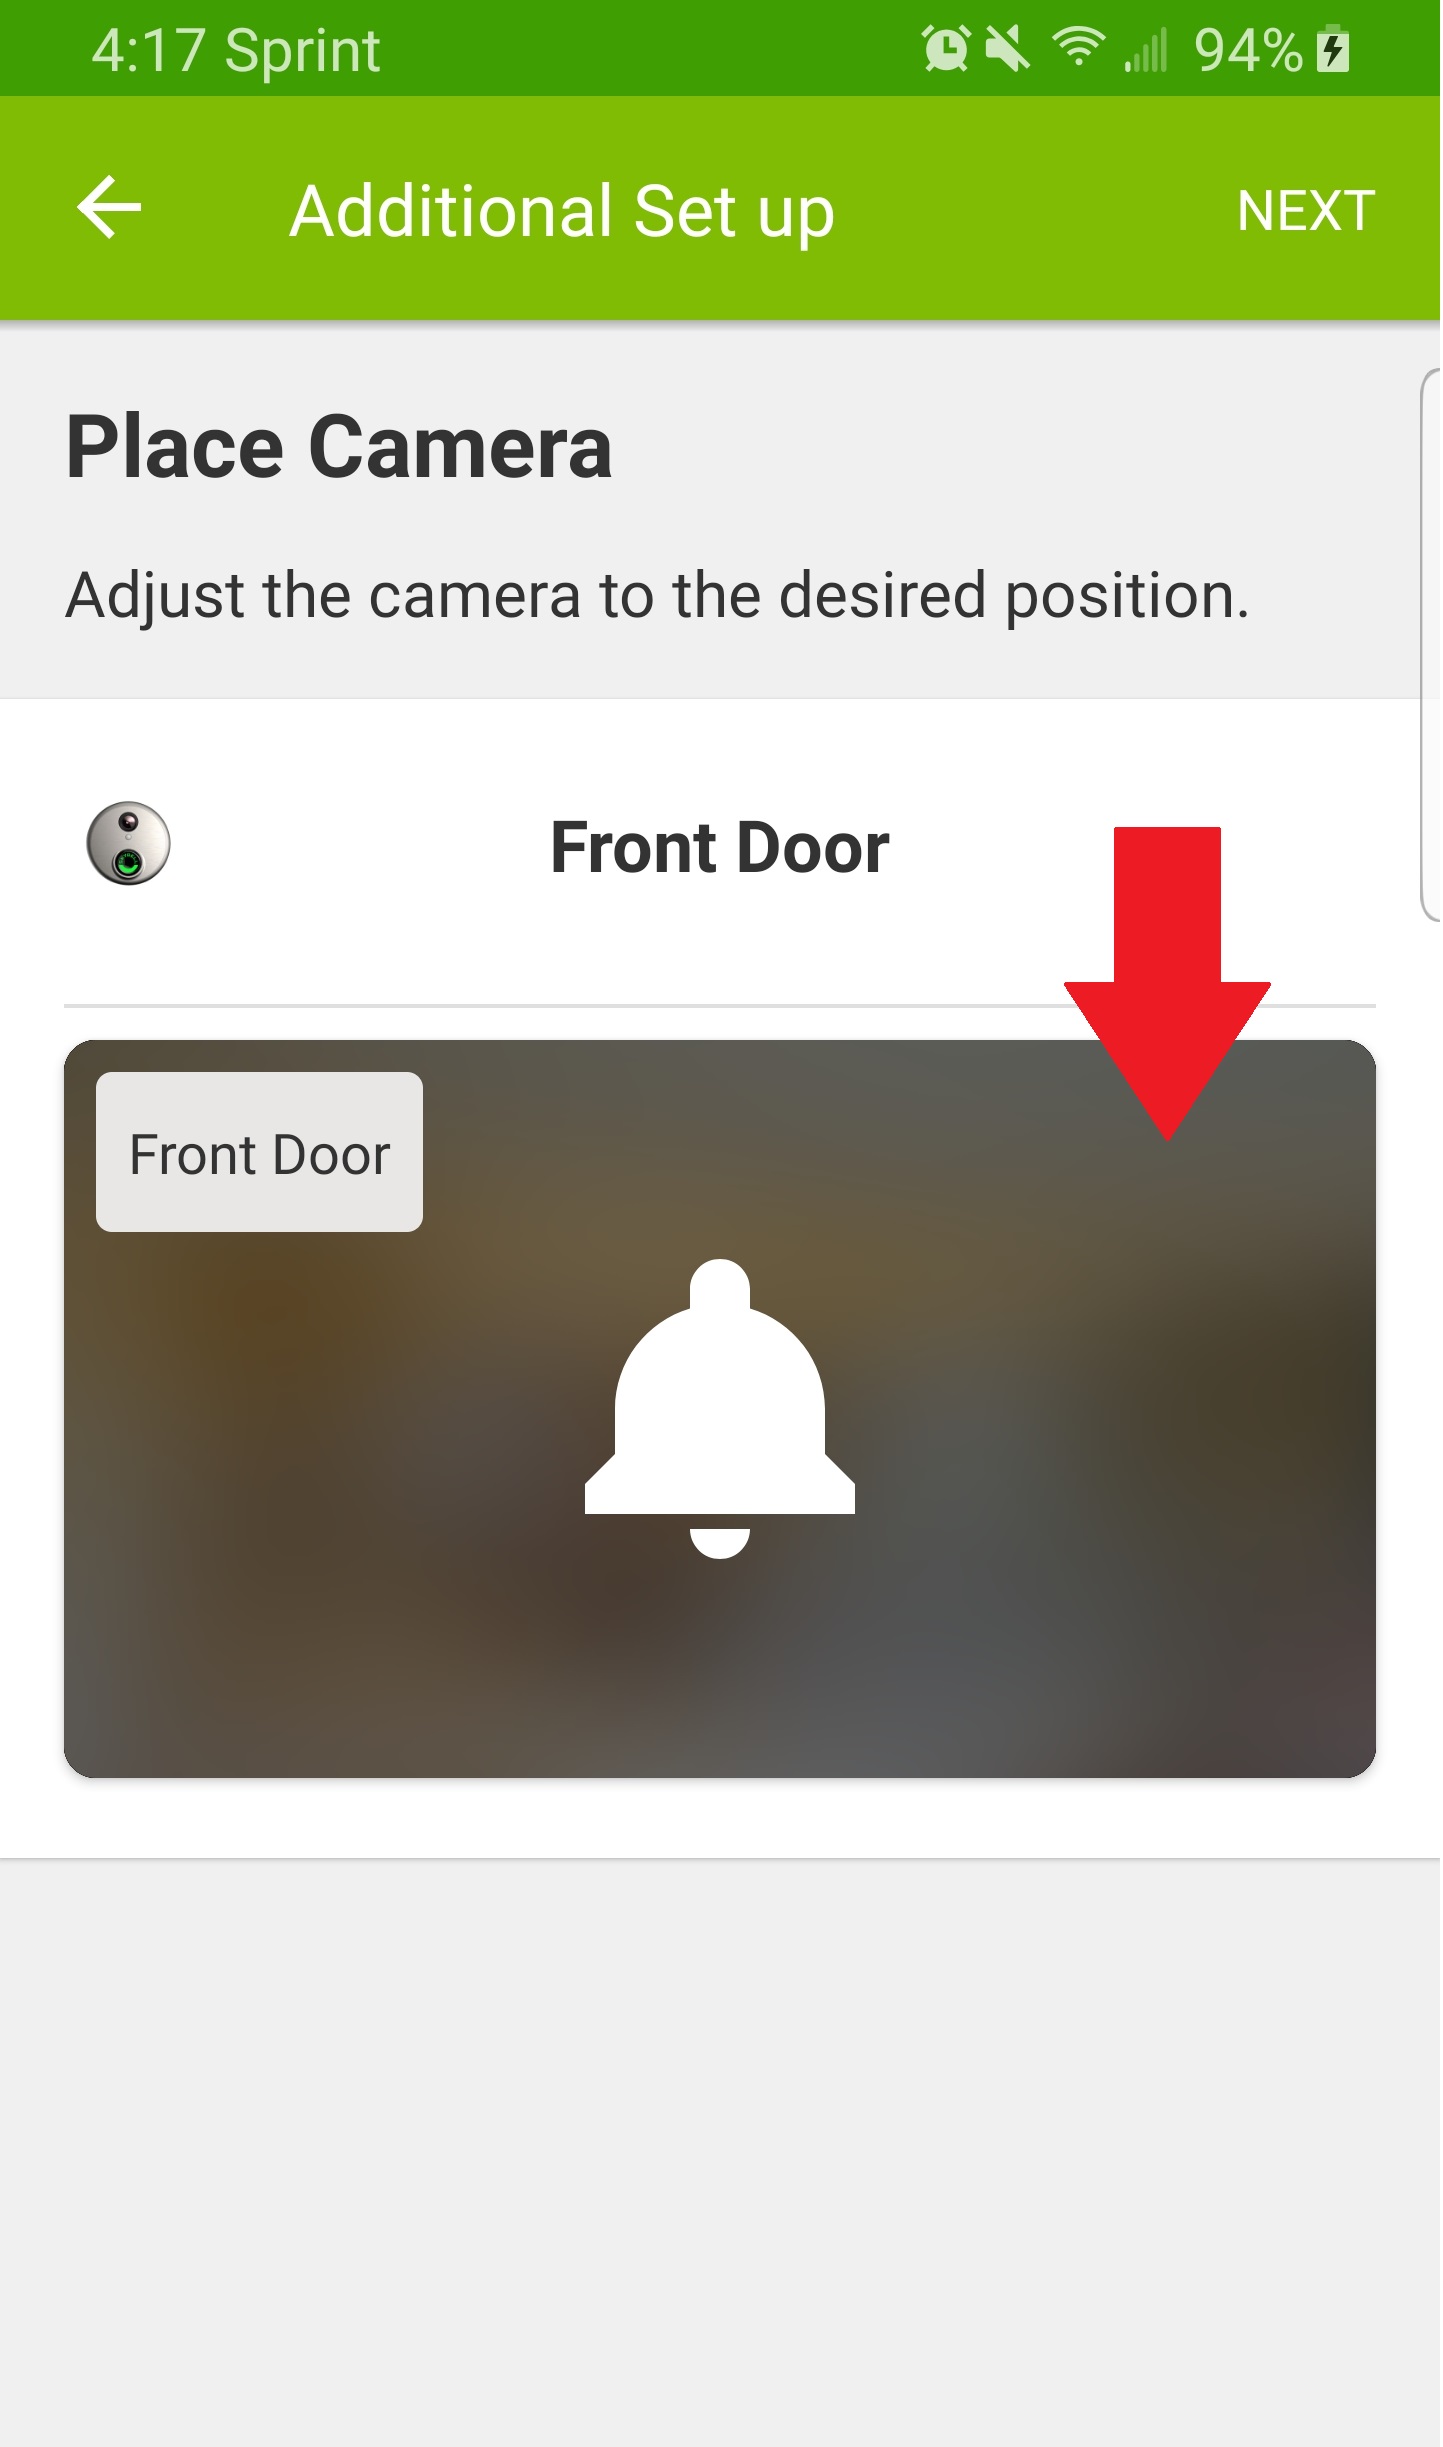
Now you can use live view to ensure proper camera placement, if necessary.
-
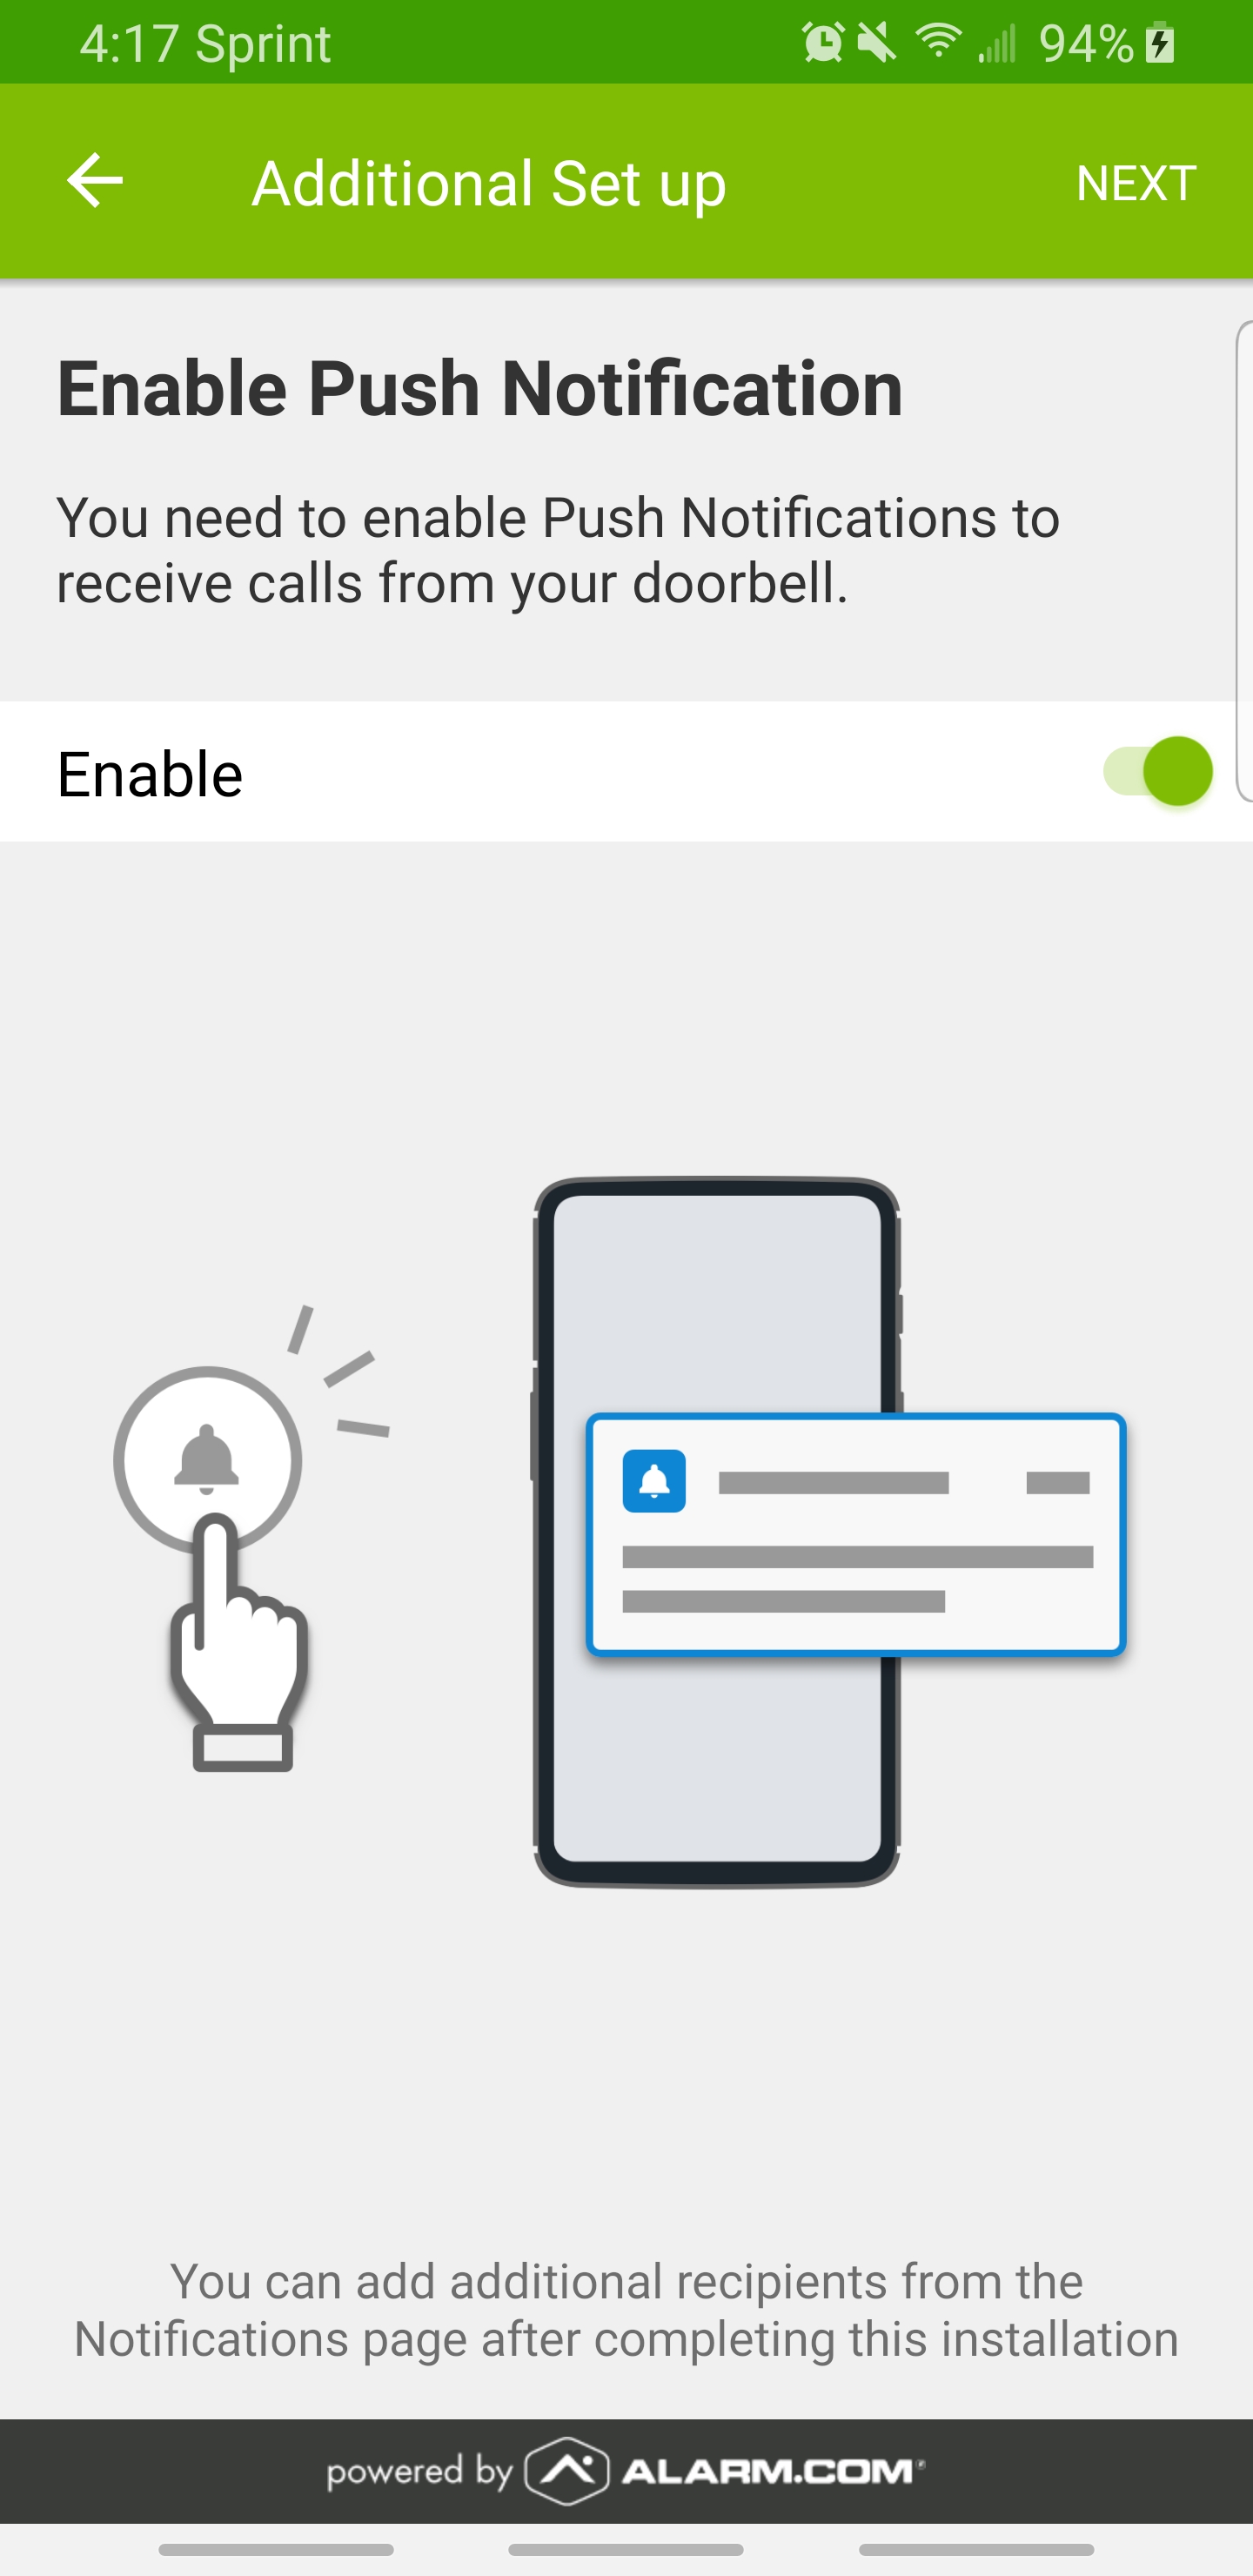
Next, click the toggle switch to enable push notifications to receive calls from your doorbell. Additional notifications can be set up through Notifications tab after installation is complete.
-
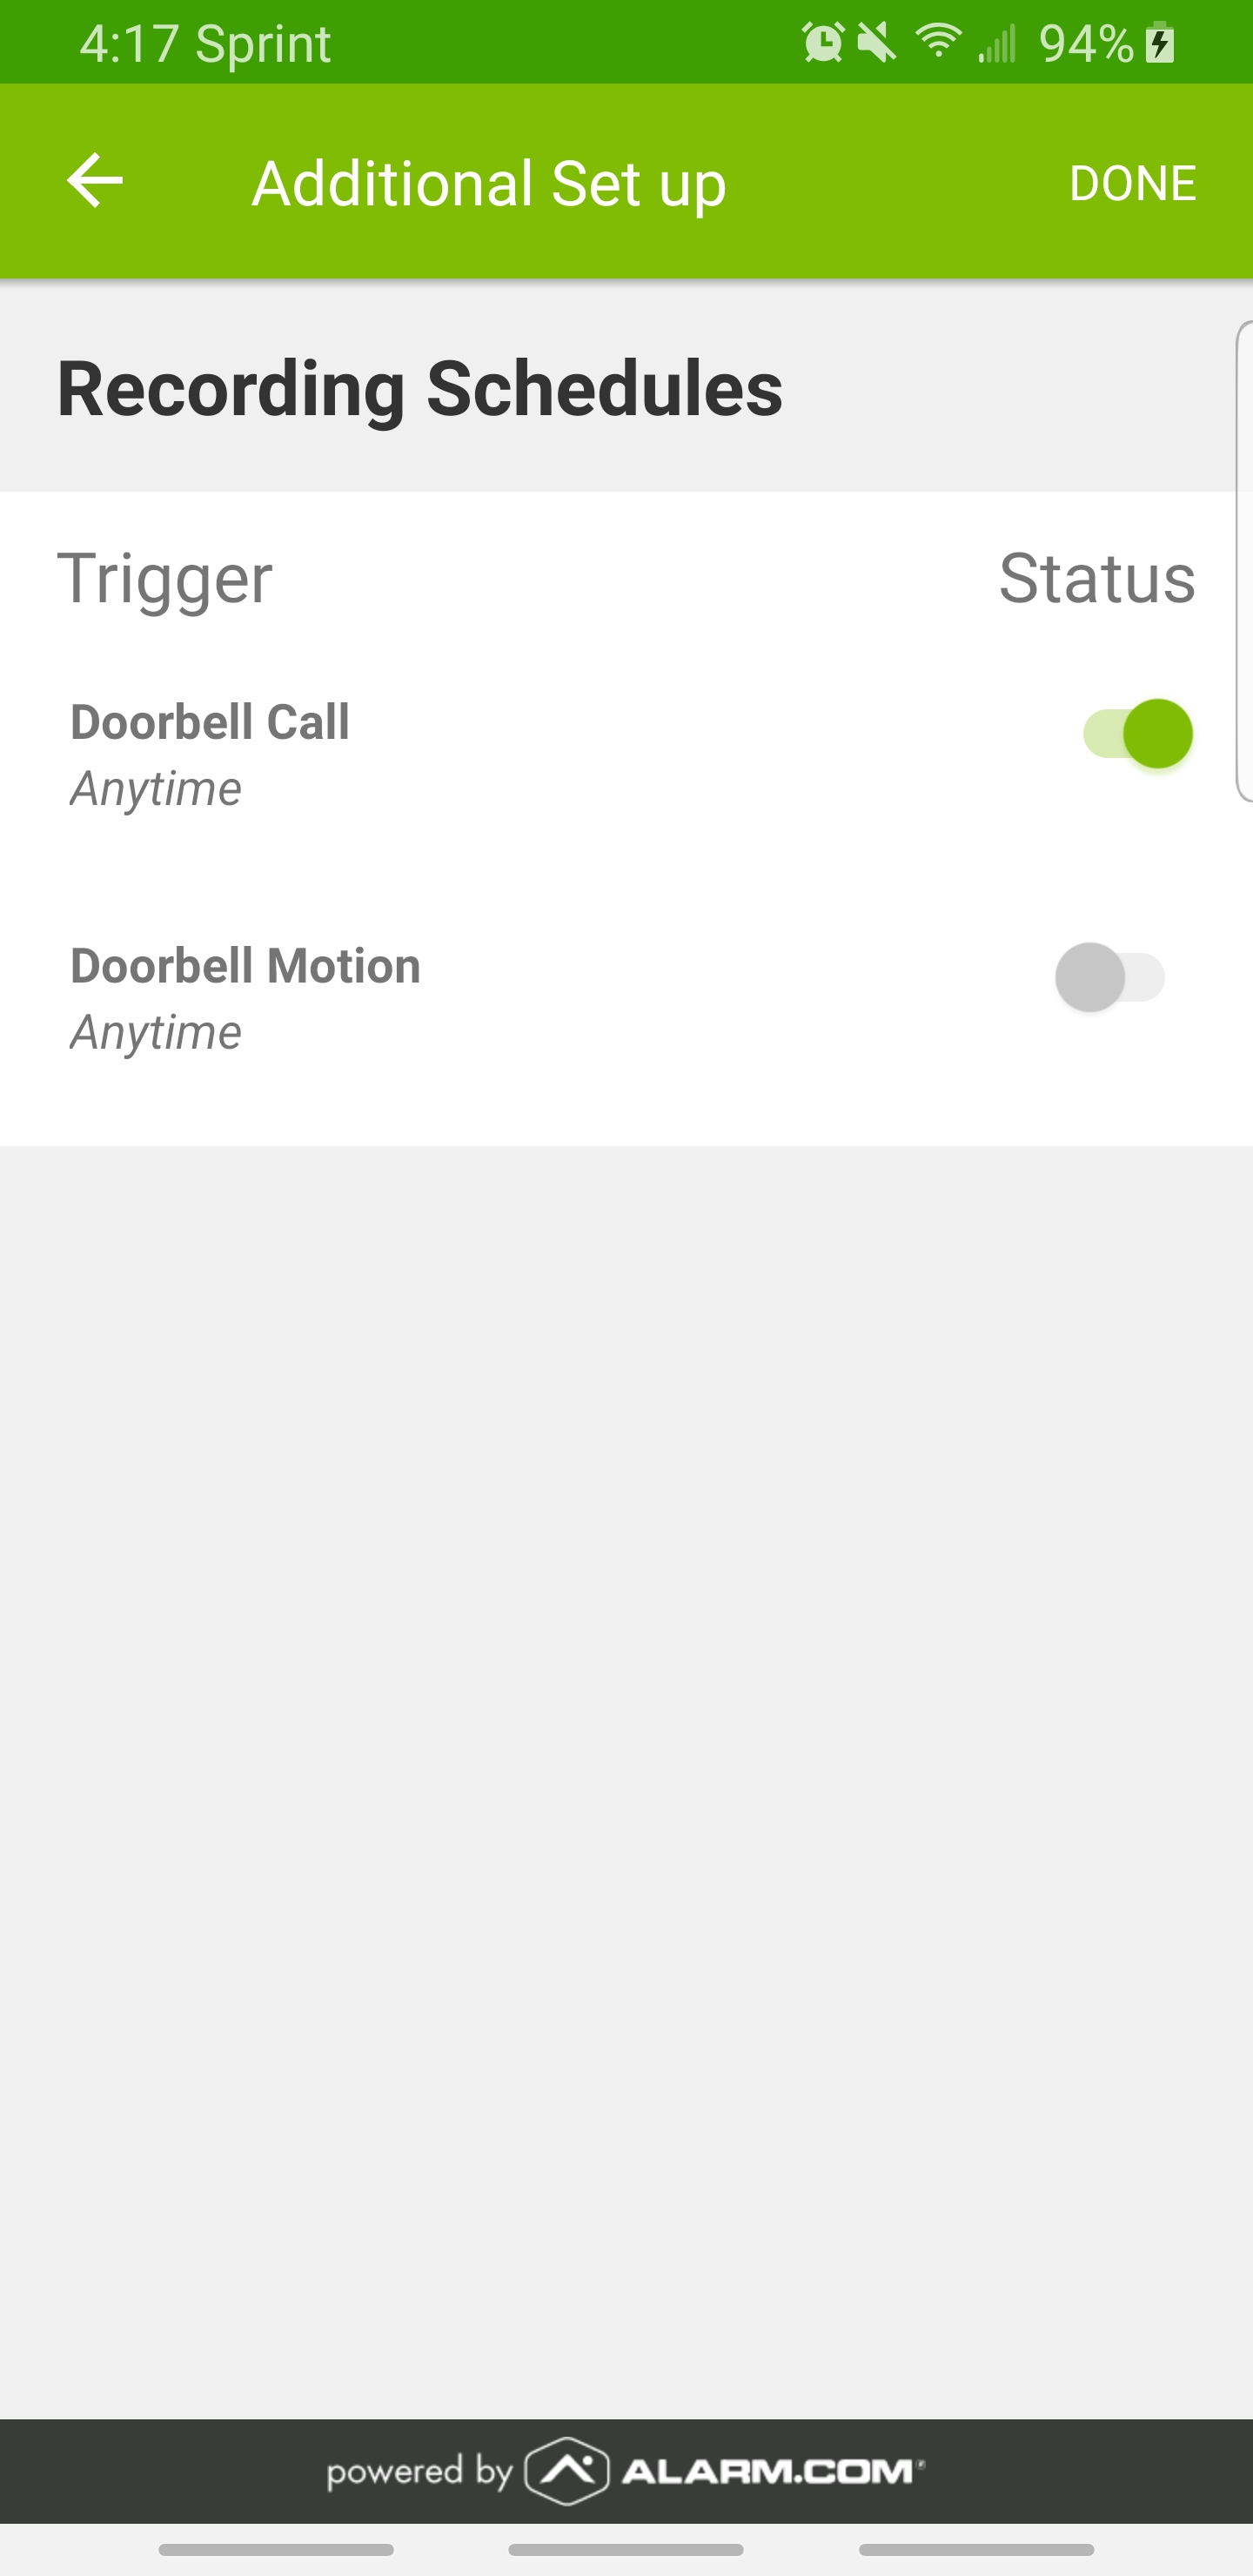
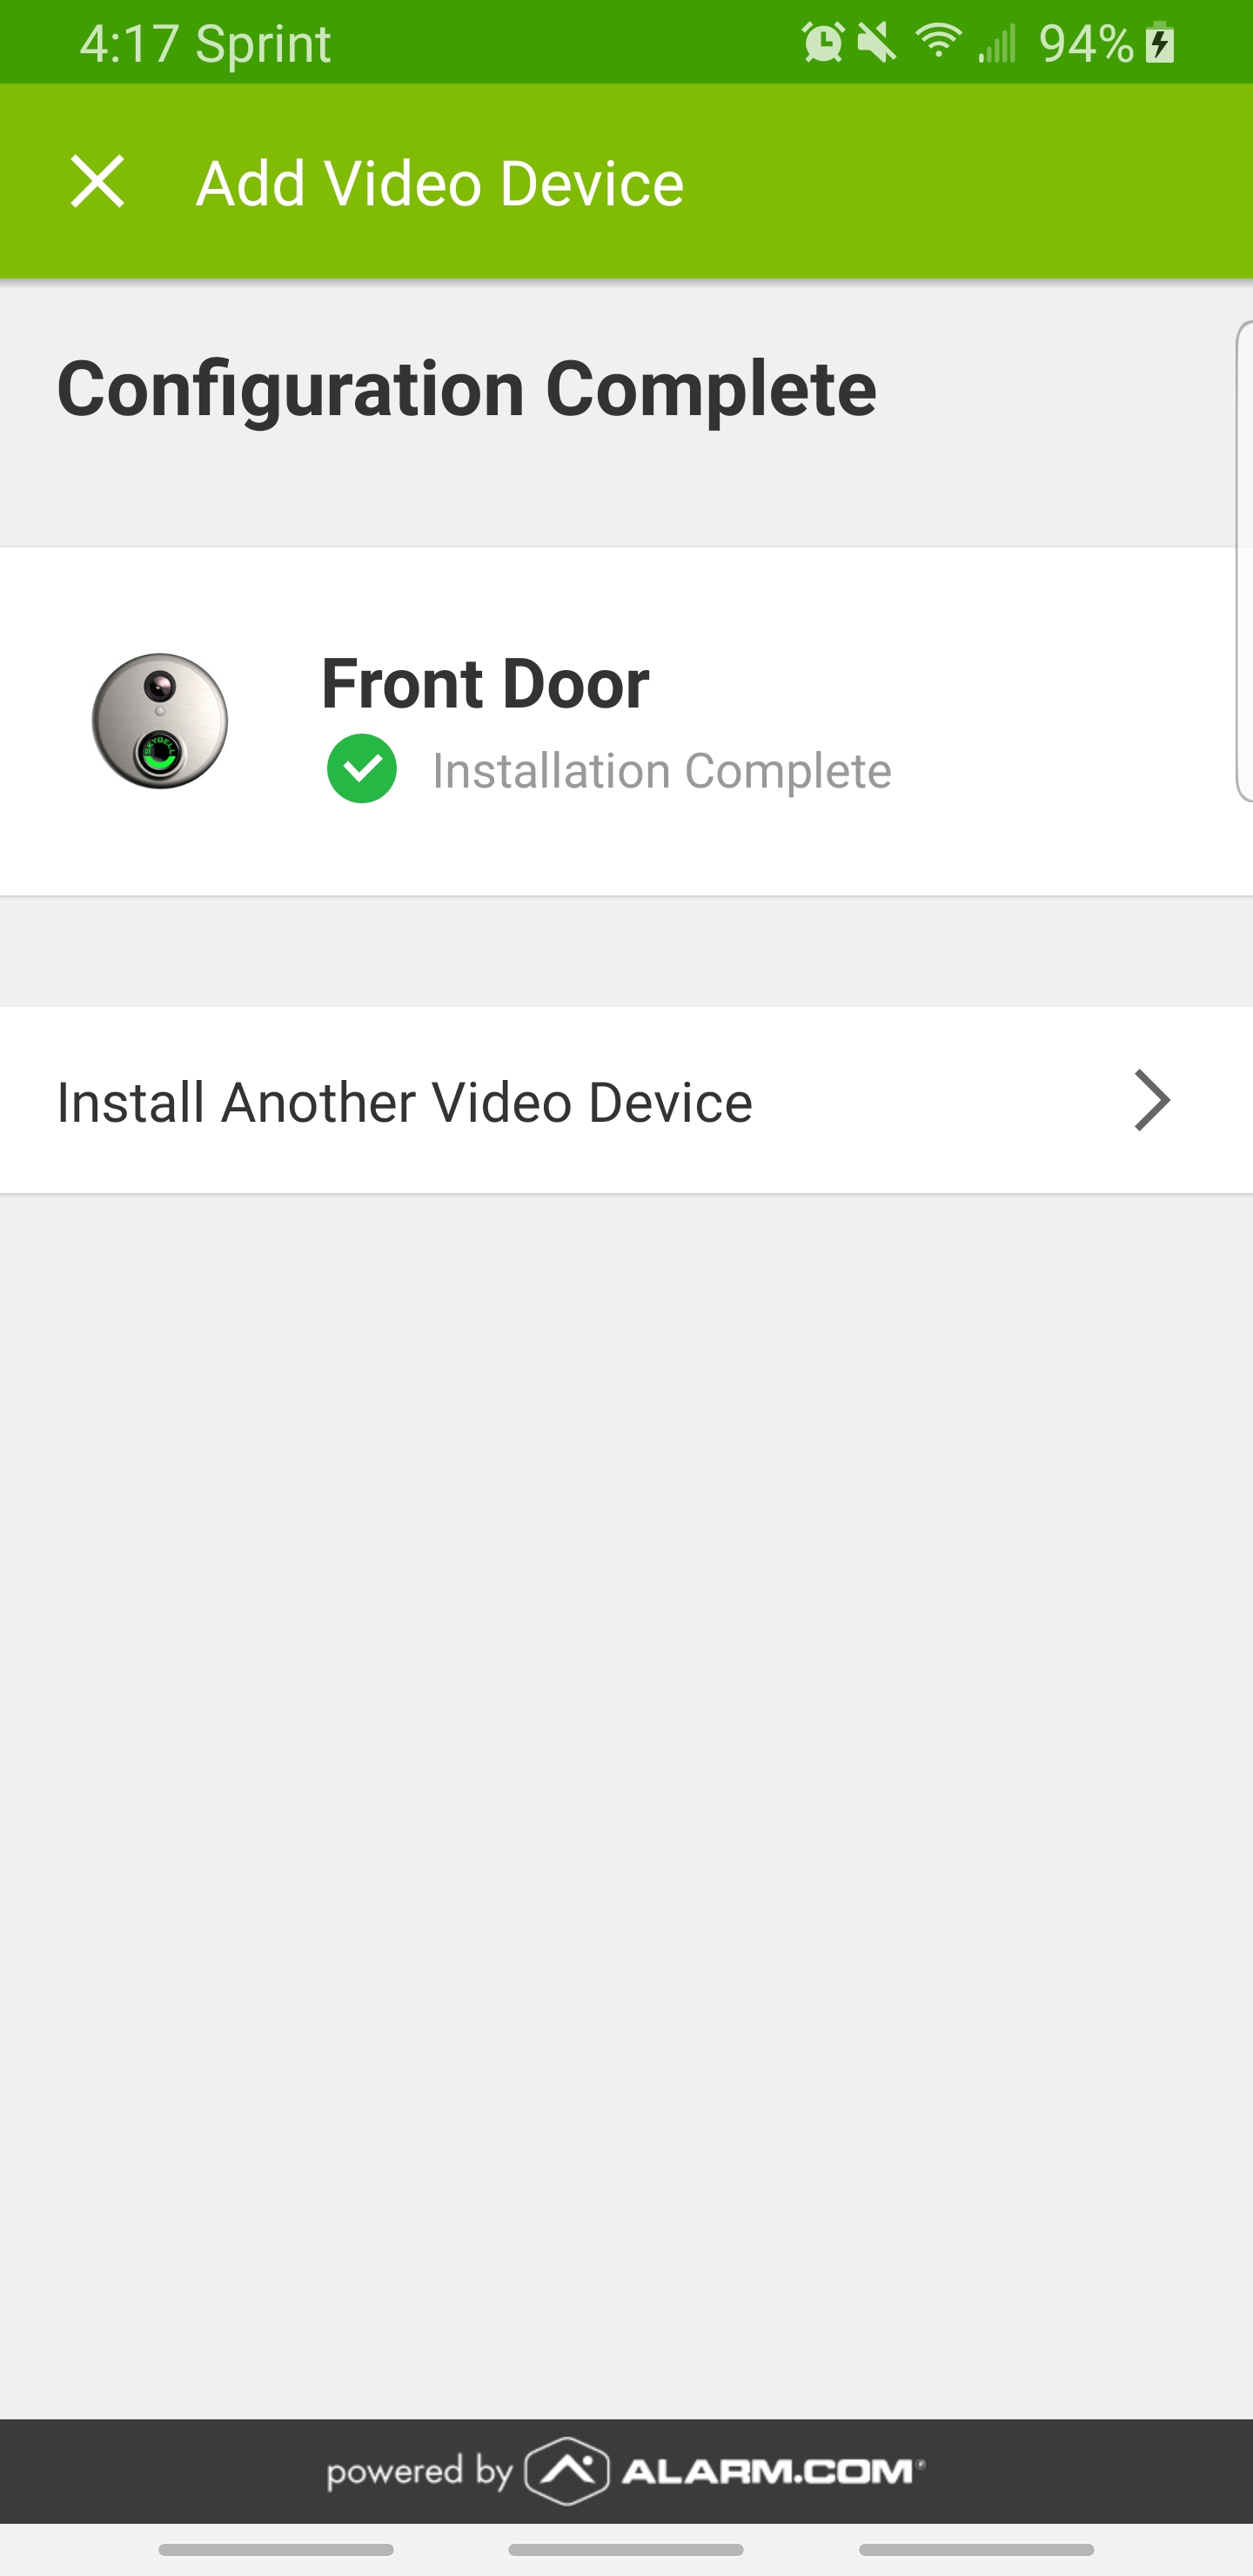
Then, click the toggles to set up Recording Schedules from either motion detection or button press from the doorbell. After that, configuration is complete!
-
You will be able to view Live View from the camera from the Doorbell Camera card in the mobile app, as well as the website.