Through Alarm.com you can integrate a few different Smart Irrigation control systems to further enhance the home automation experience through Alarm.com.
Currently, the Rachio and Rain Bird smart irrigation controllers are compatible with Alarm.com.
What can you do with Alarm.com smart irrigation control?
Currently, the following features are compatible with smart irrigation and Alarm.com:
System Status Monitoring
Watering history
Current water (if active)
Seasonal adjustments (Rain Bird only)
Control
Rain Delay
Turn on specific zones for a desired time
Run Program (same as Run Schedule on Rachio)
Put the Device in standby (Rachio only)
Stop current watering
Note : The Alarm.com app does not support configuration of Rachio schedules, Rain Bird programs, weather settings, or offer a view of schedule history.
What is needed to get started?
In order to get set up, you will need:
an Alarm.com service plan with Water Management and Irrigation Control.
Through Surety, that would be Surety Home and Surety Complete service plans.
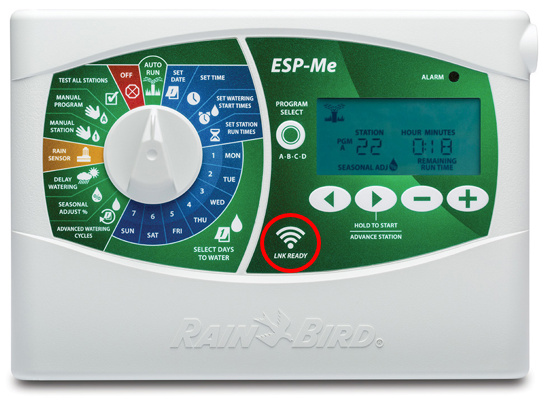
*Compatible ESP-Me’s shipped after November 2, 2016, will have the LNK Ready icon on the panel. If the controller does not have the LNK Ready icon, the panel can be swapped out for a newer version without re-wiring the controller.
Install the Rachio Controller, connect the system to Wi-Fi, and configure schedules and zones in the Rachio app before adding Rachio to an Alarm.com account then:
Log into your Alarm.com app
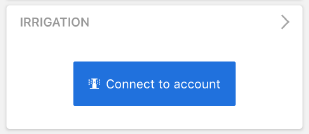
Navigate to the Irrigation card on the Home screen, tap Connect to account.
Enter your Rachio app credentials, then tap Allow Access if asked.
Wait for the controller to load. The Irrigation card on the Home screen should automatically refresh after authorization is complete. If not, you may need to log out of the Alarm.com app then back in to see the changes.
View and control Irrigation on the Alarm.com app
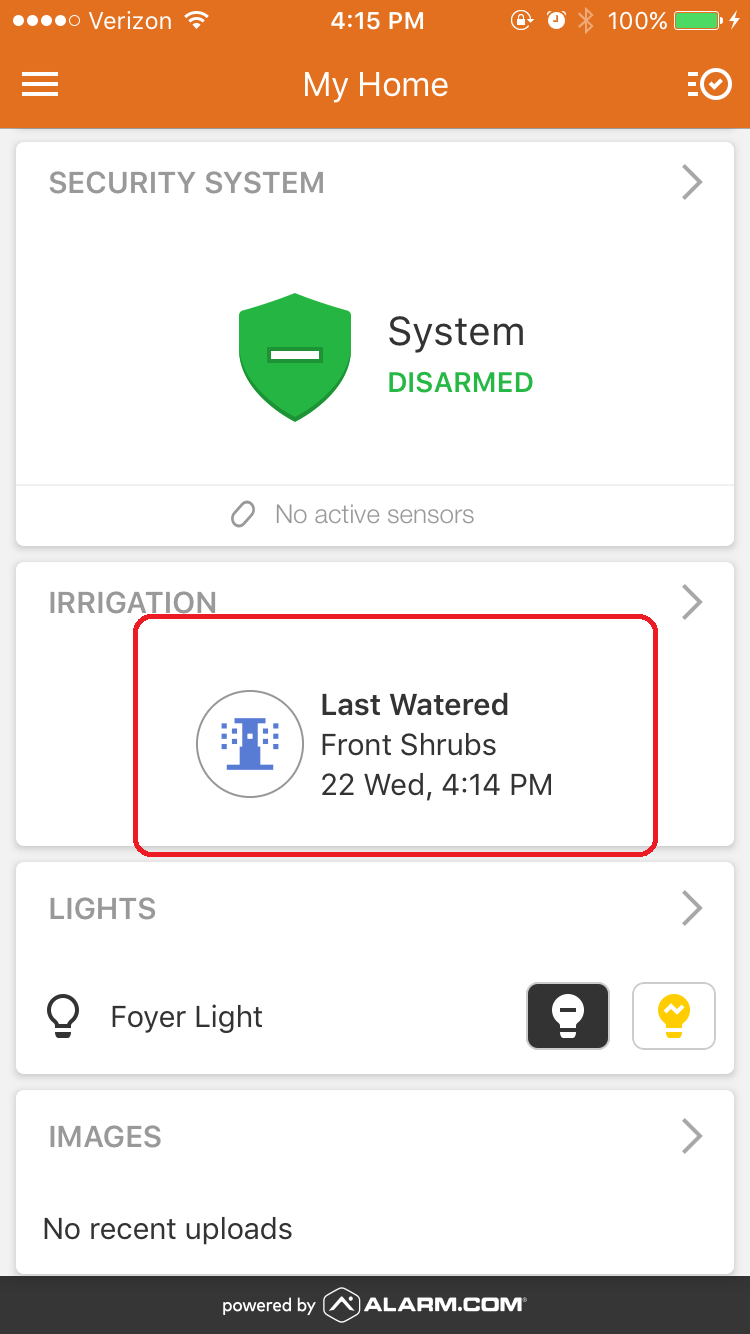
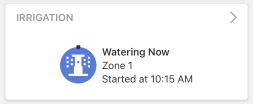
Irrigation card
The Irrigation card displays the current status of your Rachio controller, whether it is currently in use or when it was last in use. It also displays if the controller is in Rain Delay or Standby mode .
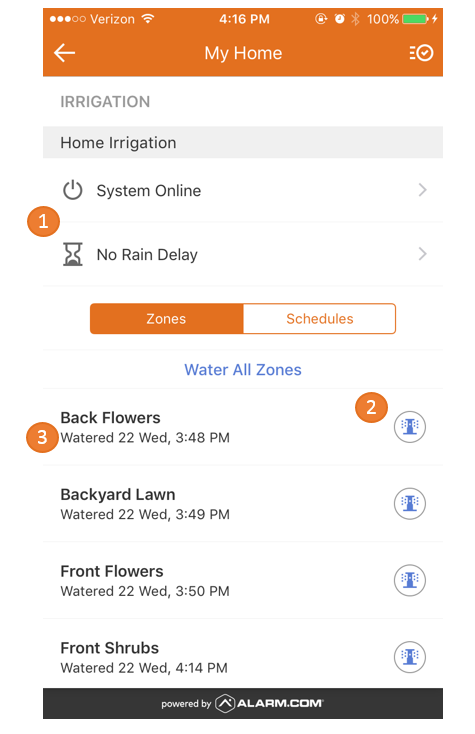
It is not possible to interact with a zone or schedule while watering. You will need to tap Stop Watering before making changes.
To water zones that are not in a schedule, tap on Water All Zones and deselect zones as desired.
Schedule names are visible in the Alarm.com app, but the zones and durations are only available in the Rachio app. Use the Rachio app to give each schedule a descriptive name for easy reference from the Alarm.com app.
If adding Rachio and Rain Bird systems to the same account, Rachio must be added first.
To change zone names, use the Devices page on the Alarm.com website.
Should you ever need to Delete Rachio, this would need to be done by the dealer, so if you are a Surety subscriber and you need the connection removed, just let us know!
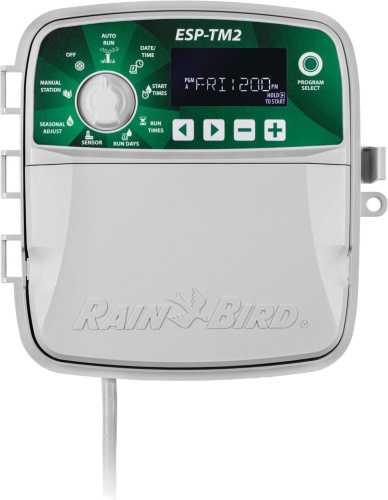
ESP-Me, shipped after November 2, 2016 with LNK Wi-Fi Module
Compatible ESP-Me’s will have the LNK Ready icon on the panel. If the controller does not have the LNK Ready icon, the panel can be swapped out for a newer version without re-wiring the controller.
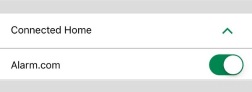
Tap to expand ConnectedHome , then tap the toggle switch next to Alarm.com .
Return to the home page of the Rain Bird app.
Then, give the MAC address located on the back of the controller’s Wi-Fi Stick to us, or your current service provider.
Real-time irrigation control
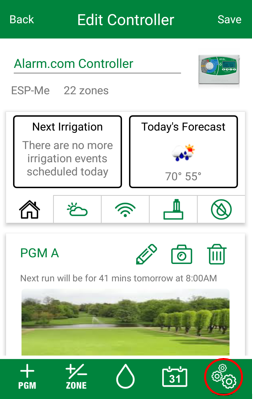
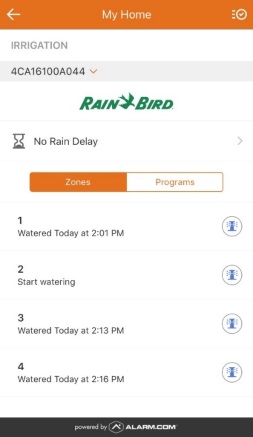
Irrigation card
The Irrigation Card displays the status of your Rain Bird controller, whether it is currently in use or when it was last in use. It also displays if the controller is currently in Rain Delay or has a seasonal adjust.
To update the zone names via the Customer Website, click Settings then Devices
When watering, it is not possible to interact with any other zone or program. To make changes, tap Stop Watering .
To water select zones that are not in a program, tap Water All Zones and deselect zones as desired.
Program names are visible in the Alarm.com app, but the program details, including zones and durations, are only available in the Rain Bird app. It is recommended to give each program a descriptive name for easy reference later.