To edit a Geo-Fence using the Alarm.com Website:
- Log into the Alarm.com Website.
- Click Settings.
- Click Places.
- In Manage Places, click the desired Geo-Fence to edit.
- To move the fence location, perform either of the following:
- Click and drag the location marker on the map.
- Enter a specific address in the Move fence location to field and click →
- In the Fence Name field, enter a name for the Geo-Fence.
Note: The default Geo-Fence cannot be renamed or deleted.
- To adjust the radius, either click and drag the Geo-Fence anchors on the map overlay, or enter the desired radius in the Geo-Fence Radius field (in miles).
Note: The minimum Geo-Fence radius is 1 mile (1.6 kilometers), and the maximum is 100 miles (160 kilometers).
8… Click Save.
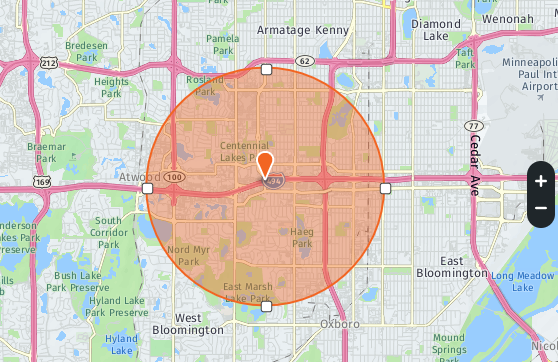
The following image is an example of the map that appears to edit the Geo-Fence:
To edit a Geo-Fence using the Customer app:
- Log into the Customer app.
- Tap !Menu
- Tap Places.
- In Places, tap the desired Geo-Fence to edit.
- Tap Edit Place.
- To move the fence location, perform either of the following:
- Tap and drag the map to adjust the location of the marker.
- Enter a specific address.
- To adjust the radius, either pinch the Geo-Fence, enter the desired radius in the Adjust Radius field (in miles), or tap + or - to adjust the distance.
Note: The minimum Geo-Fence radius is 1 mile (1.6 kilometers), and the maximum is 100 miles (160 kilometers).
- In the Name field, enter a name for the Geo-Fence.
Note: The default Geo-Fence cannot be renamed or deleted.
- Click Save.
More information on Alarm.com Places (Geo-Services) can be found below: