Did you get a new Qolsys brand IQ Panel 4, plug it in but it won’t boot up?
It could be that the battery is disconnected, very low, discharged, or entirely depleted. The IQ Panel 4 won’t boot up if the battery is disconnected or too low.
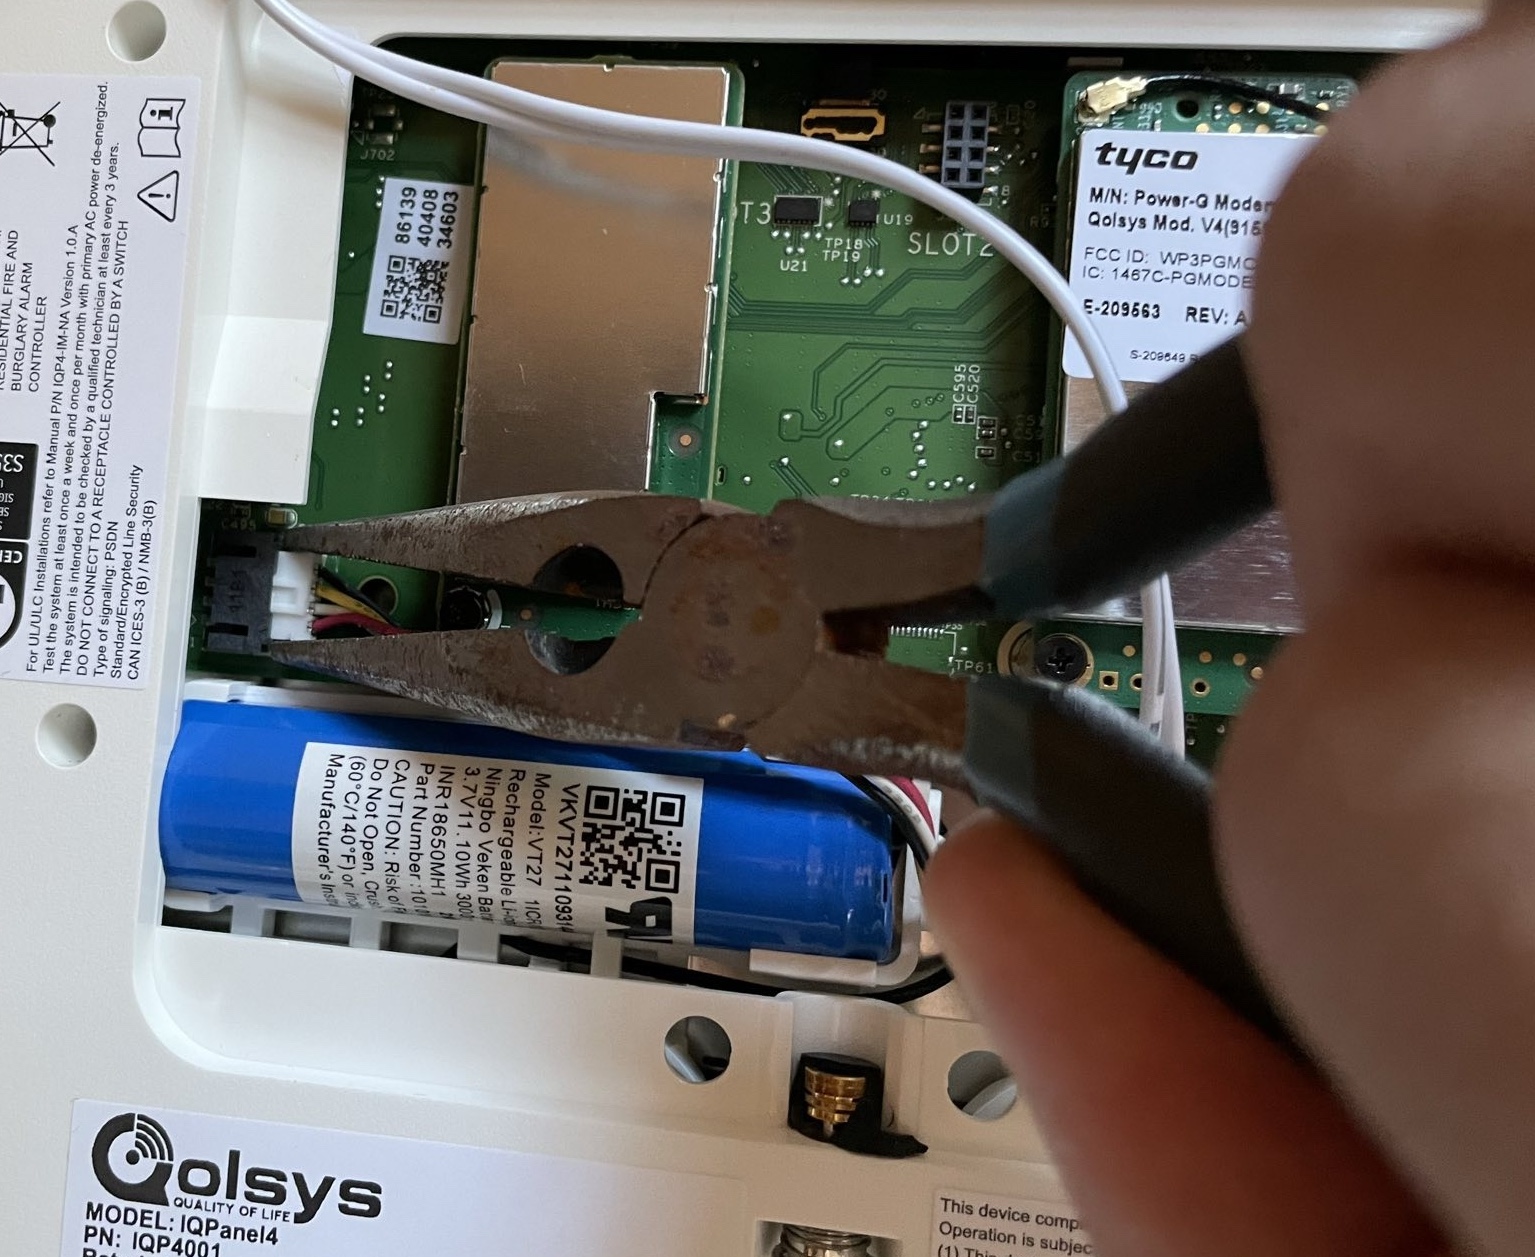
New IQ Panel 4’s are often shipped with the internal backup battery disconnected. The panel will not boot up until the battery is connected.
Check that the backup battery is connected
- Unplug the power supply from the wall to power down the panel.
- Don’t disconnect power from the panel first, instead unplug the power supply from the wall first to prevent arcing at the connector.
- Ensure you are using the included 7V power supply and cable.
- If you are using an existing cable, make sure it meets the specifications outlined on page 12 of the manual.
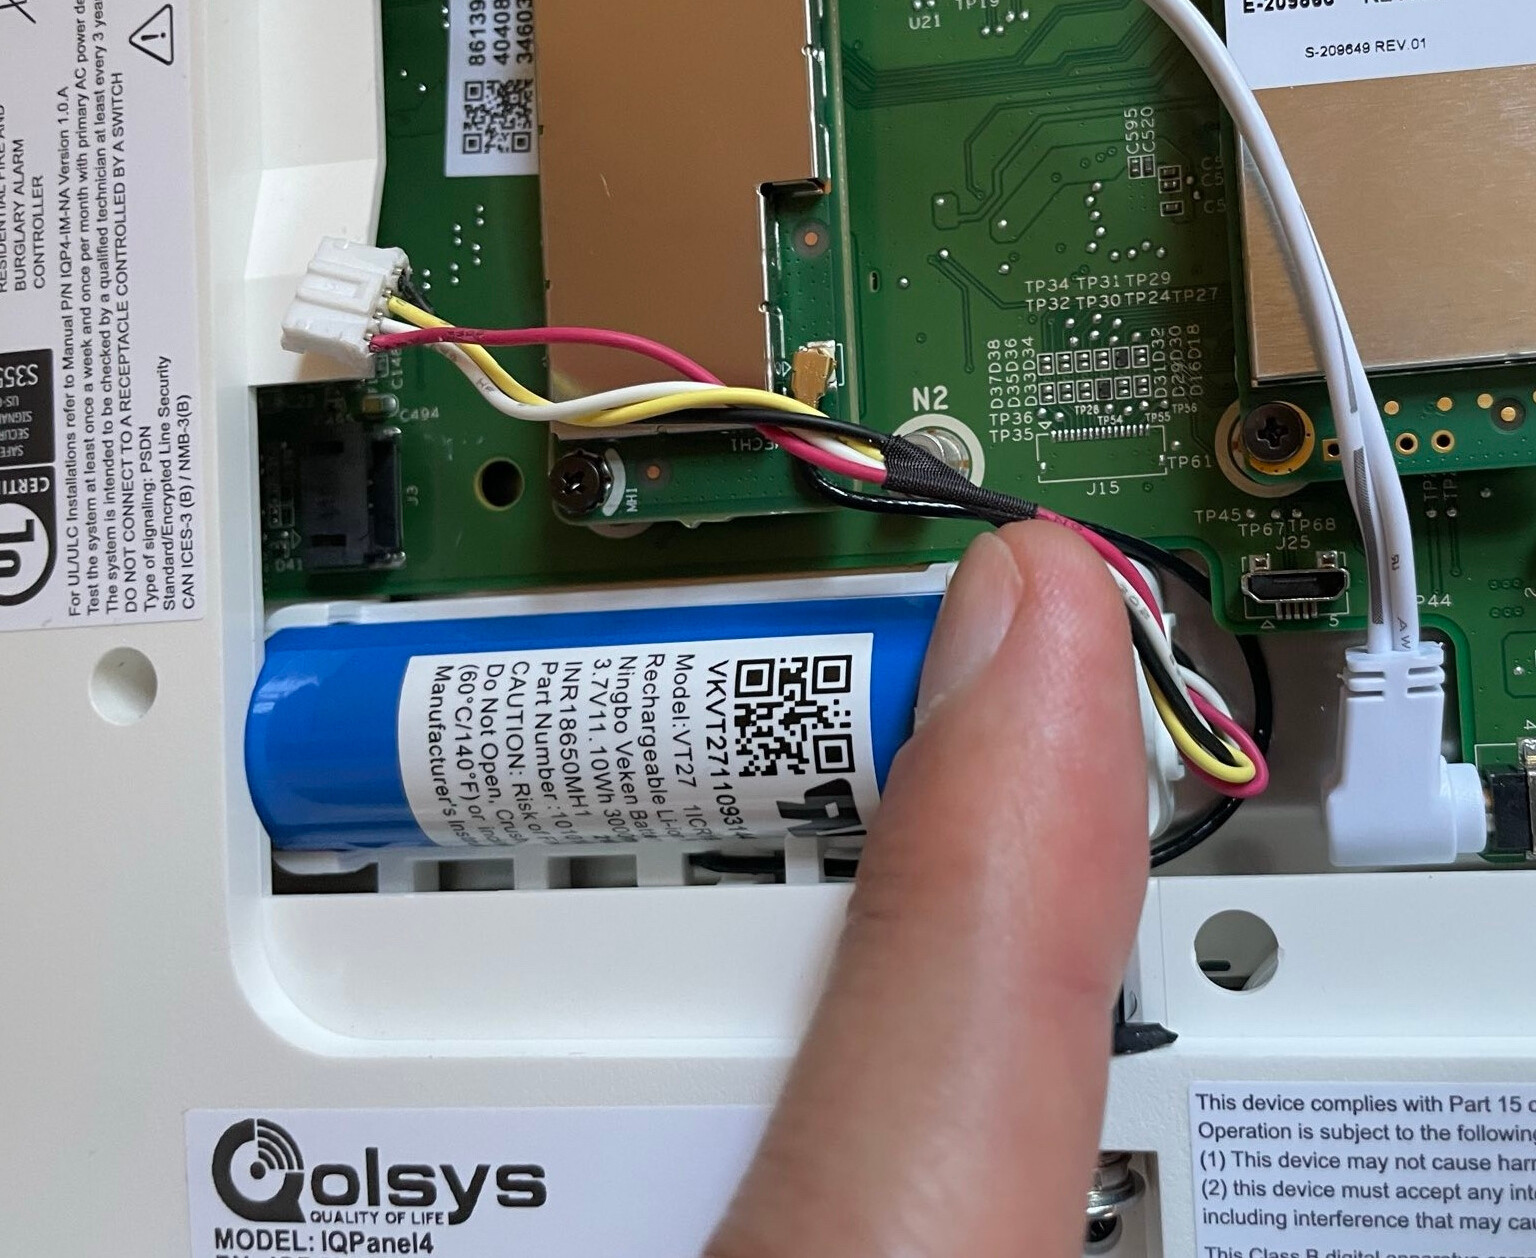
- Open the panel up. Check to make sure the internal battery is connected. Then close up the panel and reconnect it to wall power.
- Hold down the power button for 3-5 seconds. You should see an Android logo then a Qolsys logo. The panel should fully boot at that point.

If there is no feedback from the panel after following the above, then the panel battery is probably discharged too low. In that case:
Charge the backup battery enough to boot up
- Check that the battery cable is properly inserted into the connector.
- Insert the AC power plug into the appropriate connector.
- The LEDs should begin to flash Red, indicating the panel is charging. The LEDs may remain flashing for up to 30 mins while the panel charges. The panel will boot once it receives sufficient charge.
After the charger is inserted and the power button has been pressed, if there is still no feedback from the panel and the display and LEDs do not light up at all, then the panel battery is deeply discharged. If that is the case:
Force a deeply discharged battery to begin charging
- Disconnect the battery, then unplug the AC power.
- Reconnect the battery only.
- Insert AC power plug, wait 5 seconds and then remove. Repeat this up to 10 times until the LEDs continually flash Red indicating that the battery is charging.
- The LEDs may remain flashing for up to 30 mins while the panel charges. The panel will fully boot once it receives sufficient charge.
Note: If the LEDs stop flashing Red and the panel does not boot, go
back to the previous step (Step 3).
If the panel still will not respond after all of these steps then you may need a new backup battery or a new IQ Panel 4.