Pre-installation checklist
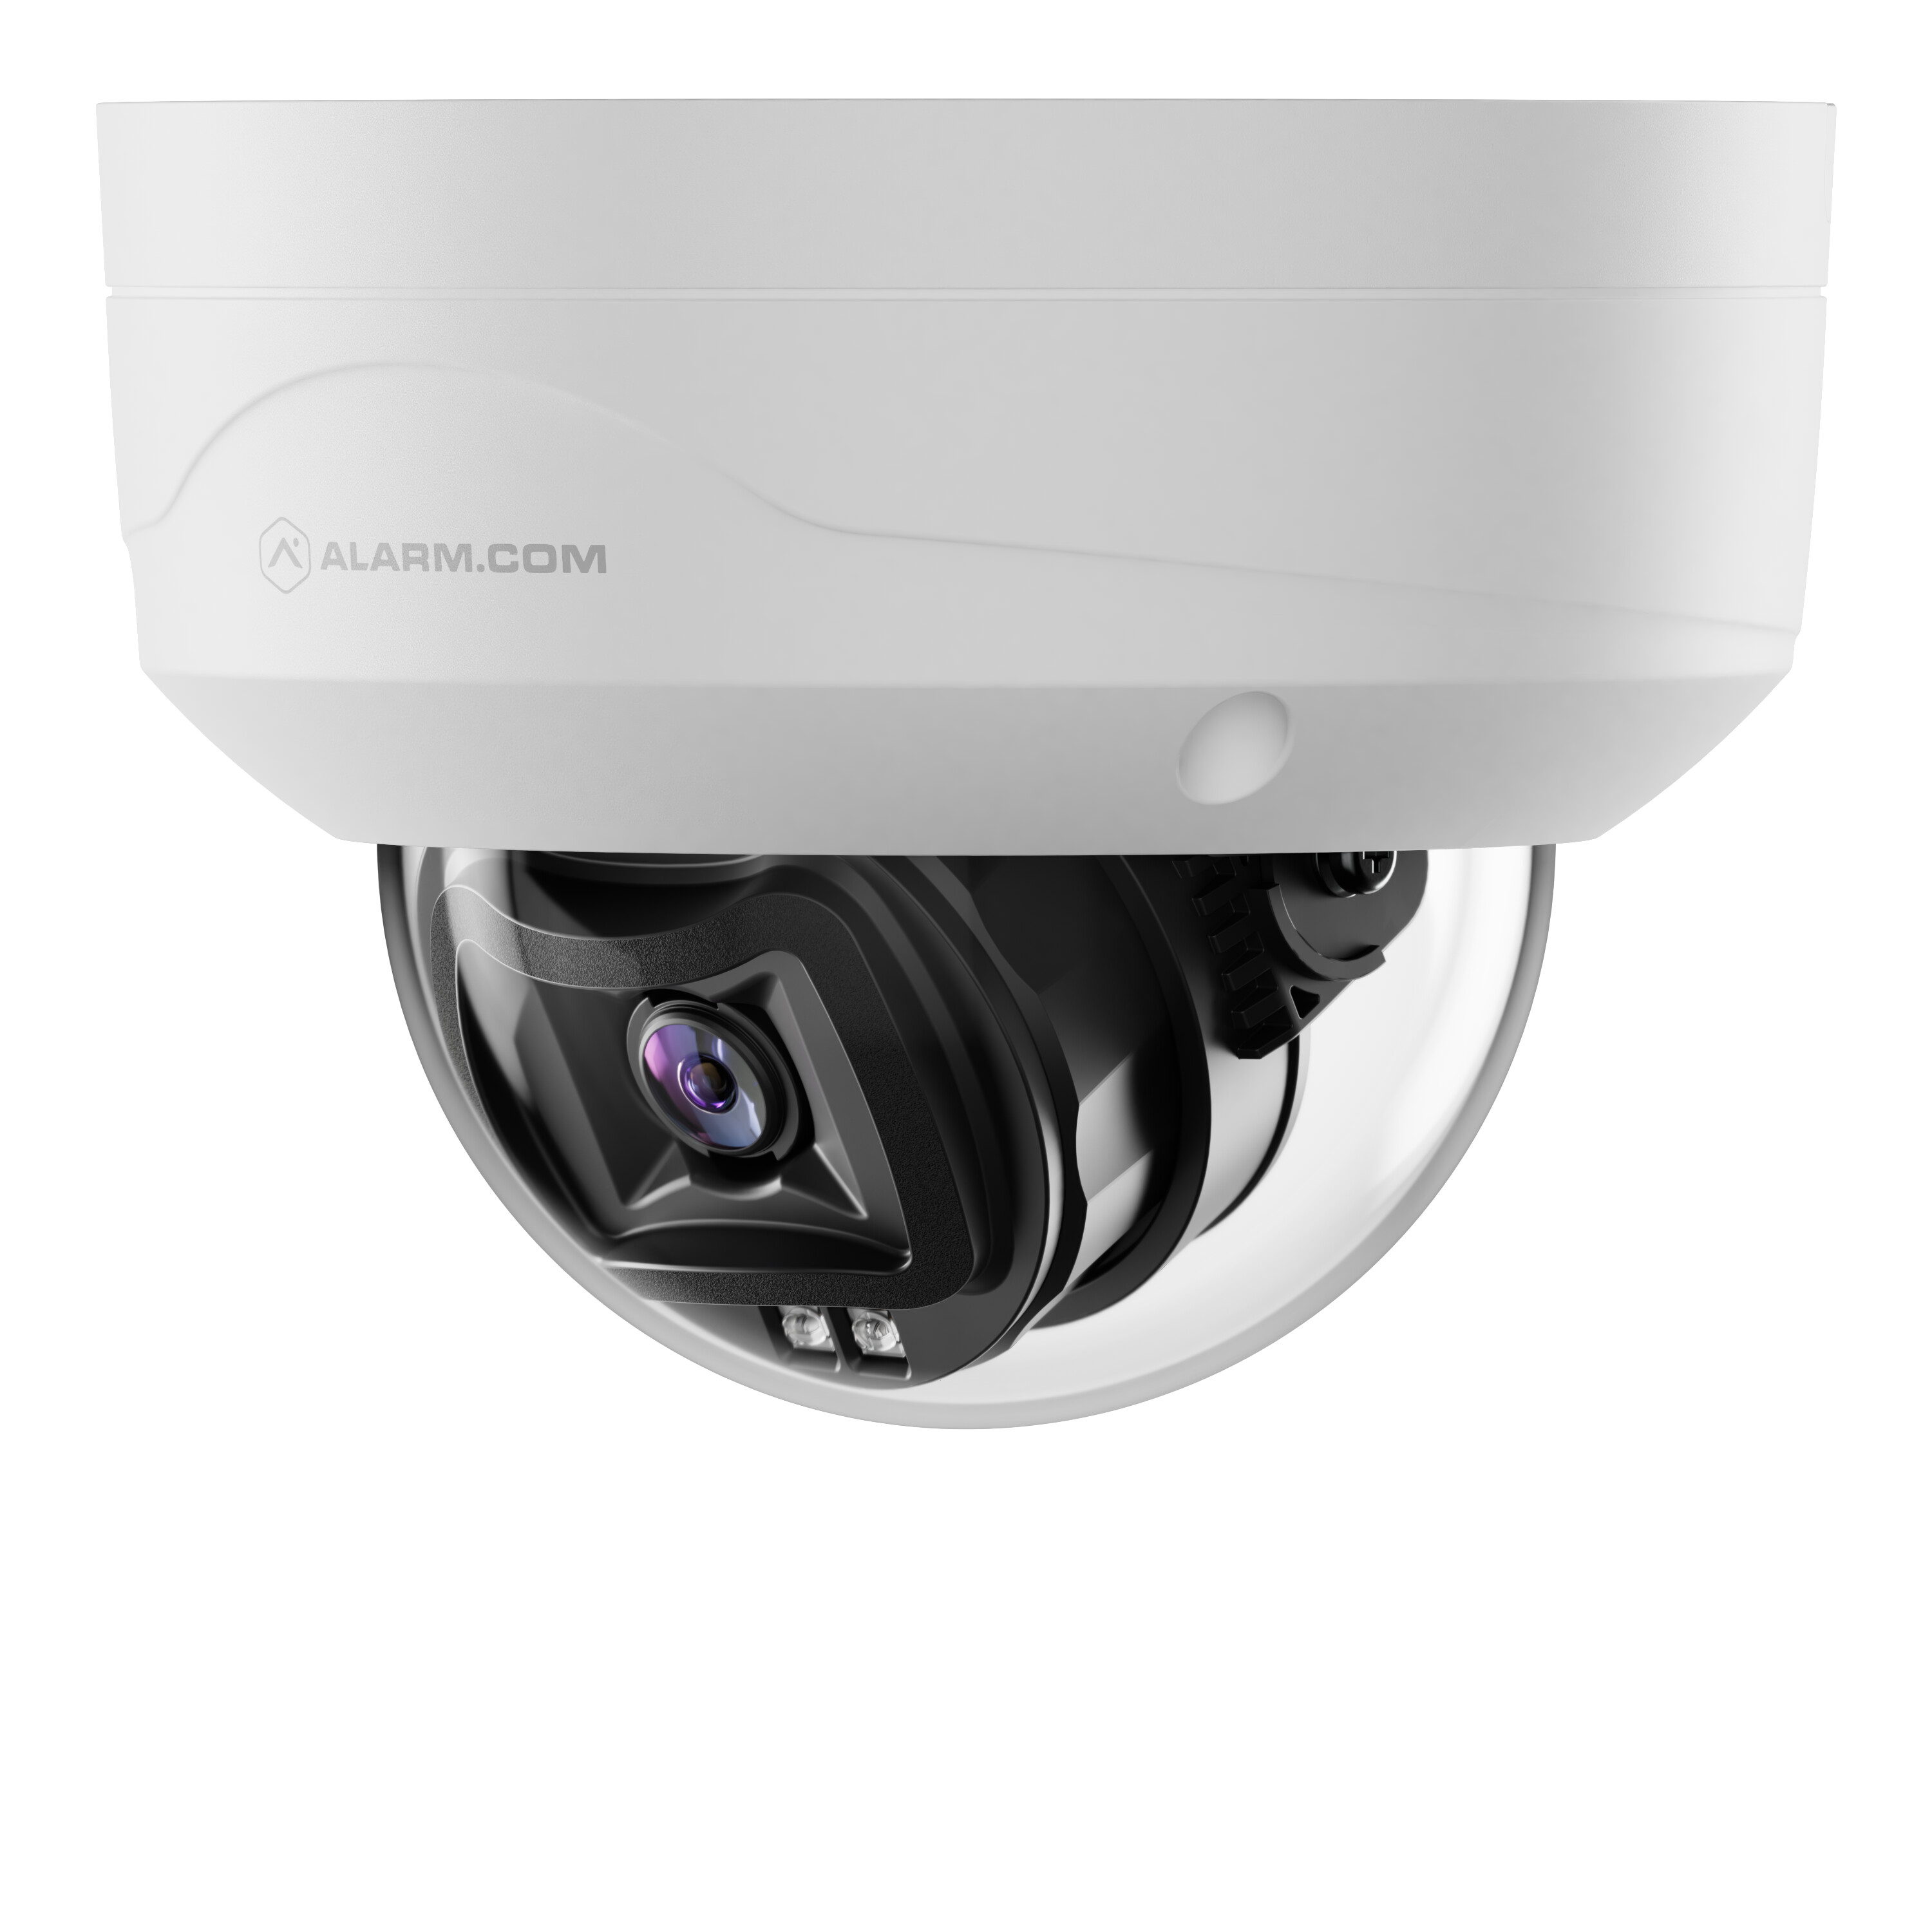
- ADC-VC8295P (included)
- PoE network switch or injector
- Broadband router with available Ethernet port
- Ethernet cable (Cat5e or better)
- Computer or mobile device with Internet access
- Username and password for the Alarm.com account to which you will add the camera
- Mounting hardware and tools (drill, screwdriver, included wrench or T10 driver)
- Side egress plug (included)
- Desiccant packet (included)
In the box
- ADC-VC8295P
- Mounting template
- L-shaped wrench
- Side egress plug
- Wall anchors & screws (x3)
- Desiccant packet & double-sided tape
Installation and enrollment
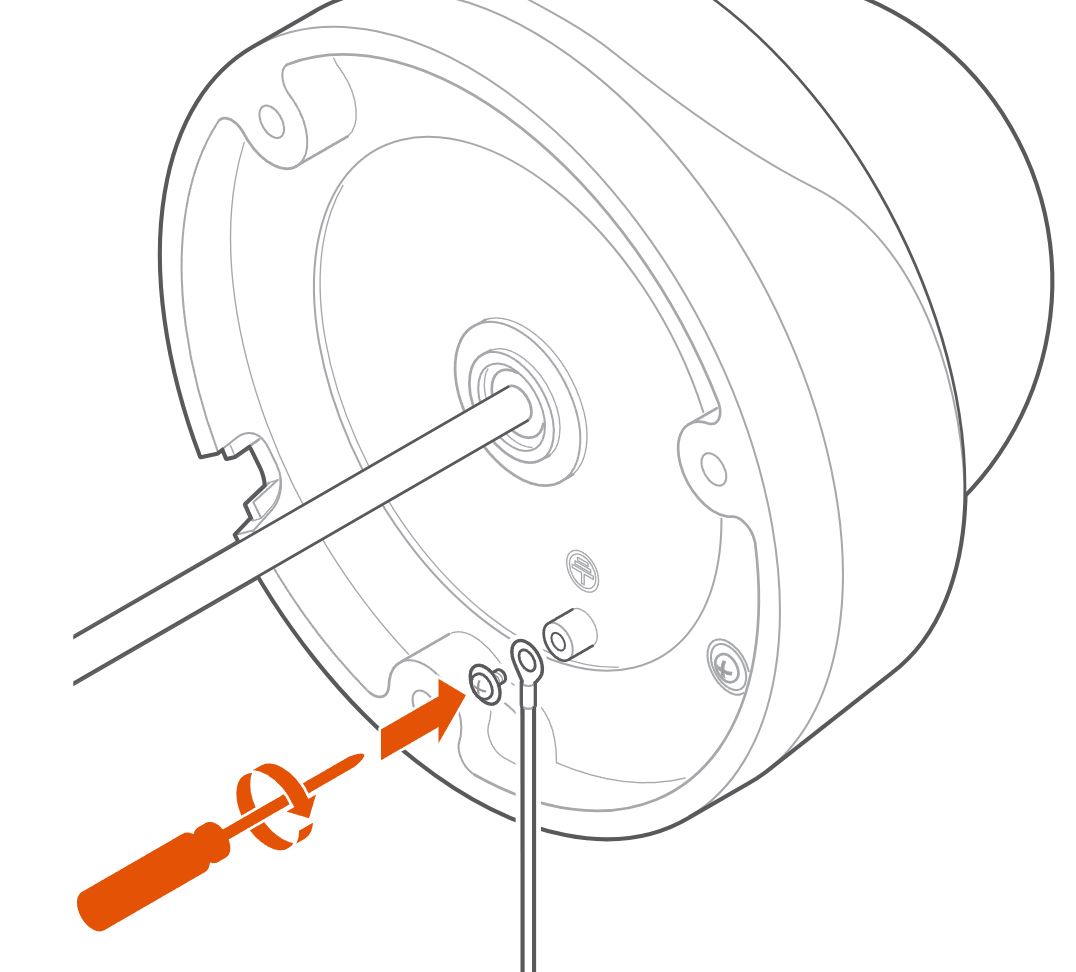
Remove the cowl
Note: The camera’s cowl must be removed in order to mount the device.
-
Use the included wrench or a T10 driver to loosen and remove the screws securing the top cover.
-
Remove the desiccant packet that was included inside the camera’s housing for transport.
-
Retain the screws and cover for re-installation after cable routing and mounting.

Mount the camera
Note: Before mounting, remove the protective plastic lens cover from the camera to ensure a clear image.
-
Use the included drill template to mark holes for the mounting screws and cable pass-through.
-
Install anchors as needed for your mounting surface.
-
Secure the camera base using the supplied screws.
-
If grounding is required, connect the ground wire to an approved earth ground per code.
-
Connect the camera’s integrated pigtail RJ45 connector to the Ethernet cable. For the steps to connect the Ethernet cable, proceed to Cable routing options.
-
Connect the other end of the Ethernet cable to a compatible PoE switch or injector.
-
If installed outdoors or in a wet area, wrap all connectors with waterproof tape after making connections.
-
Verify all unused openings in the camera base are sealed (e.g., install the side egress plug if not using the side cutout on the camera base).
-
Using the double-sided tape included in the box, attach the new desiccant packet to the inside of the camera’s housing (on the metal).
-
Re-install the cowl.
Caution: When re-installing the cowl, re-tighten the cover screws to 6 kg-inch (0.59 Nm) using the included wrench or a T10 driver. Do not under- or over-tighten, as improper torque can lead to water ingress.
Cable routing options
The ADC-VC8295P features an integrated pigtail cable permanently attached to the bottom of the camera enclosure. The pigtail cable can be routed through the center egress (i.e., through the mounting surface) or the side egress (i.e., through the side of the surface mount).
Note: Proper cable management helps prevent kinking or strain on the pigtail cable.
Center Egress
Route the pigtail cable through the hole cut in the wall or mounting surface. Install the included side egress plug to seal the side cutout in the camera base and maintain weatherproofing.
Side Egress
Route the pigtail cable through the side cutout in the camera base for surface mounting or conduit installations. The center hole in the mounting surface is not required for this method.
Enroll the camera to the customer account
Choose the appropriate installation steps below, or proceed to the Ethernet mode section to begin adding the camera.
Alarm.com Mobile App
- Log in to the app.
- Tap Menu*
- Tap Add Device. If you do not see the Add Device option, use the Ethernet mode instructions below to complete installation.
- Tap Video Camera.
- Tap VC8295P.
- Follow the on-screen instructions.
Ethernet mode
- Feed the Ethernet cable through the cable gland and connect it to the camera’s RJ45 port.
- Connect the other end of the Ethernet cable to the PoE switch or injector.
- Wait 2 minutes for the camera to boot up and connect to the Internet. The LED will be solid green when this process is complete.
- Add the device to the account by either selecting the account in the MobileTech app or by using a web browser and entering the following web address: www.alarm.com/addcamera. You will need the customer’s username and password.
- Select the camera from the video device list or enter its MAC address to begin adding the camera. The camera’s MAC address is located on the bottom of the device or on the packaging.
- Follow the on-screen instructions to finish adding the camera.
LED reference
| LED pattern | Description |
|---|---|
| Not illuminated | Power off |
| Solid green | Connected to Alarm.com |
| Blinking green | Local network connection |
| Solid red | No local or Internet connection |
| Blinking red | Power on, camera booting |
| Blinking yellow | Power cycling (Hold Reset button for 9-12 seconds) |
| Blinking green and red | Reverting to factory default settings (Hold Reset button for 12-15 seconds) |
Troubleshooting
- If the camera fails to connect to the network or enroll to the account, power cycle the device and try again.
- If issues persist, reset the camera to factory defaults. Press and hold the Reset button on the camera for 12-15 seconds until the LED is flashing green and red, then release the button.
Important: If the camera was previously installed to a different Alarm.com account, it will need to be deleted from that account before it can be installed again.