HW DT-720B with 2GIG

The people who sold me my house took their 2GIG panel with them, and now I’m trying to program the one I just bought. The motion sensors in the house are Honeywell DT720-B. These seem compatible with the system, but I think I have them programmed wrong.

What codes and other things should I program into the unit? I seem to have them working, but am not sure they’re working correctly. For instance, they either are dark or show a red light…I could have sworn they should show green when disarmed.

I believe these are Pet Immune sensors, too…can someone confirm or refute that? Thanks.

Andy

These seem compatible with the system

Nope.

2GIG uses wireless frequency 345mhz. You may need a TAKE. Notice power requirement is 7 1/2 - 16 Volts DC. Are there wires coming into PIR?

Here are some details that may (hopefully) help with my issue:

They are hard-wired to a Honeywell box in the master closet, so they’re getting juice.

The 2GIG unit was able to find them via the Search function. I just don’t know if I have the right settings (name, loop, etc.) for them. In fact, I was able to set the alarm and trip the living room sensor, so they’re working to some degree.

The previous owners had a Vivint system. I know this is a matching form factor, as I was able to pop it right onto the wall-plate they left behind and also recall how the face-plate appeared. That said, I have no idea what vintage their unit was.

I guess more than anything, I don’t understand how detailed I need to be in telling the control panel what items these are.

…and after this, I still have the 2GIG heat/freeze/smoke detector and the glass break to get set up!

Thanks for your help.

Andy

Here’s a picture from inside that Honeywell box. There is indeed a 2GIG TAKE unit within–as well as a rat’s nest of wires. The two plugs to the right power the sensors and (I assume) the TAKE and Control Panel.

you need to program the take zones.

Remove any you have already done for the wired sensors, and start again.

Here is how:

Descriptor codes: http://2gig.com/pdf/product-info/77-000010-001-Quick-Programming-Guide-RevD-onl-en.pdf

Program your takeover module zones. Choose a Sensor Type appropriate to the zone. (Interior Follower for motion detectors, Entry Exit for entry doors, etc.)

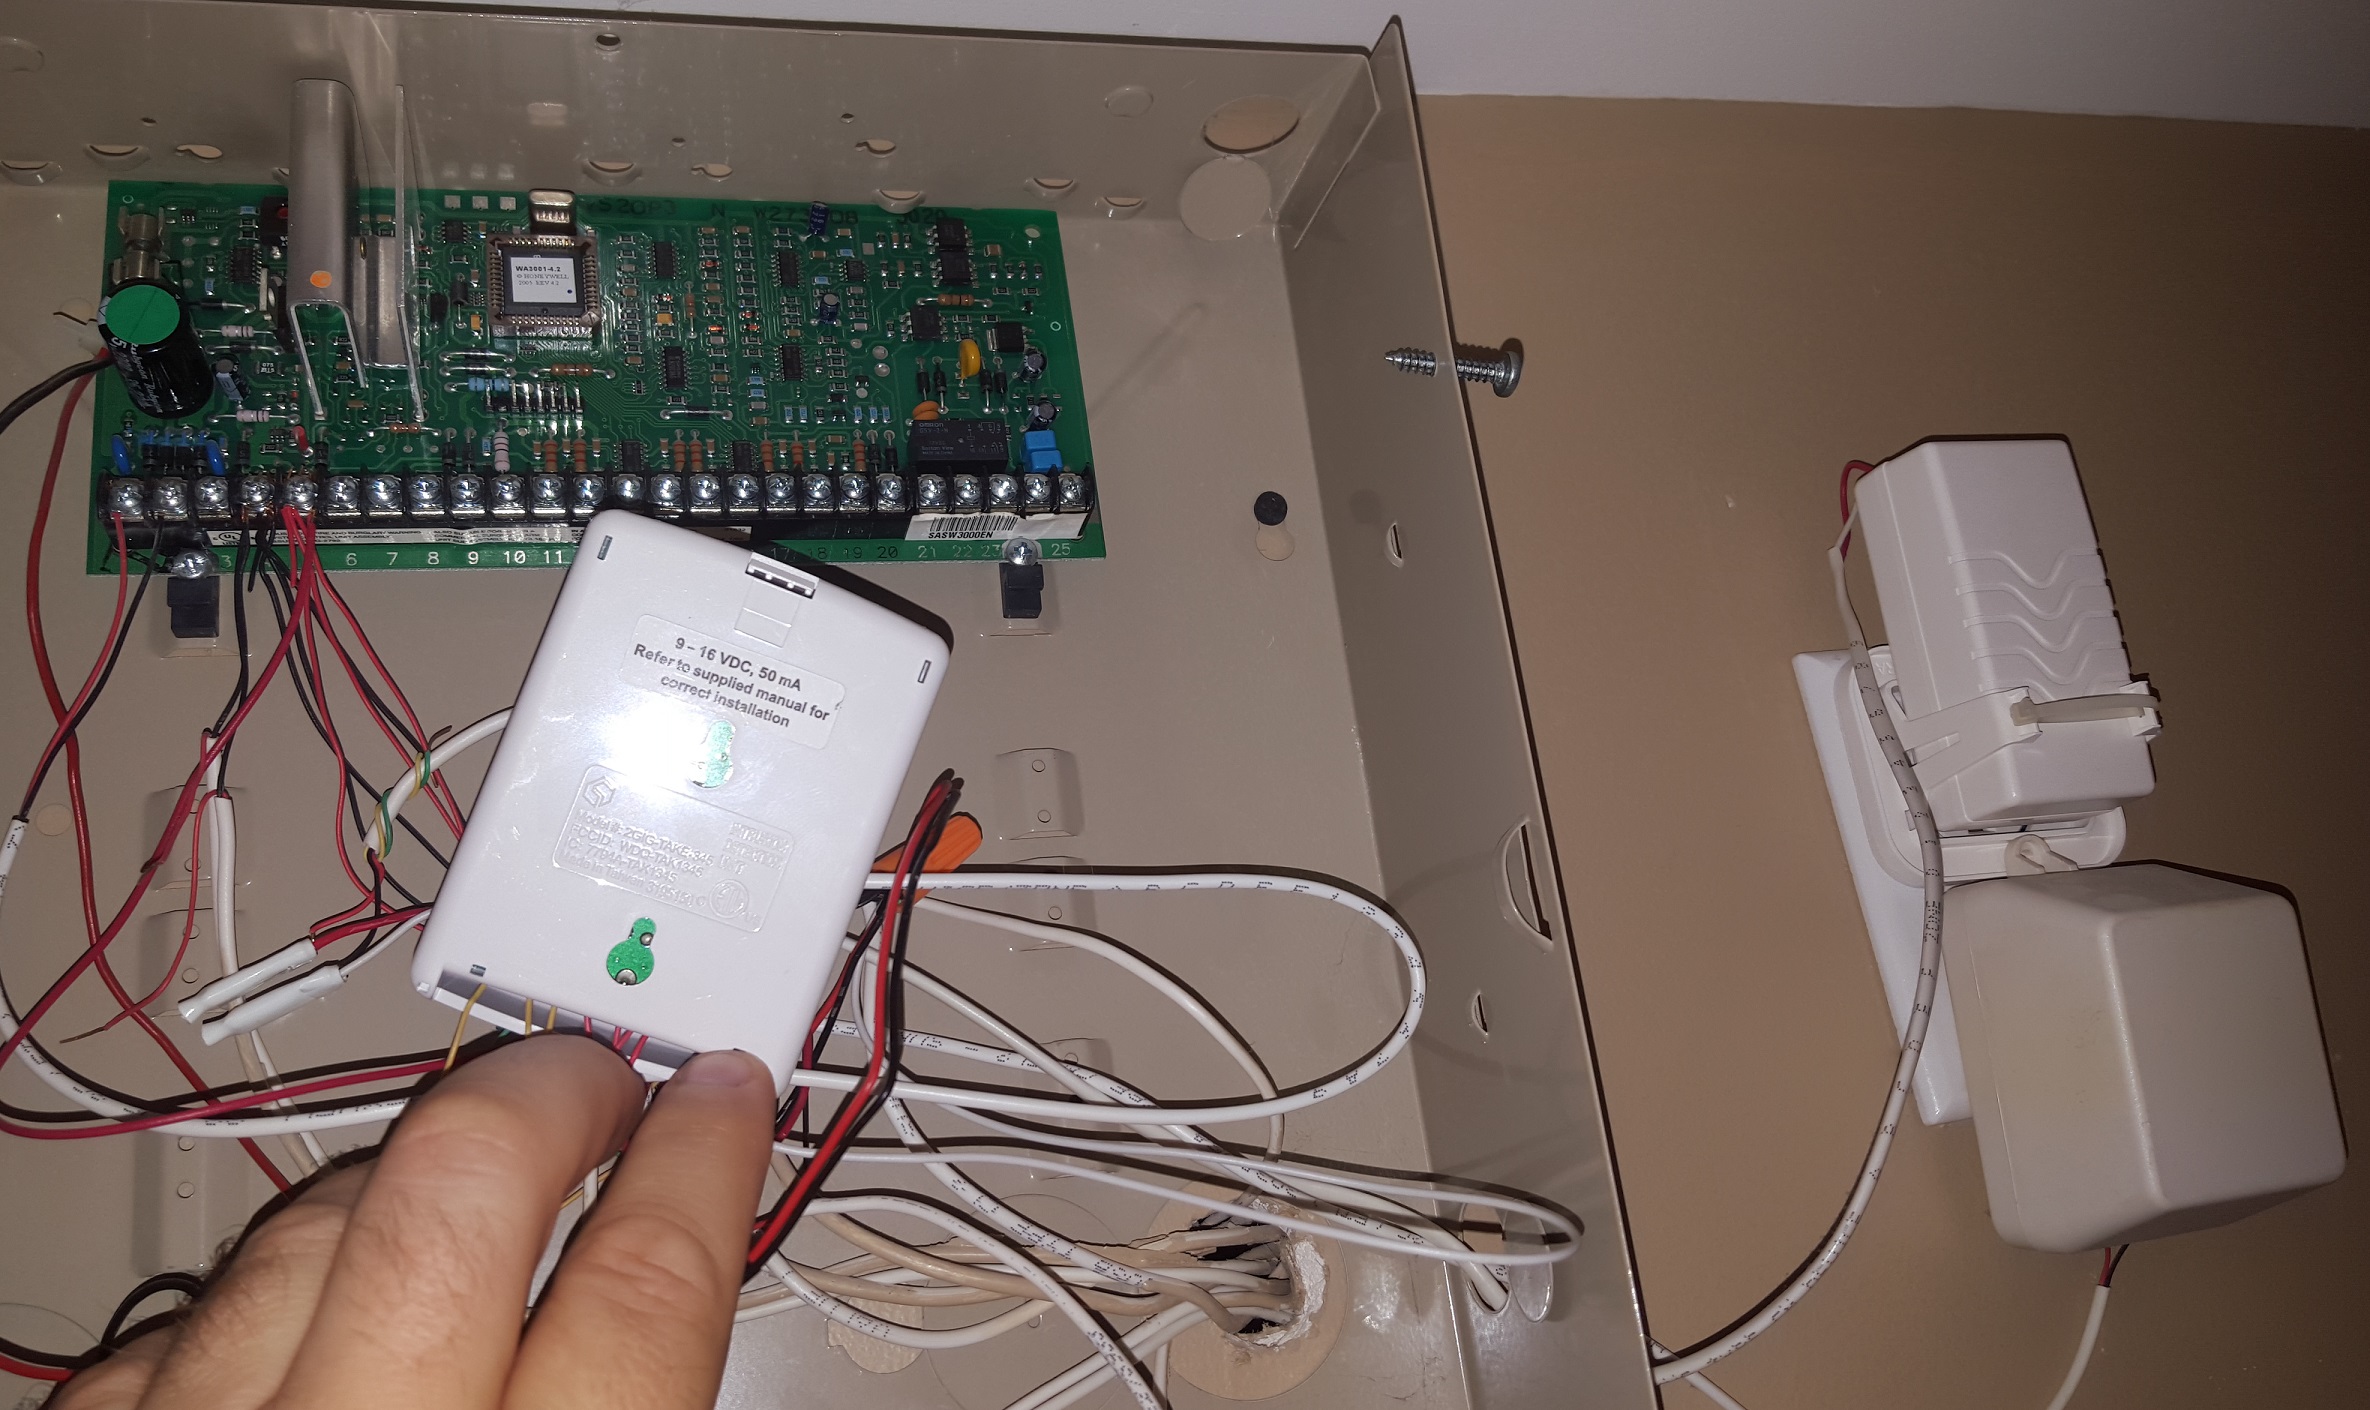
– Equipment Type will be 2GIG Takeover Module.
– Sensor serial ID will be the following:
Zone 1: Seven digit TX ID on Takeover Module label (always ends in 1).
Zone 2: Same first 6 digits, end with “2”
Zone 3: Same first 6 digits, end with “3”
Zone 4: Same first 6 digits, end with “4”
Zone 5: Same first 6 digits, end with “5”
Zone 6: Same first 6 digits, end with “6”
Zone 7: Same first 6 digits, end with “7”
Zone 8: Same first 6 digits, end with “8″

– Loop will always be 1 for takeover module zones.
– Select a voice descriptor.
– Enable reports and supervision.
– Choose whether or not that zone should chime


have the 2GIG heat/freeze/smoke detector and the glass break

Do not install near vents, near bathrooms, or less than 4" from wall on ceiling. If installed on wall, top of detector no more than 12", no less than 4" from the ceiling.

Smoke Detector

Access system configuration (logo>installer code> system configuration)
Use right arrow to find an empty/unused zone
Down arrow
Change unused to (09) 24-hour fire
Down arrow
Enter (1058) for smkt3, or (0895) for smkt2, or for 5808w3 (0589)
Down arrow
Learn serial by shift then learn and tampering smoke det
Down arrow
Equip age (0) new
Down arrow
Loop 1(1)
Down arrow
Enter descriptor (insert, then code for each word as shown on cheat sheet)
Down arrow
Reports enabled (1)
Down arrow
Supervised enabled (1)
Down arrow
Chime disabled (00)
Down arrow
Summary screen (check it carefully, make sure programming is right)
Then ‘skip’, ‘end’, ‘exit’
Panel reboots

Heat Detector

Change unused to (09) 24-hour fire
Down arrow
Enter (1058) for smkt3
Down arrow
Learn serial by shift then learn and tampering smoke det
Down arrow
Equip age (1) existing
Down arrow
Loop 2 (2)
Down arrow
Enter descriptor (I.e., “third floor heat detector”)
Down arrow
Reports enabled (1)
Down arrow
Supervised enabled (1)
Down arrow
Chime disabled (00)

Freeze Alert

Change unused to (08) 24-hour auxiliary
Down arrow
Enter (1058) for smkt3 OR (6) freeze
Down arrow
Learn serial by shift then learn and tampering smoke det
Down arrow
Equip age (1) existing
Down arrow
Loop 3 (3)
Down arrow
Enter descriptor (I.e., “third floor freeze detector”)
Down arrow
Reports enabled (1)
Down arrow
Supervised enabled (1)
Down arrow
Chime disabled (00)


Installing a GB1 Glass Break

Place on adjacent wall, or opposite wall from window being protected (test button should be orientated down towards floor

Hit logo at bottom right of screen
Enter installer code
System configuration
Right arrow to blank sensor location, then down arrow (then down arrow again after each section)
(03) perimeter
(0864) GB1 glass break detector
Learn serial (shift then learn, activate GB tamper, then ‘ok’)
(0) new equip
Loop (1) 1
(0) disable dialer delay
Voice descriptor (“insert”, enter code)
(1) report enabled
(1) supervised enabled
(01) voice only
Skip
End
Exit

riven,

Thank you very much for the help, especially in such detail! I checked the codes the sensors had sent when I did the “search” function. Apparently whoever installed the TAKE didn’t wire them in to the first few spots, instead choosing 5, 6, and 7…but no matter. They’re up and working nicely.

Thanks, even more, for the instructions about the smoke/heat/freeze and GB sensors. I would not have figured those out, that’s for sure.

You’ve been a tremendous help.

Andy

You mention 5, 6, and 7. Were you able to learn in the additional zones? It does appear in the photo that there are more than 3 zone wires attached to the TAKE. The TAKE will have terminals labeled on the board, right under where the wires attach.

Jason,

Yeah, there are four other wires attached to terminals 1-4. Unfortunately, I have no idea where they go. I do know there’s a small speaker (alarm?) right above the doorbell in the main hallway, and there’s another megaphone speaker in the attic pointing outwards to the front of the house. Would/could these both be part of the system, or is the CP speaker pretty much it? I’ll have to do some sleuthing to see where all the security system wires go. Heck, I may even get crazy and properly label them!

Andy

Anything attached to TAKE 1-8 terminals would be zone wires (security sensors) unless the original company installer mis-wired. Only zone wires have any function in those terminals, so it is likely there are additional sensors unless they were replaced with wireless ones.

Wired sirens can be used, and it is probable that the attic speaker was used with the previous wired system, but the 2GIG panel has a limited availability for current draw. You would want to verify the siren model does not exceed that.

Another option for siren use is described here. Essentially just directly powering the siren with an appropriate plug in transformer and using a Z-wave outlet or appliance module to assign alarm based triggers to energize and turn off the outlet, in turn kicking on the siren and turning it off.

Jason,

Thanks for the info. I have no idea where the other four wires run, as there’s nothing obvious in the home. I even checked the doors and a few windows, just in case. I’ll just have to get myself into the attic and try to trace wires, I suppose…someday. Even accounting for the wireless items in the house (glass break and two smoke/heat/freeze units), there’s still an extra wire.

I’m tempted to program in the codes manually and have the unit on walk test for a while to see if I can somehow stumble across them.

Again, thanks for your help!

Andy