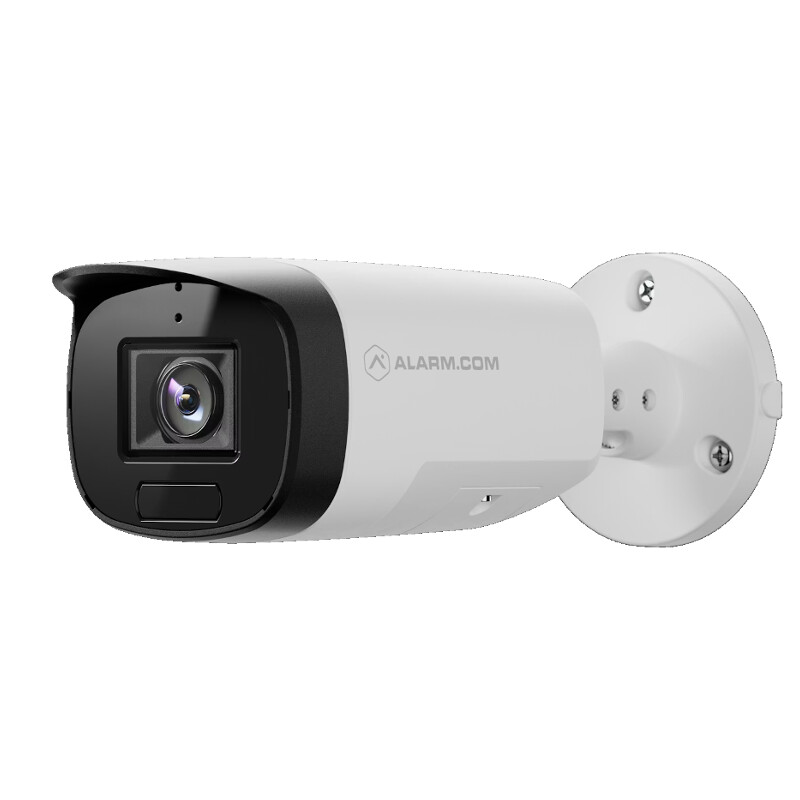
Pre-installation checklist
- ADC-VC7398PA (included)
- PoE network switch or injector
- Broadband internet connection for router with an available Ethernet port
- Computer or mobile device with Internet access
- Cat 5e (or better) Ethernet cable
- Username and password for the Alarm.com account to which you will add the camera
In the box
- ADC-VC7398PA
- Mounting template
- L-shaped wrench
- Wall anchors & screws (x4)
Overview
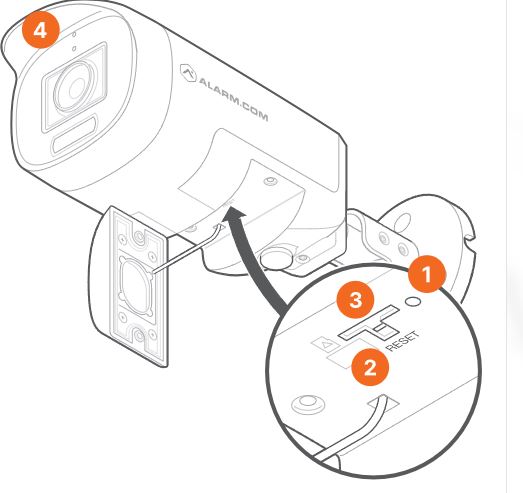
- LED indicator
- Reset button
- Micro SD card slot
- Built-in microphone
Audio wiring
- Pink connector: Audio In (microphone input)
- Green connector: Audio Out (speaker output)
Network wiring
- White cord: RJ45 (Ethernet cable)
Digital I/O wiring
Notice: The Digital I/O wiring for the ADC-VC7398PA is not currently functional.
- Yellow wire: DI- (Digital Input negative/ground)
- Blue wire: DI+ (Digital Input positive)
- Orange wire: DO- (Digital Output negative/ground)
- Brown wire: DO+ (12V)(Digital Output positive with 12V power)
Installation and enrollment
Note: The ADC-VC7398PA does not include a built-in speaker. An external analog speaker is required for Two-Way Audio functionality.
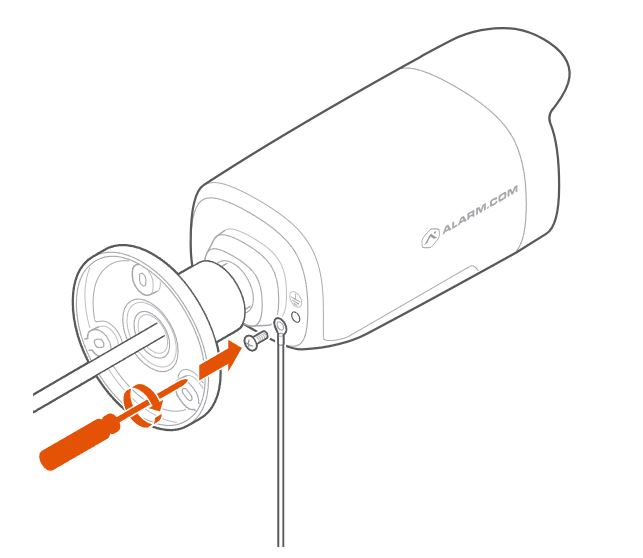
Mount the ADC-VC7398PA
Note: Before mounting:
- Remove the protective plastic lens cover from the camera to ensure a clear image
- Safely discard the desiccant packet that was included inside the camera’s packaging for transport
-
Use the included drill template to mark holes for mounting screws and cable pass-through.
-
Loosen the mount screws using the included wrench or a T10 screwdriver as needed for camera positioning.
-
Drill and insert wall anchors as needed for the mounting surface.
-
For outdoor or wet environments, assemble the cable gland and weather seals before routing the Ethernet cable through the mounting surface to prevent water ingress.
-
Tighten the screws that mount the camera to the wall to 1 Nm. Do not under- or over-tighten, as improper torque could lead to water ingress.
-
If grounding is required, connect the ground wire to an approved earth ground per code.
-
Feed the Ethernet cable through the cable gland and into the camera’s RJ45 port.
-
Connect the other end to a PoE switch or injector.
-
Confirm all weather caps and cable glands are tightly sealed.
-
If installed outdoors or in a wet area, wrap all connectors with waterproof tape after making connections.
Configure the audio input/output settings
Users can enable or disable the camera’s audio input and output, select the input device (i.e., the built-in microphone or an external line-in microphone), and adjust the gain for a line-in microphone using the Alarm.com app or website.
- Log in to the App or website.
- Click Video.
- Click Settings.
- Select the desired video device.
- Click Audio.
- In Audio Settings:
- Click the Audio Input/Output toggle switch to enable or disable both audio input and output together as desired.
- Important : If either audio input or audio output are desired, this toggle switch must be enabled. Toggling this setting off disables features like Perimeter GuardTM, Two-Way Audio, and audio in all recordings when applicable.
- To configure the audio input only, in Audio Input select Disabled , Built-in Microphone , or Line-In .
- To configure the audio output only, in Audio Output select Disabled or Line-Out .
- Use the Line-In Gain slider to adjust the gain for Line-in audio inputs.
- Click the Audio Input/Output toggle switch to enable or disable both audio input and output together as desired.
- Click Save.
LED reference guide
| LED pattern | Description |
|---|---|
| Not illuminated | Power off |
| Solid green | Connected to Alarm.com |
| Blinking green | Local network connection |
| Solid red | No local or Internet connection |
| Blinking red | Power on, camera booting |
| Blinking yellow | Power cycling (Hold Reset button for 9-12 seconds) |
| Blinking green and red | Reverting to factory default settings (Hold Reset button for 12-15 seconds) |
Troubleshooting
- If the camera fails to connect to the network or enroll to the account, power cycle the device and try again.
- If issues persist, reset the camera to factory defaults. Press and hold the Reset button for 12-15 seconds until the LED is flashing green and red, then release the button.
Important: If the camera was previously installed to a different Alarm.com account, it will need to be deleted from that account before it can be installed again.