Pre-setup checklist
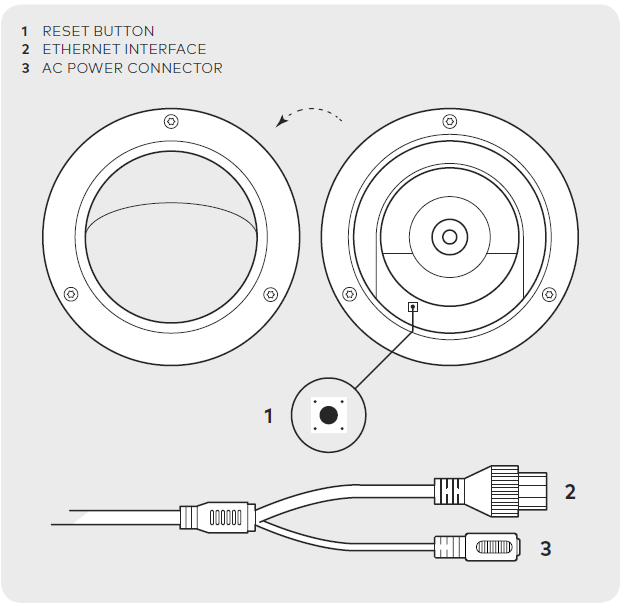
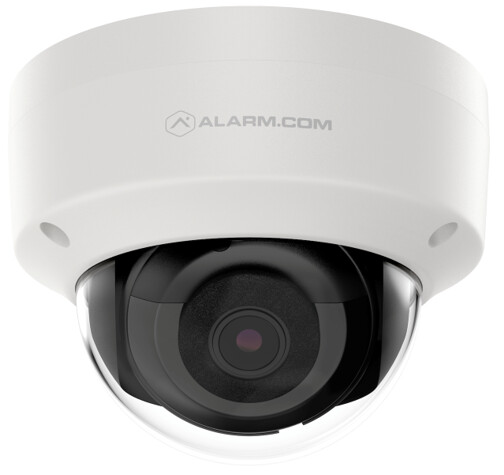
- ADC-VC826 camera
- AC/DC power adapter (required for non-PoE connections)
- Broadband (Cable, DSL or Fiber Optic Internet connection with router)
- A computer or mobile device with Internet access
- An Ethernet / Cat5 cable
- Login and Password for the Alarm.com account to which you will add the camera
Add the camera to an Alarm.com account
Complete these steps prior to installing the camera in its final location.
-
Connect the camera to the router via an Ethernet cable.
-
If the Ethernet connection does not provide power, connect the camera to the optional AC power adapter (sold separately) and plug the adapter into a non-switched outlet.
-
Wait a few minutes for the camera to connect to the Internet.
-
Add the device to the account by using the Alarm.com mobile app Video Installation Wizard, or by using a web browser and entering the following web address: www.alarm.com/addcamera (you will need the user name and password if using the Alarm.com Website or app).
-
Follow the on-screen instructions to add and set up the video device.
-
Once the camera is enrolled on the account, power down the camera and install it in its final location using the included hardware.
-
Note: The camera’s lens angle is adjusted manually. Verify that it is angled according to your needs during installation.