Broadband (Cable, DSL, or Fiber Optic) Internet connection with router
Personal computer or web-enabled tablet
Login/password for your Alarm.com account
A router with a Wi-Fi Protected Setup (WPS) button or an Ethernet cable
If the router does not have a WPS button, and the camera will be connected to a wireless network, you will need the case-sensitive SSID (wireless network name) and the network WEP or WPA key (if encryption is enabled at the router)
Install the cameras:
To ensure sufficient Wi-Fi signal, complete these steps with the camera near its final location but prior to mounting.
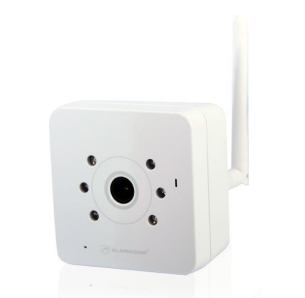
Once the ADC-520IR is added to the account, it can be permanently installed using either a wireless broadband connection or wired Ethernet connection.
Connect the camera’s AC adapter and plug it into a non-switched outlet.
Press and hold the camera’s WPS button for three seconds and then press the corresponding WPS button on the router.
Note : If the router does not have a WPS button or if you have trouble connecting, use a standard Ethernet cable to connect the camera to the network router.
Wait a few minutes for the camera to connect to the Internet.
Add the device to the account by using the mobile app Video Installation Wizard, or by using a web browser and entering the following web address: www.alarm.com/addcamera (you will need the user name and password if using the Alarm.com Website).
Follow the on-screen instructions to add and set up the video device.
Note : If using an Ethernet cable for setup, the camera’s wireless settings can be configured after setup is complete. This must be done while the camera is still connected to the network through the Ethernet cable.
Once the camera is enrolled on the account, power down the camera and install it in its final location using the included hardware.
Factory reset an ADC-V520IR to its default settings
Resetting a device to its factory default settings removes all of its existing programming and memory. Most devices must be removed from the account and re-enrolled after a factory reset.
Important : Wait at least 2 minutes for the device to power on fully before performing the following procedure. The factory reset might fail if the device is still powering on.
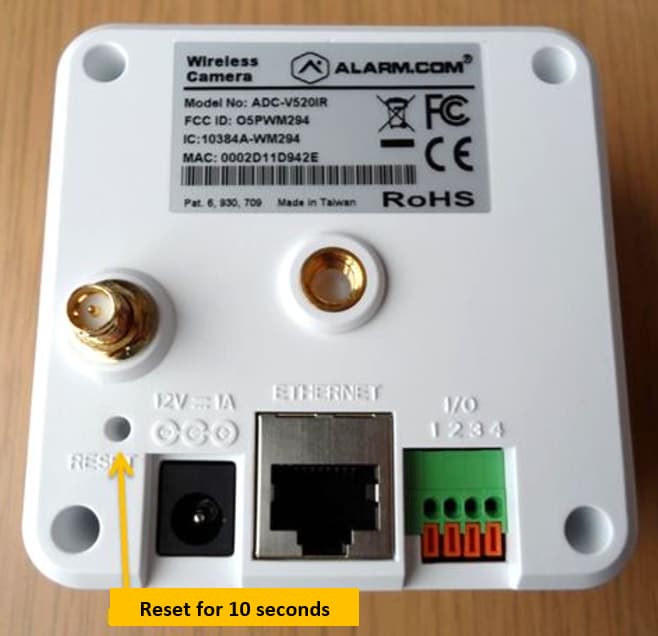
Reset procedure
Press and hold the Reset button until the LED rapidly flashes red and green, which usually happens after 15 seconds.
Reset button location
The Reset button can be found in the pinhole located on the back bottom left corner.
Important : Once a video device has been reset, it’s normal for the LED to turn off momentarily. It is best to leave the video device plugged into power and undisturbed for 2 minutes after performing the factory reset.