This how to will give you step by step instructions to add your SVR210 to your alarm.com account.
A camera plan will be needed with the SVR option added to your account. This can be added through the System Manager feature of your Surety account.
Recommended Diagram
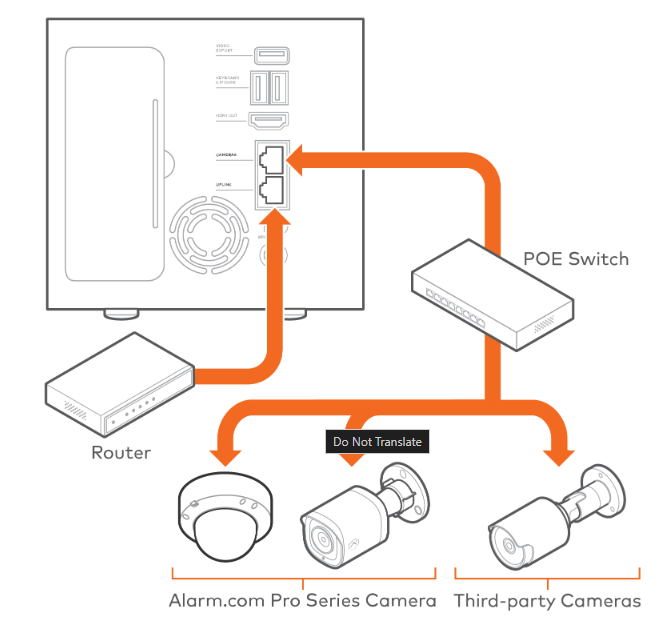
Connect the ADC-SVR210 to a local network
The ADC-SVR210 must first connect to the customer’s local network before it can be added to a customer account.
- Using an Ethernet cable, connect SVR210’s uplink port to the network router.
- Connect the device’s AC power adapter and plug it into a non-switched, grounded power outlet.
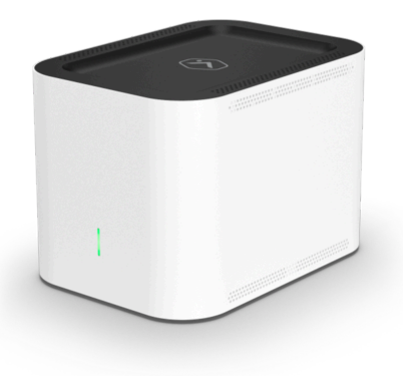
- Wait for the device to boot up. A solid green status LED indicates that the device is ready to be added to the account.
Once the ADC-SVR210 is connected to the network and displays a solid green LED, add the ADC-SVR210 to your Alarm.com account.
Add the SVR210 to your Alarm.com account using the Alarm.com website:
- Using a web browser, enter the URL www.alarm.com/addcamera. You will need the customer’s username and password if using the Customer website.
- Select the ADC-SVR210 from the video device list or enter its MAC address to begin adding the device. The device’s MAC address is located on the bottom of the device or on the packaging.
- Follow the on-screen instructions to finish adding the ADC-SVR210.
Add the SVR210 to your Alarm.com account using the Alarm.com app:
- Log in to the Customer app. You will need the customer’s username and password to log in.
- Tap the More icon
- Tap Add Device.
- Tap Video Camera.
- Tap SVR210.
- Follow the on-screen instructions to finish adding the ADC-SVR210.
Associate a video device to an SVR using the Alarm.com Website:
-
Verify that all of the video devices for the SVR to record from are enrolled on your account.
-
Log into the Customer website.
-
Click Video.
-
Click Recording Rules.
-
Click Local.
-
Click Add New Schedule.
-
Click SVR if there are multiple options to choose from.
-
Click the desired SVR if there are multiple enrolled on the account.
-
Configure the schedule:
a. In Record from this camera, click to select the camera to record to the Streaming Video Recorder.
b. Using the Resolution dropdown menu, select the resolution if the camera supports it.
c. Using the Frame Rate dropdown menu, select the frame rate.
d. Using the Quality dropdown menu, select the quality.
e. In Time Frame, select a time frame for the rule to be active.
f. To limit the number of days to record:
i. Click Advanced Options.
ii. Click the Limit the number of days to record toggle switch to enable the limit.
iii. Using the dropdown menu, select the number of days to record.Note: Recorded video will still be automatically overwritten if you reach your local storage capacity prior to the day limit.
iv. Click Save
-
Click Save.