Calibrating Cameras for Video Analytics
Once you have Video Analytics enabled on your Alarm.com account and you have a compatible camera, its time to get Video Analytics set up!
Calibration
Note that some cameras will require calibration once they have been installed prior to setting up Video Analytics rules. Those cameras are:
- 180º HD Camera (ADC-V622)
- 1080p Outdoor Wi-Fi Camera (ADC-V723)
- 1080p Indoor Wi-Fi Camera (ADC-V523)
The calibration process involves taking five still images of a person or object in different locations visible to the camera.
Important : The video device should be re-calibrated whenever it is moved to another location.
Calibrate the camera
You can calibrate the cameras using the Alarm.com mobile app or website. Using a mobile device to complete the calibration is recommended because the user can take the calibration images while standing where they need to be.
To open the calibration page using the Customer app:
- Log into the mobile app.
- Tap Menu
- Tap Video .
- Tap Settings
- Tap Calibrate Cameras .
- Tap > next to the device to calibrate.
To open the calibration page using the Customer Website:
- Log into the website.
- Click Video .
- On the Video banner, click Settings .
- Using the Video Device drop down menu, select the video device to calibrate.
- Click Video Analytics Calibration .
Complete the camera calibration
Important : If this is the first time the camera is being set up for Video Analytics, the camera’s existing Video Motion Detection (VMD) rules will be removed, but they can be added back later.
-
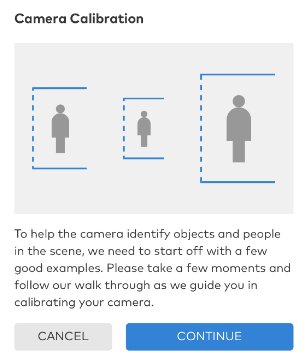
On the Camera Calibration page, click Continue
. -
Click Take Photo.
-
Verify that the bounding boxes are as close around the object as possible, and the entire object is in view.

-
If the snapshot needs to be retaken, click Retake Photo
- A person’s entire body must be in view of the camera, head to toe.
- Each snapshot should be as different as possible to ensure good calibration.
-
Edit the bounding box to exactly fit around the detected body.

-
Click Next .
-
After five images are captured, click Submit .
-
Once the calibration is complete, click Done
-
If the calibration is unsuccessful, review the snapshots and correct them as necessary.

More information on Video Analytics and Alarm.com can be found here: