Thermostat installation
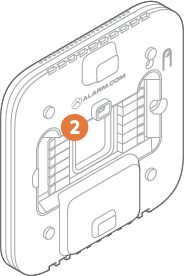
- Level and mount the Thermostat to the wall with the supplied hardware.
- If additional support is necessary, drill holes with a 3/16’’ (#13) drill bit and tap in the drywall anchors.
- If you need to cover up any marks or holes from the previous thermostat, mount the trim plate prior to securing the Thermostat to the wall.
- Insert the wires into their designated wire terminals. See the table for details.
Important: If you only have one R wire, insert it into RH. Only connect wires to the thermostat that will be used by the system. Inserting wires that are not connected to or used by the HVAC system could cause the Smart Thermostat HD to operate improperly.
Caution: Do not insert more than one wire into a wire terminal as this will damage the wire terminal. If you only have one R wire, there is no need to physically jump RH and RC. The Thermostat will internally jump the two terminals.
| Terminal | Description |
|---|---|
| RC | Cooling power |
| RH* | Heating power |
| W2 | Heat/aux stage 2 |
| W | Heat/aux stage 1 |
| C* | Common wire from transformer |
| Z1 | Configurable: W3, humidifier, dehumidifier, vent |
| Z2 | Configurable: W3, humidifier, dehumidifier, vent |
| Y | Cool/pump stage 1 |
| Y2 | Cool/pump stage 2 |
| G | Fan |
| O | Heat pump reversing valve (Energized in COOL mode) |
| B | Heat pump reversing valve (Energized in HEAT mode) |
*Note : Required wire.
-
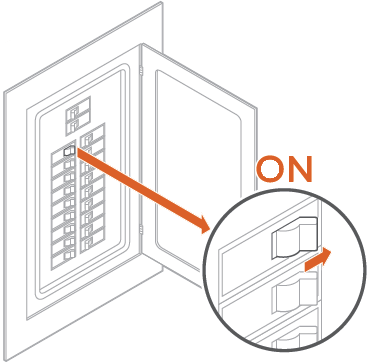
After all wires are inserted into the wire terminals, restore power to the HVAC system.
- This will supply 24 VAC power to the Thermostat.
- This will supply 24 VAC power to the Thermostat.
-
Check the Status LED, which will indicate the Thermostat has power.
- If the Status LED is off, it indicates the Thermostat does not have 24 VAC power.
- Visually verify both RH and C are securely inserted into the appropriately labeled terminals.
- Verify the HVAC system has power, this may be identified at the unit.
- Verify the circuit breaker was correctly turned back on.
Display installation
-
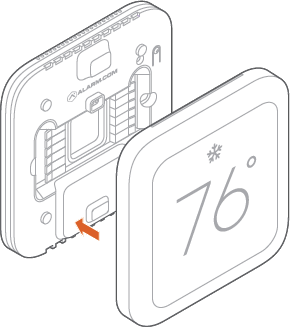
Connect the Display to the Thermostat. Magnets will hold the Display in place.
-
The Display will turn on after being connected.
- Note : If the Display does not power on after 30 seconds, verify 24 VAC power is being supplied to the Thermostat from the HVAC system.


