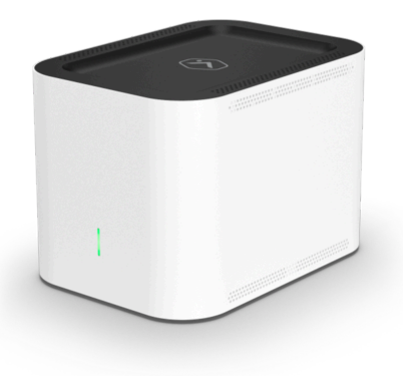
This how to will explain certain requirements needed for adding an IP camera to an SVR210, or CSVR-2000 models.
Note: Commercial Video service package with the Third Party Cameras add-on is needed to utilize third-party cameras
| Communication Protocol | Onvif Profile S or VAPIX user enabled |
| IP Protocol | DHCP (Static IP’s Cannot Be Used) |
| Compression | H.264 |
| Camera Communication Type | Ethernet (Wired) |
-
Verify that all third-party video cameras to be installed function properly on their own and have a compatible configuration.
-
When enabling the appropriate settings for each camera, use the camera’s specific local UI rather than using a camera tester tool, as these tools do not always properly enable the correct parameters for every camera model. For more information about accessing the camera’s local UI, see Access a third-party camera’s local webpage.
-
Make note of each camera’s MAC address, existing name, username, and password.
Important*: If the camera requires that you set a custom password, do this before attempting to enroll the camera to a customer account. -
If a camera supports more than one communication protocol, verify that an Open Network Video Interface Forum (ONVIF) profile is enabled and make note of the ONVIF profile credentials.
- Ensure the camera is set to use H.264.
- Ensure the camera is set to use DHCP (not a static IP address).
-
-
Verify that your alarm.com plan has the necessary third party integrations option enabled with your Surety Account
-
Verify that a CSVR is enrolled on the Alarm.com account.
You can find more information about enrolling an SVR/CSVR in the link below
Alarm.com Streaming Video Recorder SVR and Commercial CSVR -
Connect each third-party camera to the CSVR using an Ethernet cable.
Access Discovery Page using website
- Log into the Customer website.
- Click Video.
- Click Settings.
- Click Add Video Device.
- Click Discover Third-Party Cameras.
Accessing Discovery Page using the Alarm.com app
- Log into the Customer app.
- Tap
- Tap Add Devices.
- Tap Add Video Devices.
- Tap Discover Third-Party Cameras.
Enroll the third-party cameras to the account
- On the Discover Third-Party Cameras page, click to select the desired cameras.
- Read Third-Party Camera Terms of Use, and then choose Agree to continue.
- Review features supported for third-party cameras, and then click Next.
- Follow the on-screen instructions to unlock and install the cameras. You may be prompted to enter the cameras’ credentials if the cameras cannot be unlocked using manufacturer defaults.
- After the unlocking and installation is complete, verify that all of the desired cameras are installed.
- Name each camera. To get more details about a specific camera, click its thumbnail image to open a detailed view.
- Click Next to complete the installation.
Change third party camera live stream settings
- Log into the Customer website.
- Click Video.
- Click Settings.
- Using the Video Device dropdown menu, select the desired third-party camera.
- Click Stream Settings.
- Using the desired dropdown menu, select the desired settings.
- Click Save.
