This guide covers how to set up your cameras to record during Disarm events through Alarm.com.
-
Start by logging in to the Alarm.com Website
-
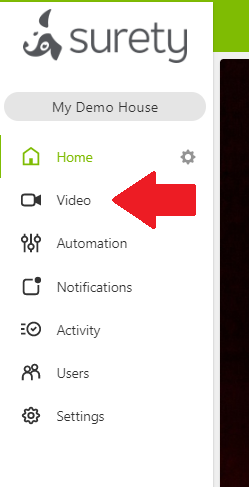
Click on Video
-
In the Video tab, click on Recording Rules
-
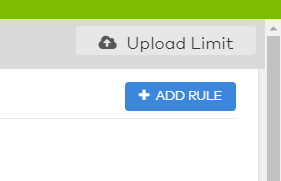
Next click on the Add Rule button.
-
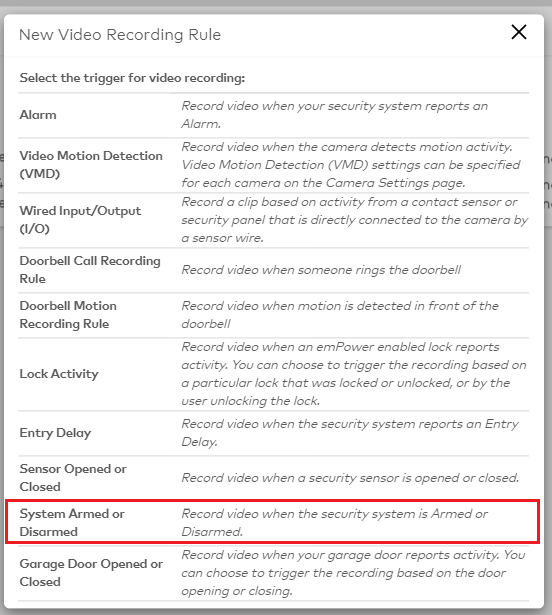
From the Video Recording Rule page, select System Armed or Disarmed
-
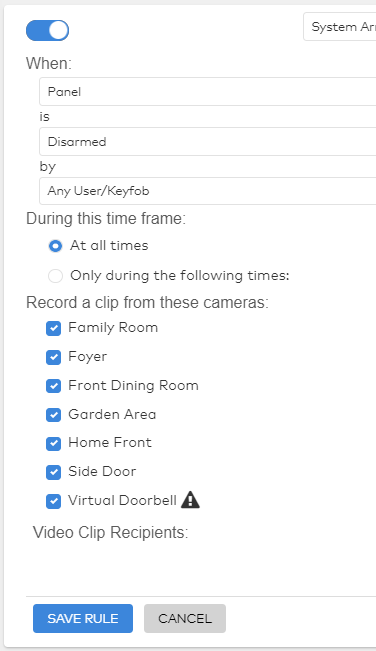
From here, select the panel and arming status to trigger the recording, in this case you’ll want to choose Disarmed.
- You can choose Armed Stay or Armed Away to set up a different recording type as well.

-
Next choose a time from for the recording, either at All Times or during select days and hours.
-
Click the check box next to each camera tied to your account you would like to record.
-
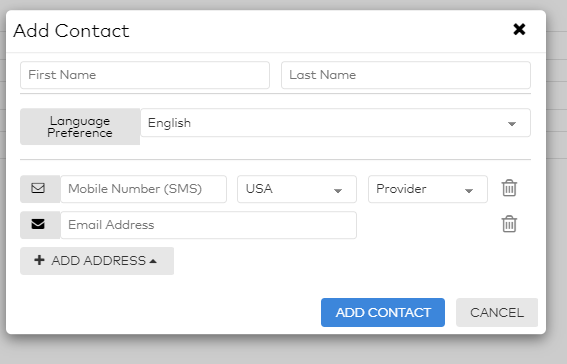
Now choose who gets notified of the recording by clicking on the Add Recipient button.

- You can select from existing recipients or click New to create a new recipient. Click Add Contact when done creating a new recipient.
-
A list of all recipients selected will be shown at the bottom of the rule’s page.
-
When done setting up the rule, click Save Rule

13… Once the recording rule is active, you will see it in a list of all rules on the Record Rules page. From here you can toggle the rule on/off, edit the rule, or delete the rule from the Trash Icon.
