How to Configure Video Motion Detection (VMD) Settings in Alarm.com

Video Motion Detection (VMD) is a method of identifying motion without the use of a motion detector. Cameras with VMD use software to determine if there is motion in the images they are capturing based on changes in the brightness and color of groups of pixels in the video.

When VMD is set up correctly, it can be an effective way to capture activity and generate notifications…

Configure existing VMD settings

Change existing Video Motion Detection settings using the Customer Website or app.

Configure VMD settings using the Customer Website:
  1. Log into the Customer Website.
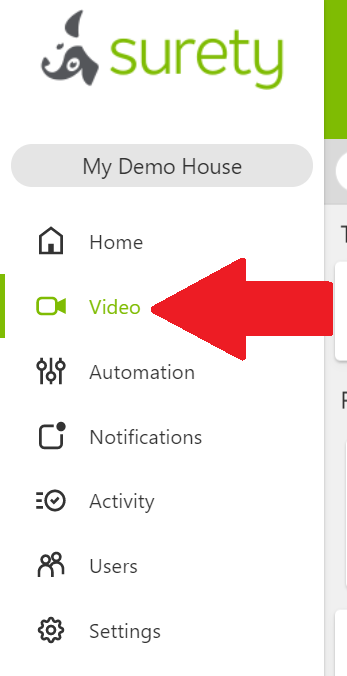
  2. Click Video .
  3. Click Settings .
  4. Using the Video Device dropdown menu, select the desired camera.
  5. Click Video Motion Detection .

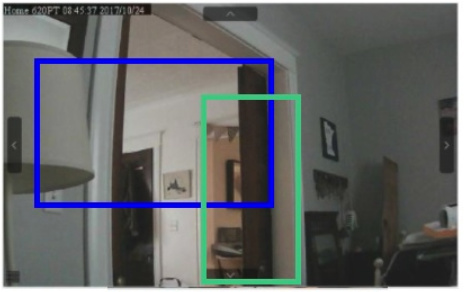
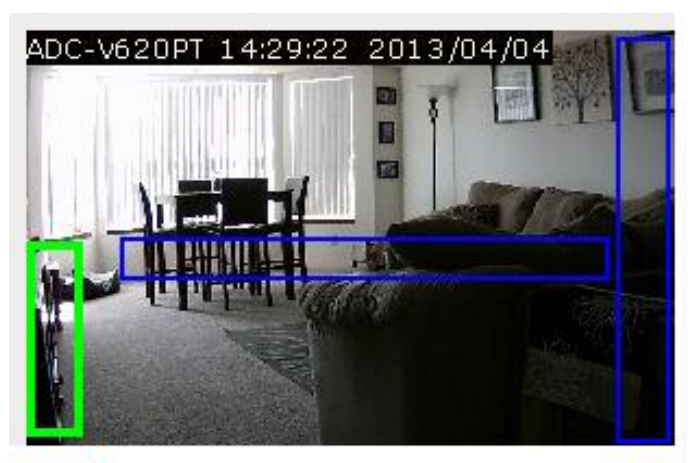
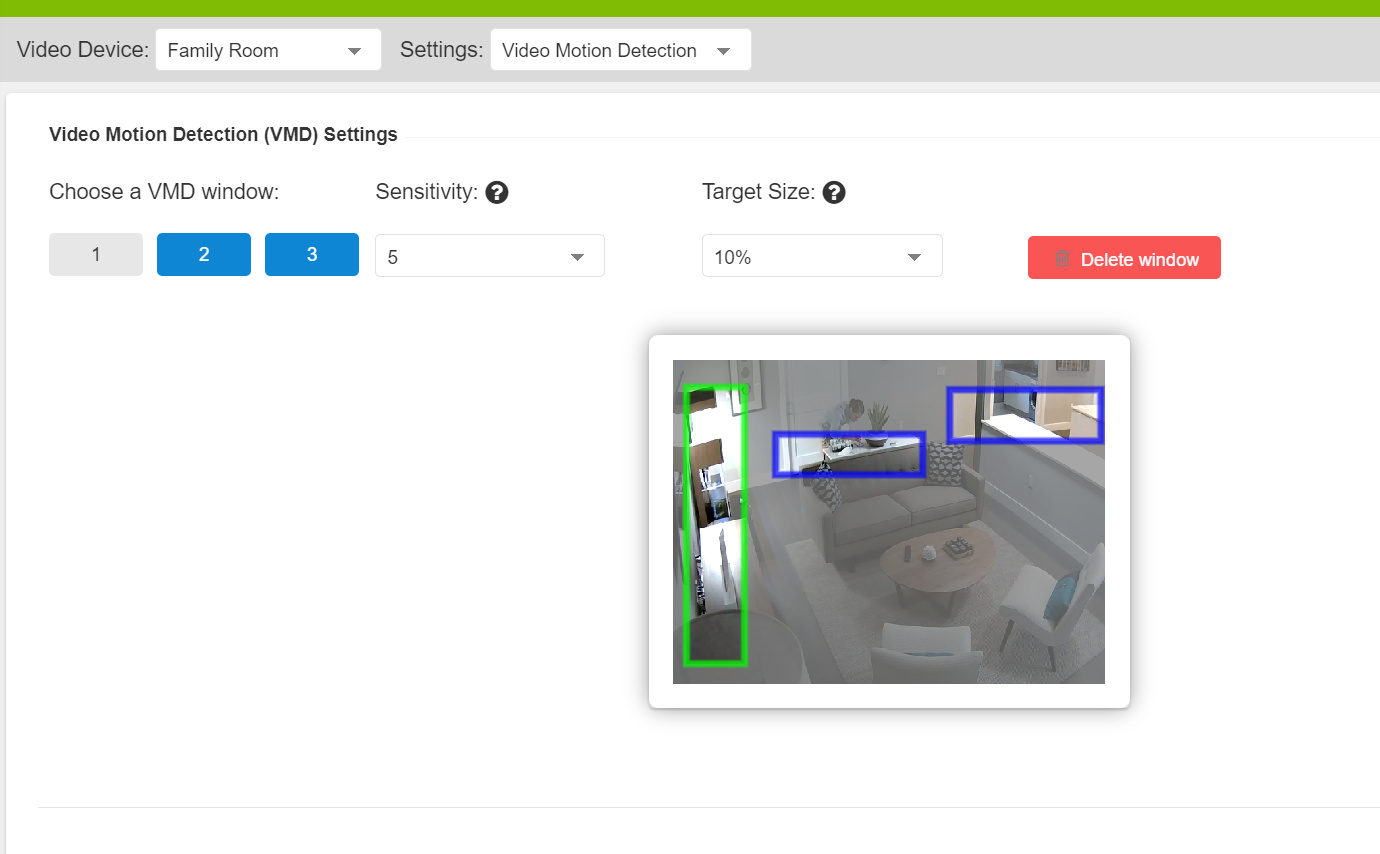
  1. For each VMD window:
    a. In Choose a VMD Window , tap the desired VMD window number.
    b. Drag across the live view preview to draw a VMD window box.
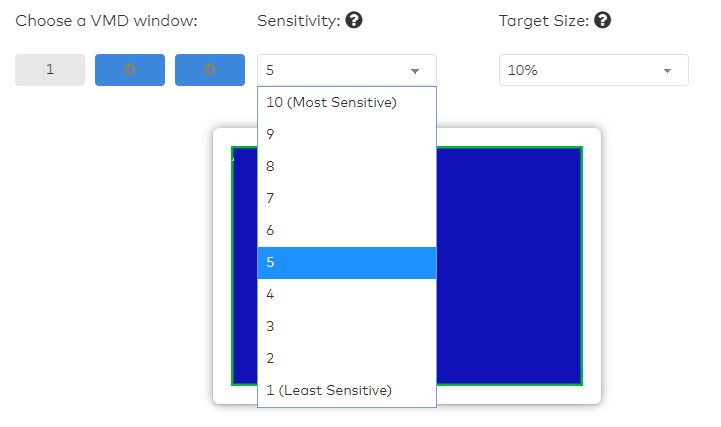
    c. Using the Sensitivity dropdown menu, select the desired sensitivity.
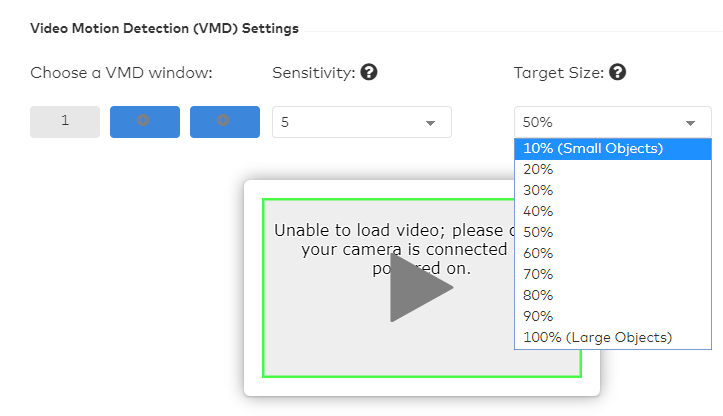
    d. Using the Target Size dropdown menu, select the desired target size.
  2. Verify the VMD settings are configured as desired.
  3. Click Save . Each VMD window should be saved individually.

To configure new VMD recording rules using the Customer Website:

  1. Log into the Alarm.com Website.

  2. Click Video .

  3. Click Recording Rules .

  4. Click + Add New Rule .

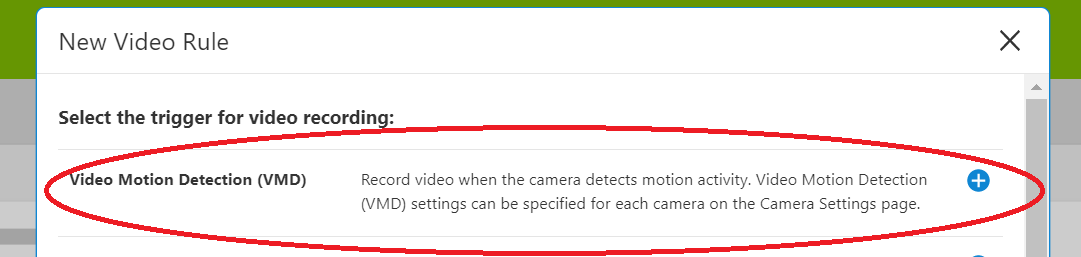
  5. Click to select Video Motion Detection (VMD) .


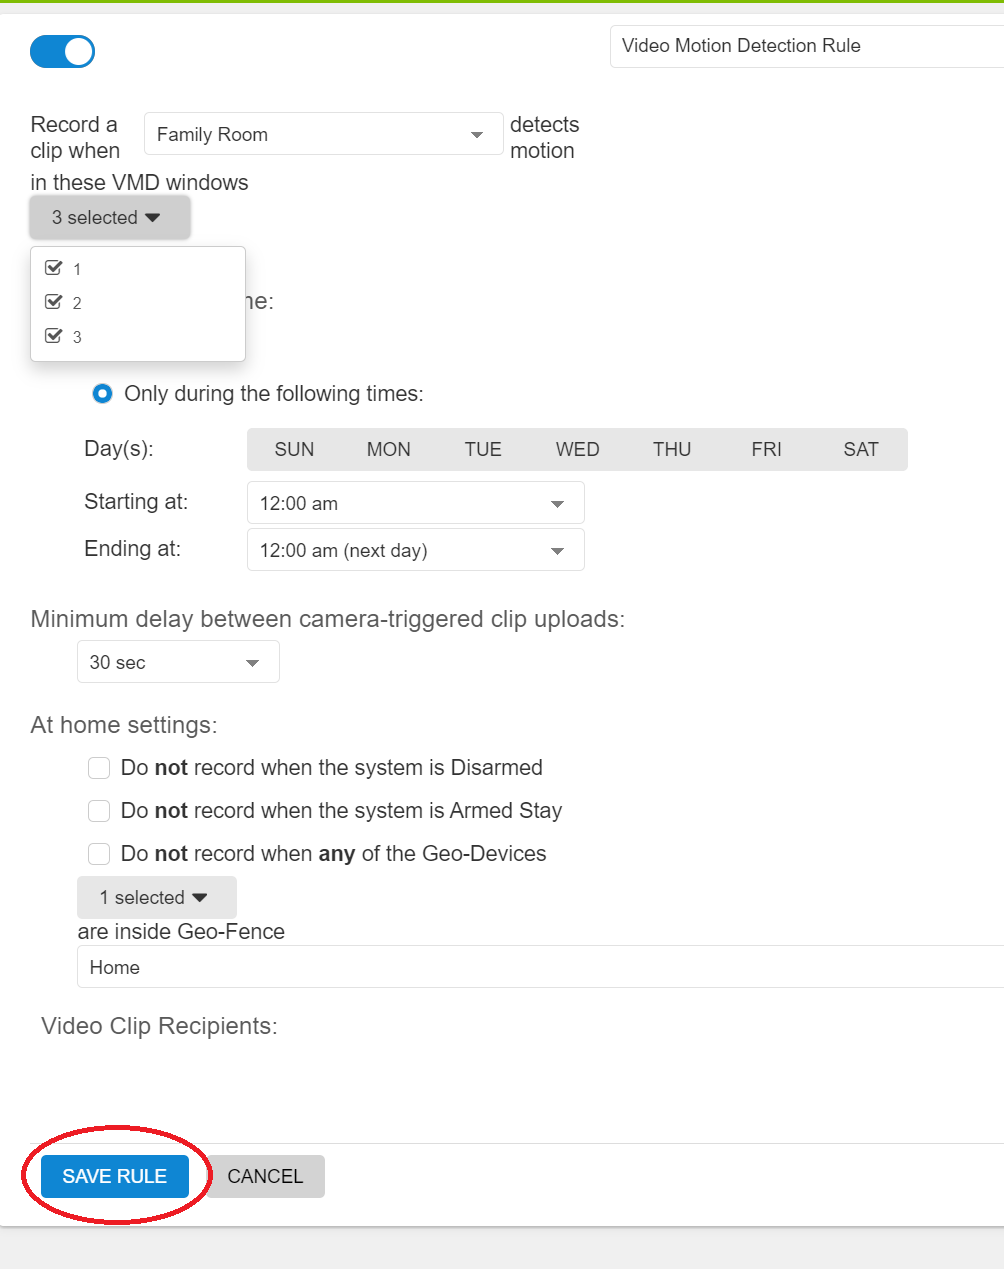
6. Enter a name for the recording rule.
7. Using the Record a clip when dropdown menu, select the desired video device.
8. Using the in these VMD windows dropdown menu, click to select any existing VMD windows if applicable.

Note : The option to select individual VMD windows is not available for the ADC-V '25, '26, and '36 series cameras.

  1. In During this time frame , click to select the times when the rule can be triggered.
  2. Using the Minimum delay between camera-triggered clip uploads dropdown menu, select the desired time required to pass before another clip can be triggered.
  3. If desired, click to select any of the options in the At home settings . The options include:
  • Do not record when the system is Disarmed.
  • Do not record when the system is Armed Stay.
  • Do not record when any of the Geo-Devices are inside Geo-Fence.
  1. In Video Clip Recipients , click + Add Recipient if the user wants to receive notifications.
  2. Select any entries in the Address book to be notified, or click + New to add a new Address Book entry.
  3. Click Close .
  4. Verify the recording rule is configured with the desired settings.
  5. Click Save Rule .

Video Motion Detection (VMD) best practices

Adjusting the window sizes, locations, sensitivity, and target size of a VMD recording rule can help if the video device is recording too often or not often enough.

Test VMD windows during configuration

While viewing the live video preview from the Video Motion Detection Settings page on the Alarm.com Website, the VMD window turns orange if an object that would trigger that VMD window is detected. If the VMD box does not turn orange when it should detect motion, the VMD window’s size, sensitivity, or target size may need to be adjusted.

Note : The '22, '25, and '26 series cameras (e.g., ADC-V522IR, ADC-VC725, ADC-VC826, etc.) do not support the VMD windows turning orange upon motion detection on the Video Motion Detection Settings page.

Window locations and sizes

A video device’s VMD windows work best when they are drawn like tripwires. Draw longer and narrower boxes in areas where motion should trigger a recording for the customer.

Avoid placing VMD windows in areas with constant motion or where unimportant movement happens often (e.g., trees and bushes that move due to wind, large reflective surfaces, or large areas where shadows could be cast). Additionally, consider how the lighting may change throughout the day. An area that was not in shadow may become shaded later in the day.

Important : VMD windows should not overlap. Overlapping VMD windows can lead to false triggers and unwanted recordings.

VMD best practices for indoor cameras

Incorrectly configured
bad1

  • Boxes too thick
  • Boxes overlapping

Best practice
good1

  • Thin boxes
  • Boxes not touching
  • Boxes placed in high-traffic areas

VMD best practices for outdoor cameras

Incorrectly configured
bad2

  • Box takes up the entire view

Best practice
good2

  • Thin boxes
  • Boxes not touching
  • Boxes placed in high-traffic areas

In practice

Rather than creating one large, imprecise box, try creating lines or barriers out of the three boxes that are available. The goal is to catch a person of interest as they cross through the window.

The preceding image is an example of using VMD best practices by:

  • Avoiding the windows due to sunlight changes.
  • Creating barriers that must be crossed when entering the area.
  • Creating another box that must be crossed when going through the room.
  • Using all three VMD windows.
  • Keeping all the windows as thin and small as possible.

Target size

Target size is the percentage of the VMD window that includes movement to trigger a clip recording. Estimate the percentage of a window that the desired trigger would fill (e.g., person, car, animal, etc.) and then select one size larger.

Example : If a person would take up 20% of the VMD window, set the target size to 30%. That percentage would pick up a person, but is less likely to pick up something smaller (i.e., a stray shadow).

If the target size is too large, the camera may not trigger for anything less than an object the size of a car, but if the target size is too small, leaves blowing in the wind may trigger recordings.


Note : The target size options available to choose from can vary for different camera models.

Sensitivity

Sensitivity is a measure of how much change in the video image is needed to trigger a clip. Higher sensitivity means a smaller shift is needed to trigger a clip, but if the sensitivity is too high, the camera might trigger constantly.

Start with a sensitivity of 7 and fine-tune from there. If the sensitivity needs to be set at 10, then VMD window placement, size, and target size most likely need to be adjusted.

Note: For camera models ADC-V521IR, ADC-V522IR, and ADC-V722W, the sensitivity setting affects all Video Motion Detection (VMD) windows for the specific device.

At-home settings

At-home settings help prevent unwanted or unnecessary recording. While enabled, at-home settings can pause recording rules when:

  • The system is disarmed.
  • The system is armed stay.
  • A Geo-Device is inside of the Home Geo-Fence.

Important : This rule is based on partition 1’s arming status. Arming or disarming any other partition does not pause or activate a recording rule.